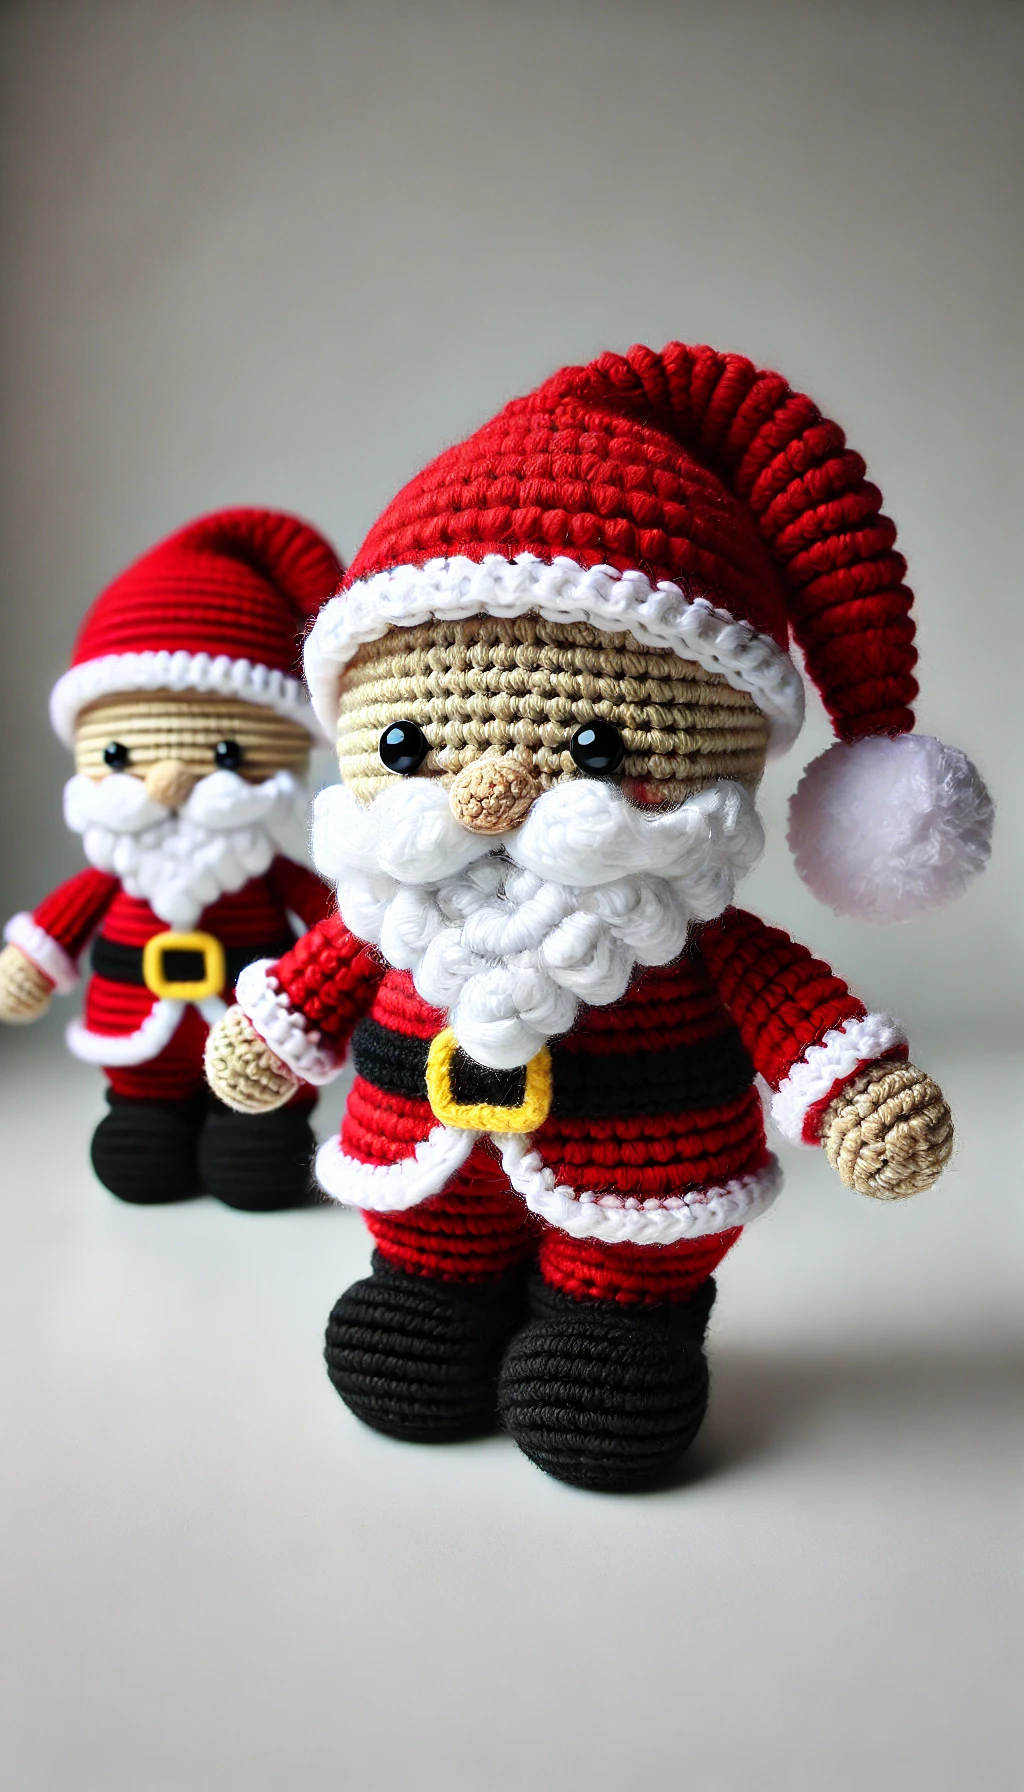
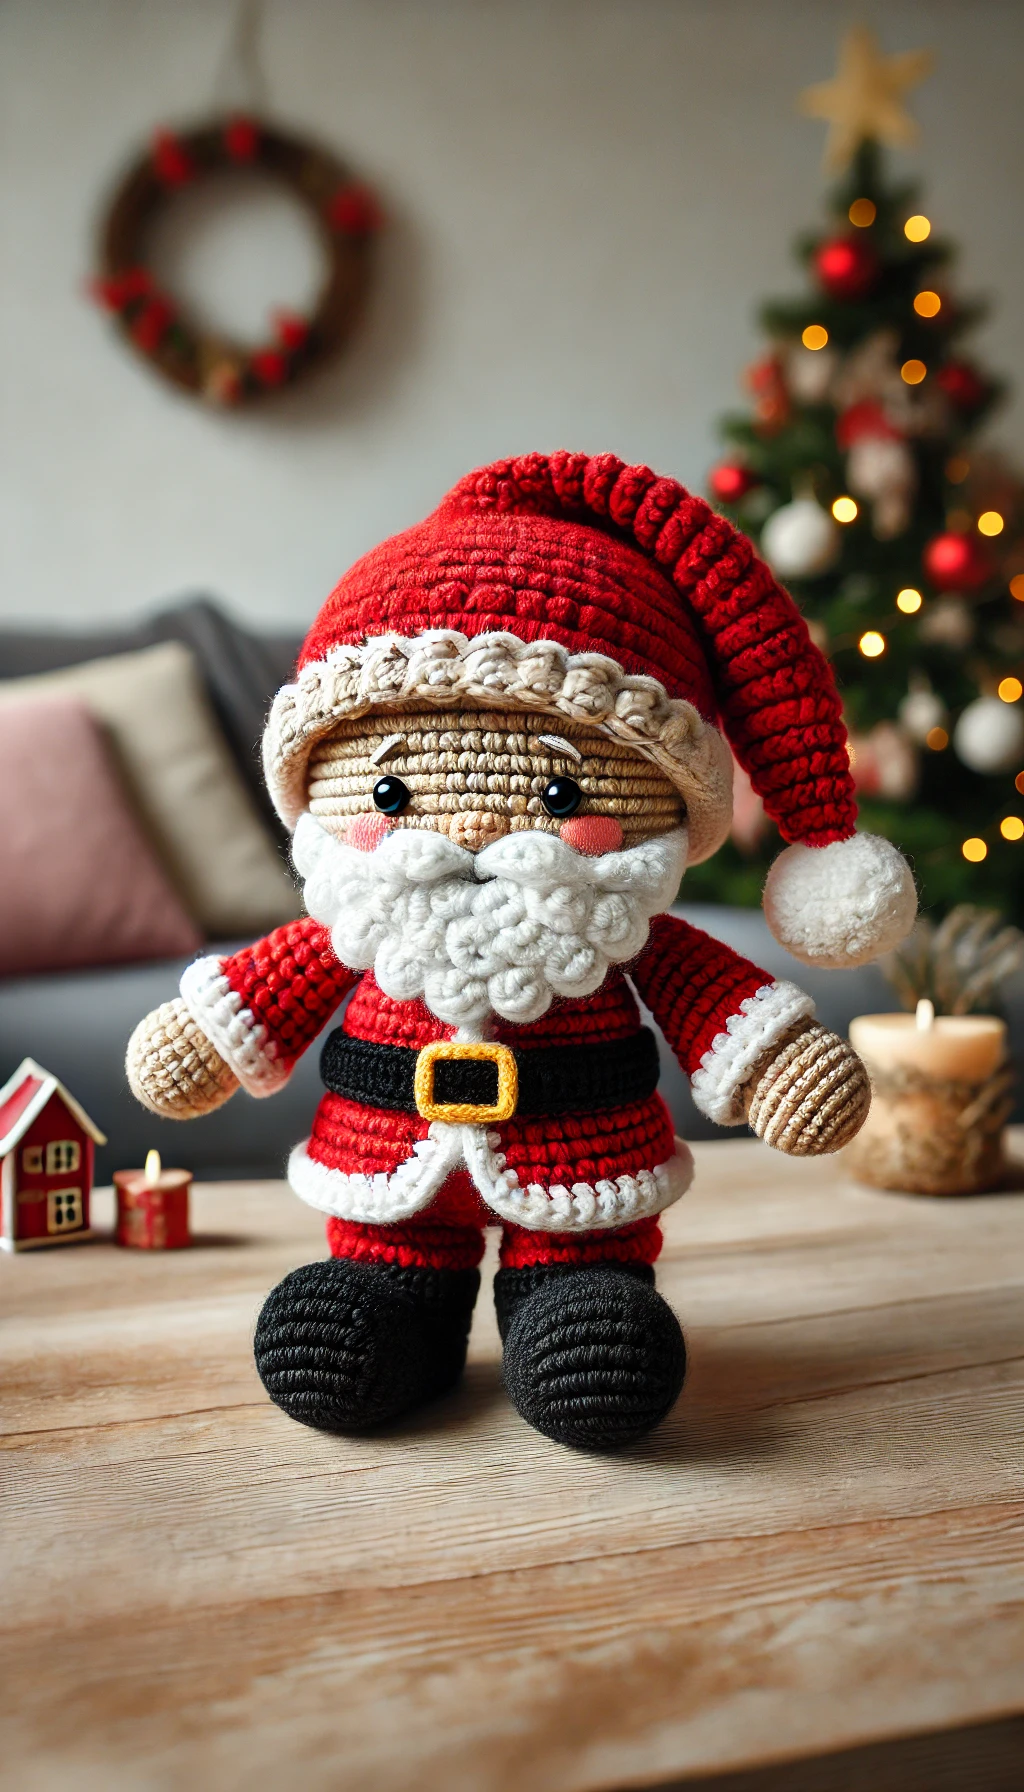
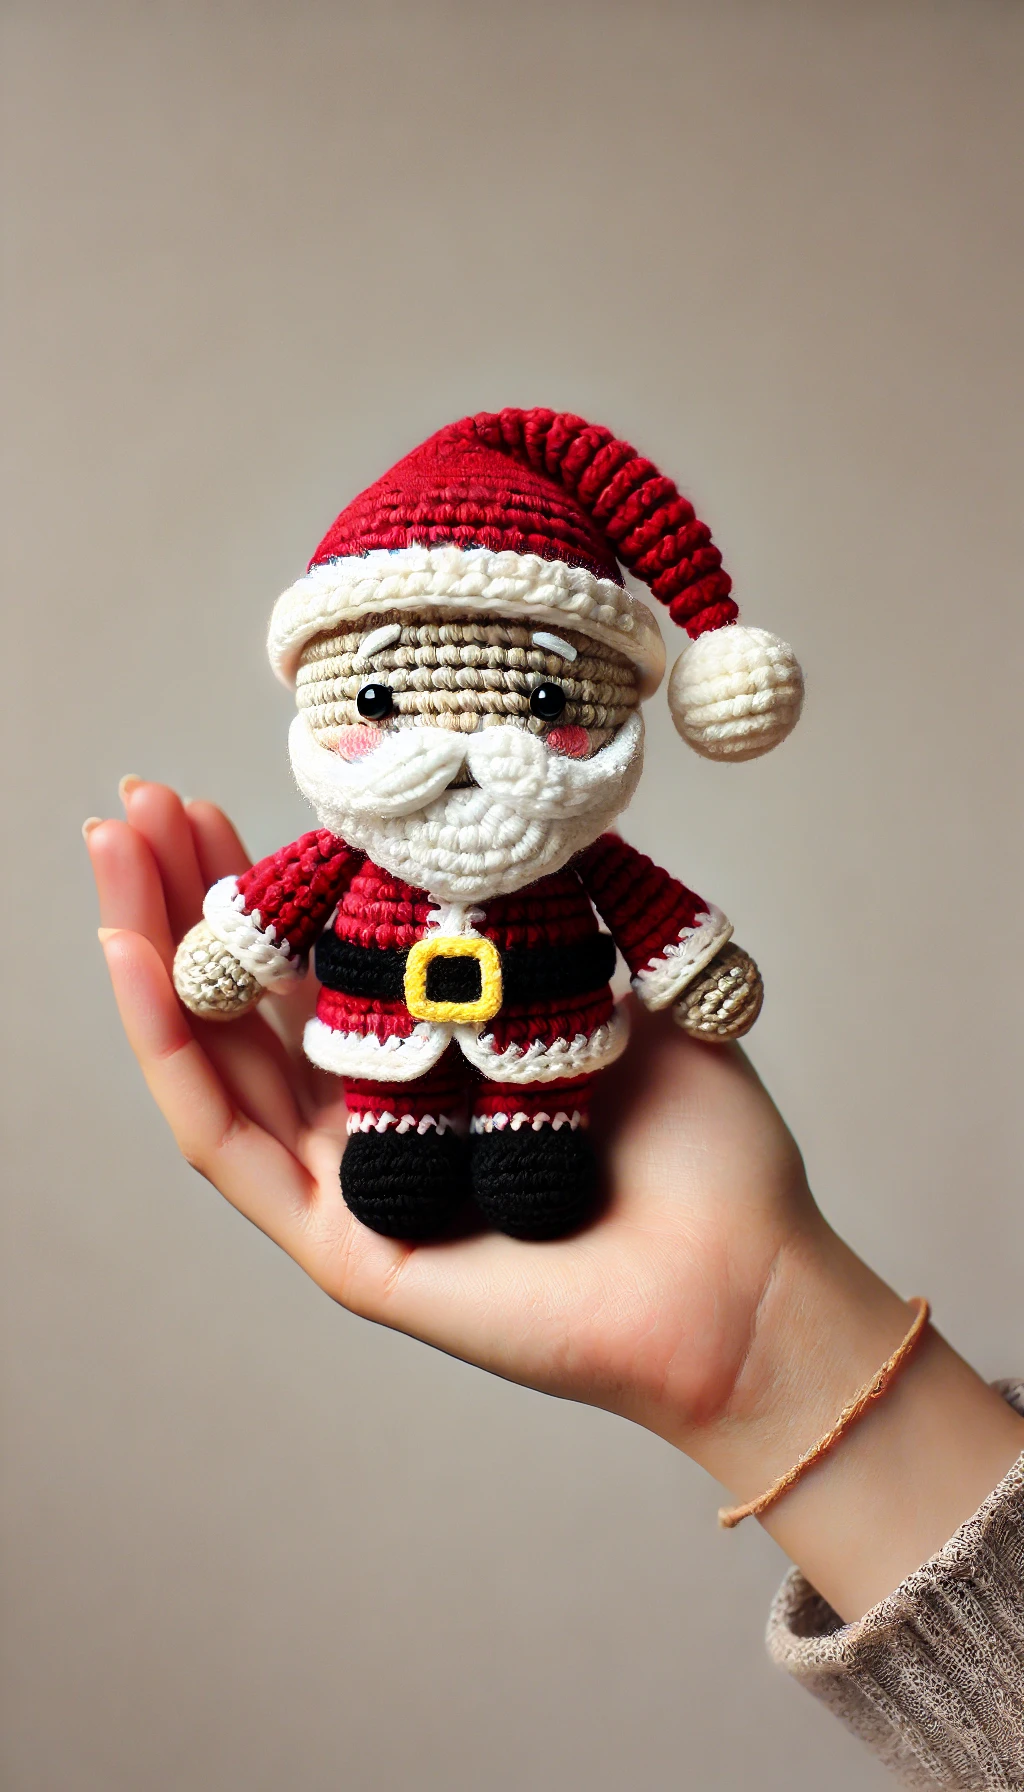
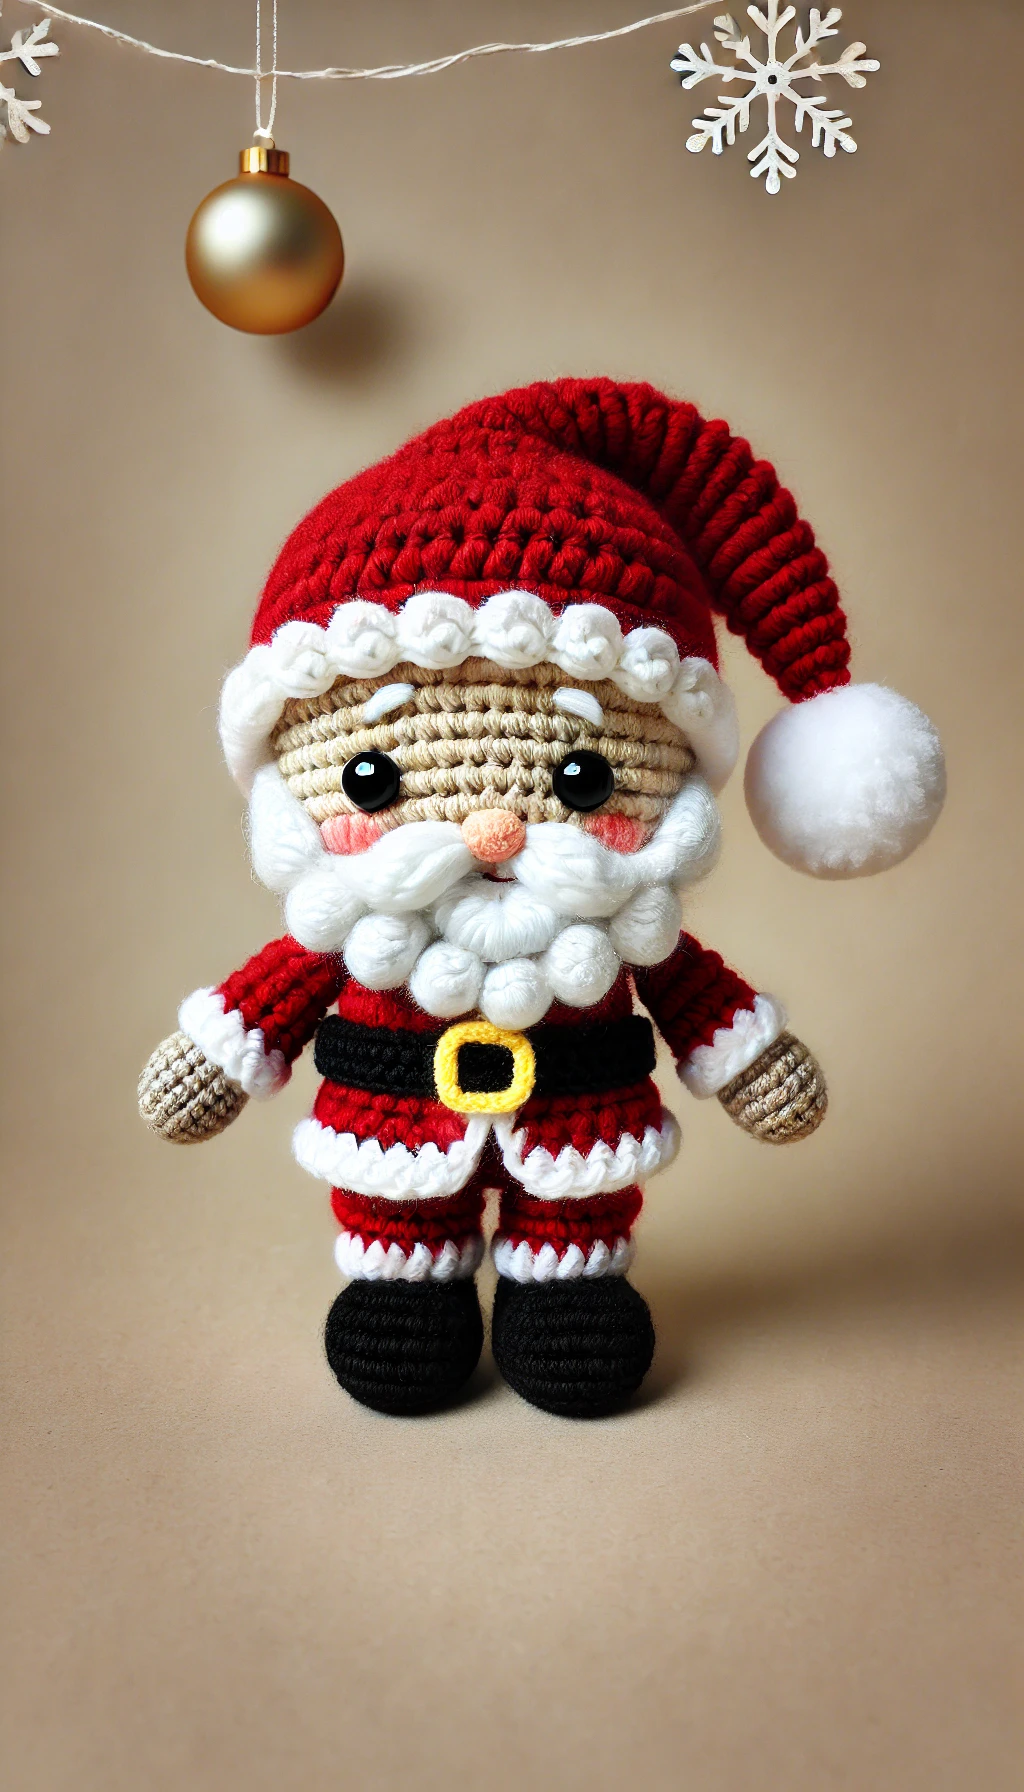
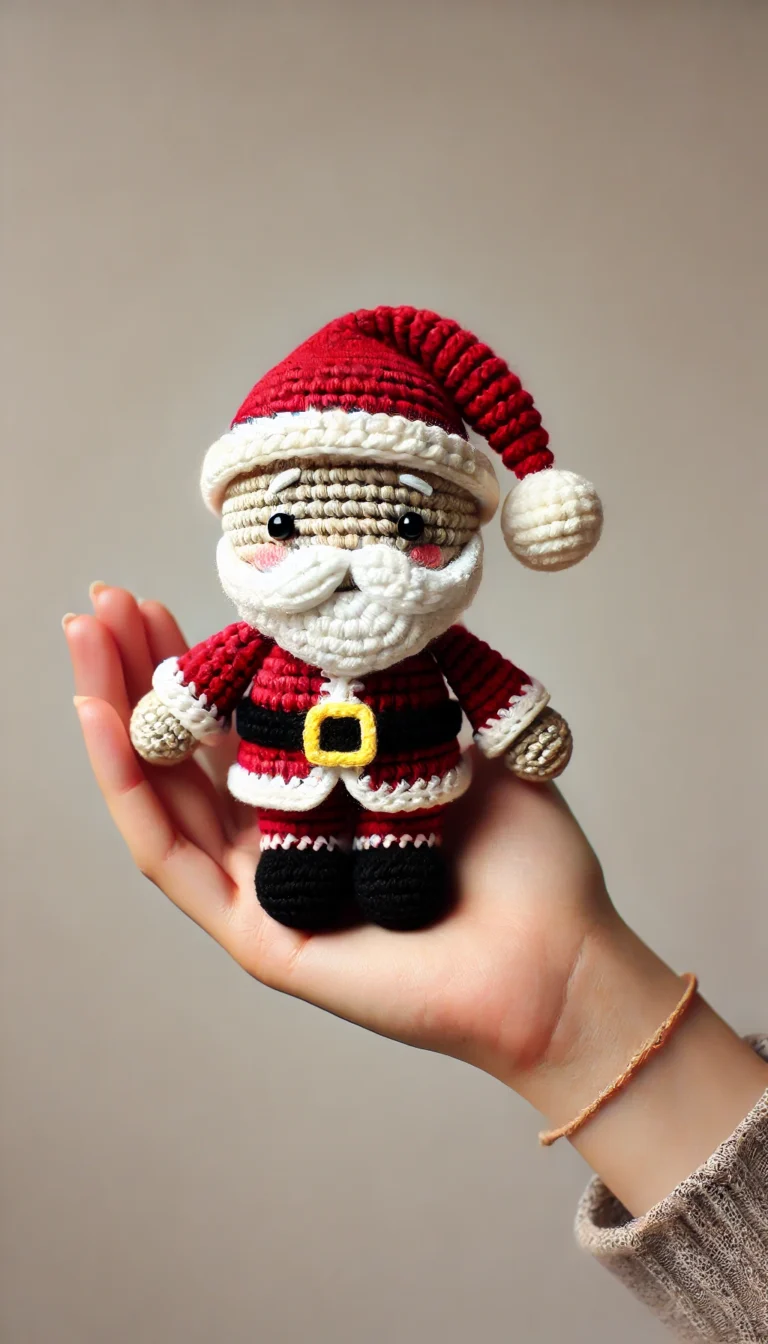
The holiday season is here, and there’s no better way to bring festive cheer into your home than with a handmade Santa Claus amigurumi! Whether you’re an experienced crocheter or just starting out, this free pattern will guide you step-by-step to create your own jolly St. Nick. Perfect as a heartfelt gift, a charming holiday decoration, or even a delightful stocking stuffer, this Santa amigurumi is sure to spread joy. Grab your yarn and hooks, and let’s dive into this magical project to add a touch of handmade holiday spirit to your celebrations!
Skill Level: Intermediate
Finished Size: Approx. 15 cm (6 inches) tall
Materials Needed:
- Yarn:
- Red (for Santa’s suit and hat)
- White (for trim and beard)
- Black (for boots and belt)
- Beige or pink (for face and hands)
- Yellow (for belt buckle)
- Hook: 2.5mm (adjust based on your yarn weight)
- Polyfill stuffing
- 8 mm safety eyes
- Stitch marker
- Yarn needle
Abbreviations (US terms):
- MR: Magic ring
- sc: Single crochet
- inc: Increase (2 sc in the same stitch)
- dec: Decrease (single crochet two stitches together)
- ch: Chain
- sl st: Slip stitch
Pattern Instructions
Head:
- MR, 6 sc in the ring. (6)
- Inc in each st around. (12)
- 1 sc, inc around. (18)
- 2 sc, inc around. (24)
- 3 sc, inc around. (30)
6-12. Sc in each st around. (30) - 3 sc, dec around. (24)
- 2 sc, dec around. (18)
- 1 sc, dec around. (12)
- Dec around. (6)
- Fasten off and stuff firmly.
Body:
- MR, 6 sc in the ring. (6)
- Inc in each st around. (12)
- 1 sc, inc around. (18)
- 2 sc, inc around. (24)
5-9. Sc in each st around. (24) - 2 sc, dec around. (18)
11-12. Sc in each st around. (18)
- Fasten off and stuff firmly.
Legs (Make 2):
- Start with black yarn: MR, 6 sc in the ring. (6)
- Inc in each st around. (12)
3-4. Sc in each st around. (12) - Switch to red yarn, sc in each st around. (12)
6-8. Sc in each st around. (12)
- Fasten off and lightly stuff.
Arms (Make 2):
- Start with beige or pink yarn: MR, 6 sc in the ring. (6)
- 1 sc, inc around. (9)
3-5. Sc in each st around. (9) - Switch to red yarn, sc in each st around. (9)
7-10. Sc in each st around. (9)
- Fasten off and lightly stuff.
Hat:
- Start with red yarn: MR, 4 sc in the ring. (4)
- 1 sc, inc around. (6)
- 1 sc, inc around. (9)
- 2 sc, inc around. (12)
5-10. Continue increasing (1 more sc between inc each round) until the hat circumference fits the head. - Sc in each st around.
- Add a trim in white: sc in each st.
Assembly:
- Sew the head to the body.
- Attach the arms to the sides of the body.
- Sew the legs to the bottom of the body.
- Attach the hat to the top of the head.
- Add the safety eyes between rounds 5 and 6 of the head, approx. 6 stitches apart.
- Embroider a smile below the eyes with black yarn.
Finishing Touches:
- Beard: Use white yarn to create loops around the lower half of the head, or attach small strands of yarn for a fringed look.
- Belt: With black yarn, chain a length to wrap around the body and sl st to join. Add a yellow square for the buckle.
- Pom-pom: Make a small white pom-pom and attach it to the tip of the hat.
Your Santa Claus amigurumi is ready to spread holiday cheer!🎅
