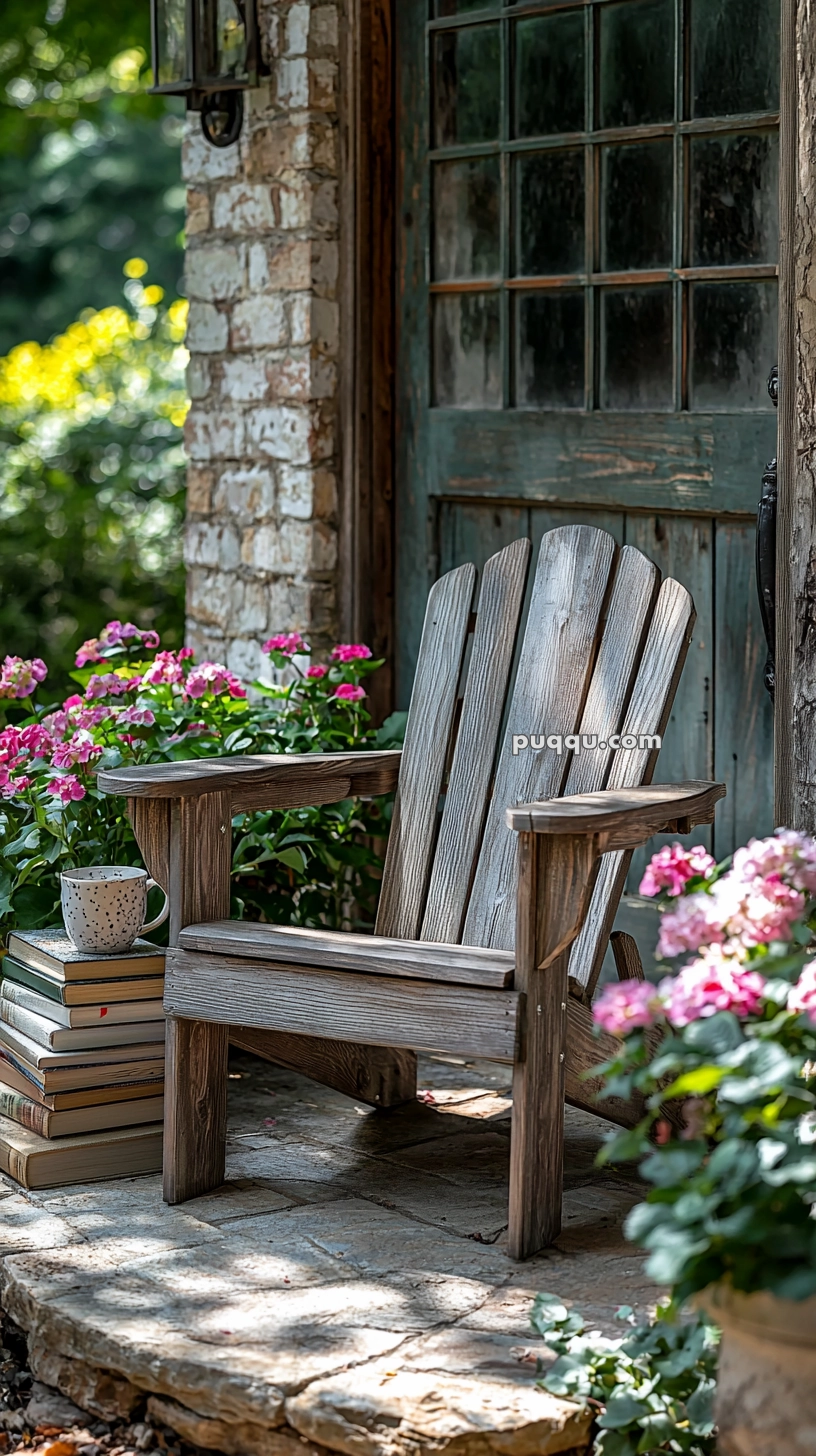
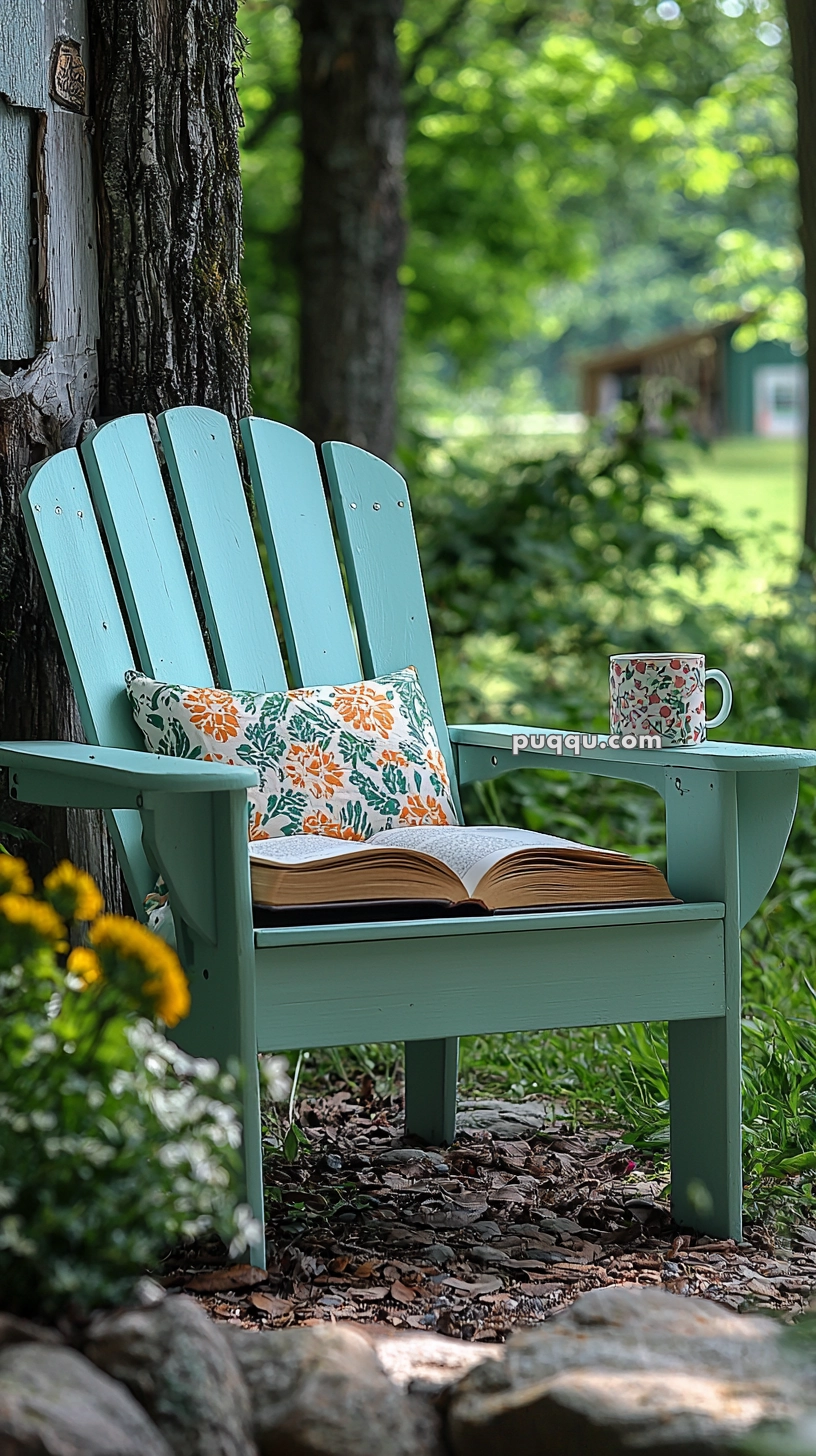
There’s nothing quite like lounging in a classic Adirondack chair—its wide arms, slanted back, and sturdy wooden structure scream comfort and charm. The best part? You don’t need to be a master carpenter to build one. With the right tools, a weekend of free time, and a little patience, you can create a beautiful, durable Adirondack chair for your porch, patio, or backyard.
This guide breaks down everything you need to know about how to build an Adirondack chair step-by-step. Whether you’re a seasoned DIYer or just getting started, you’ll find this project both fun and rewarding.
Why Build an Adirondack Chair?
- ✅ Budget-Friendly – Costs less than store-bought versions
- ✅ Customizable – Choose your own wood, stain, and size
- ✅ Satisfying DIY – Great weekend woodworking project
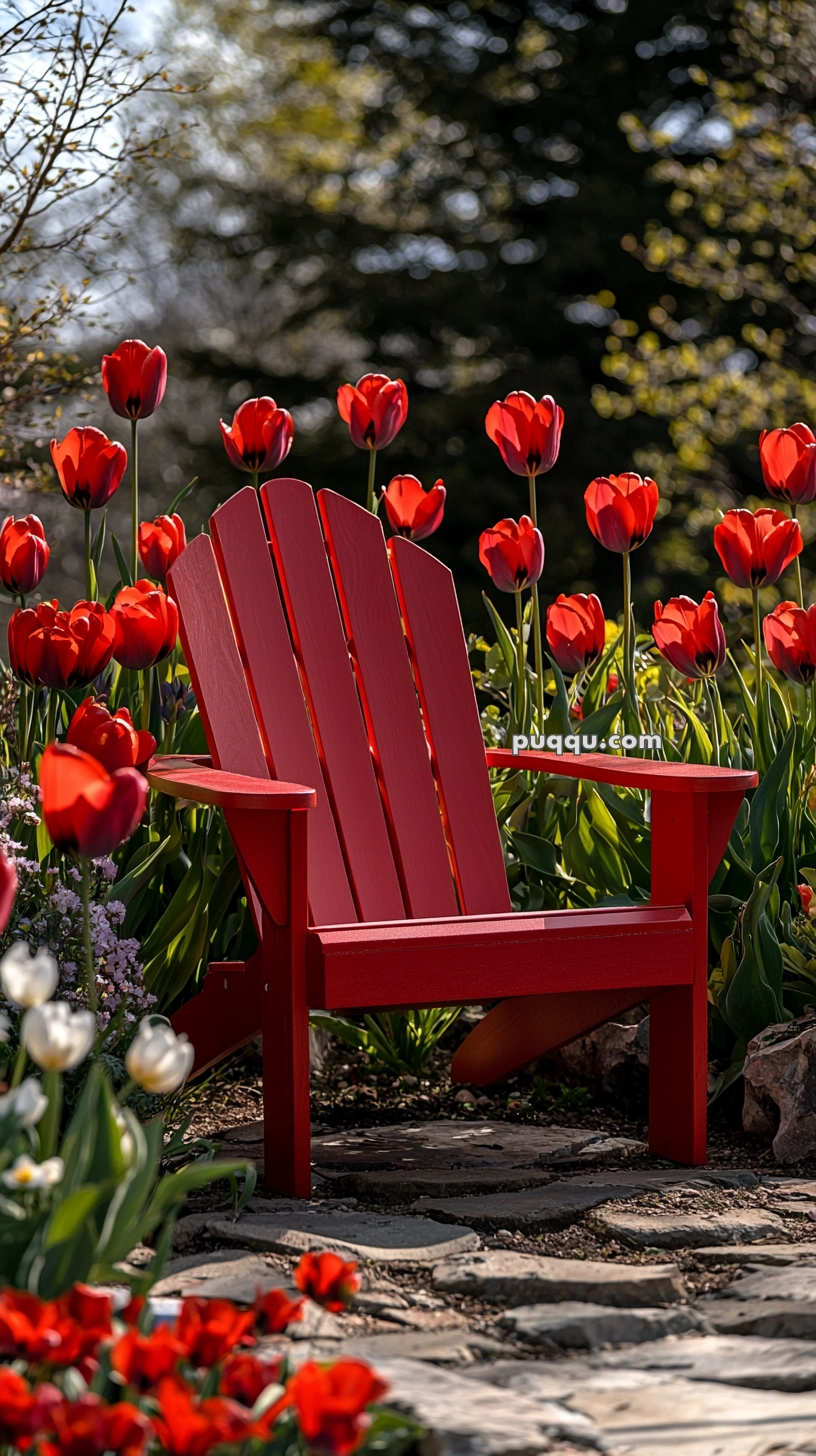
- ✅ Perfect Outdoor Seating – Cozy and timeless
Tools and Materials You’ll Need
Before you dive in, make sure you’ve got the right supplies.
🧰 Tools:
- Circular saw or miter saw
- Jigsaw
- Drill and bits
- Sander or sanding block
- Clamps
- Measuring tape
- Pencil
- Safety gear (gloves, goggles)
🪵 Materials:
- 1×4, 1×6, and 2×4 pressure-treated or cedar boards
- 1 ¼” and 2” exterior wood screws
- Waterproof wood glue (optional)
- Outdoor wood stain or paint
- Wood filler (optional for smoothing screw holes)
💡 Tip: Cedar and redwood are great for outdoor durability and aesthetics.
Adirondack Chair Dimensions (Standard Guide)
- Seat height: ~16 inches
- Seat width: ~22 inches
- Back height: ~32–36 inches
- Armrest height: ~24 inches from the ground
Use these dimensions as a general reference, but adjust based on personal comfort.
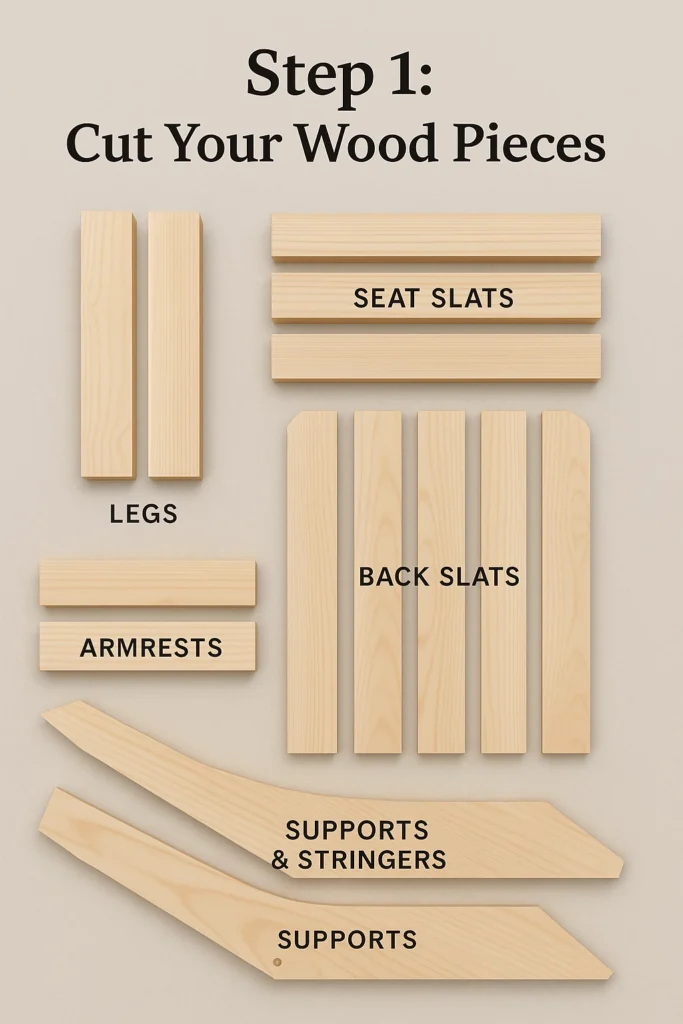
Step 1: Cut Your Wood Pieces
Start by cutting all your wooden parts to size:
- Legs – 2 pieces (front supports, usually 2x4s)
- Seat slats – 5–6 pieces (1x4s or 1x6s)
- Back slats – 5–7 curved pieces
- Armrests – 2 wide pieces (around 20–24 inches)
- Supports & stringers – Angled to create the chair’s laid-back position
Use a jigsaw for curves on the back slats and a circular saw or miter saw for clean straight cuts.
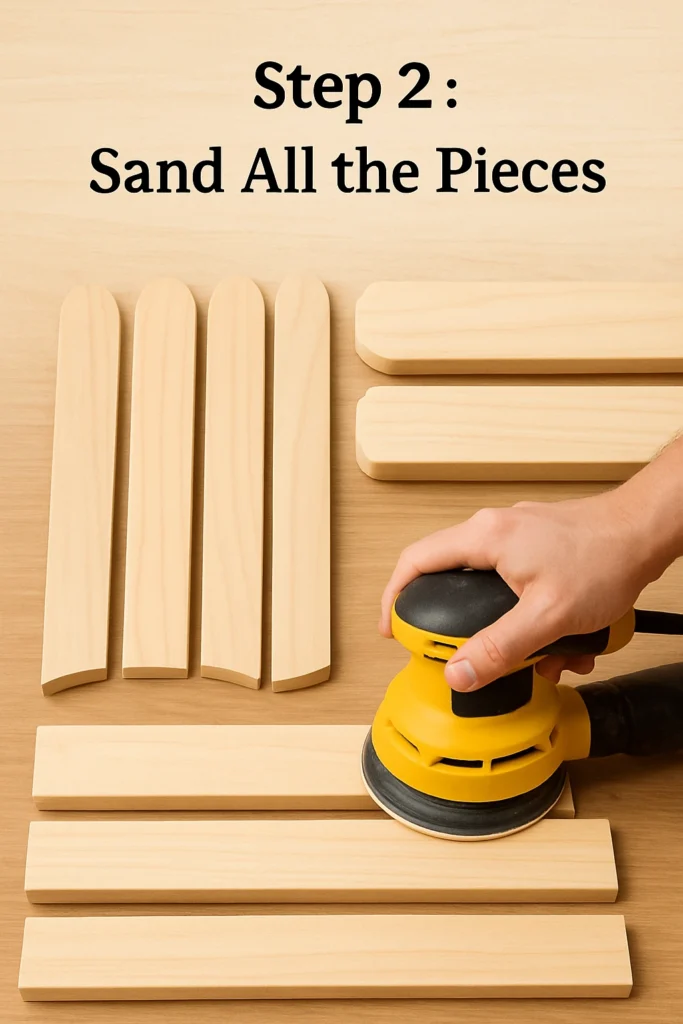
Step 2: Sand All the Pieces
Once cut, sand every piece to smooth out rough edges and splinters. Start with 80-grit and finish with 120-grit sandpaper for a clean surface.
This step ensures your chair is comfortable to touch and safe to use.
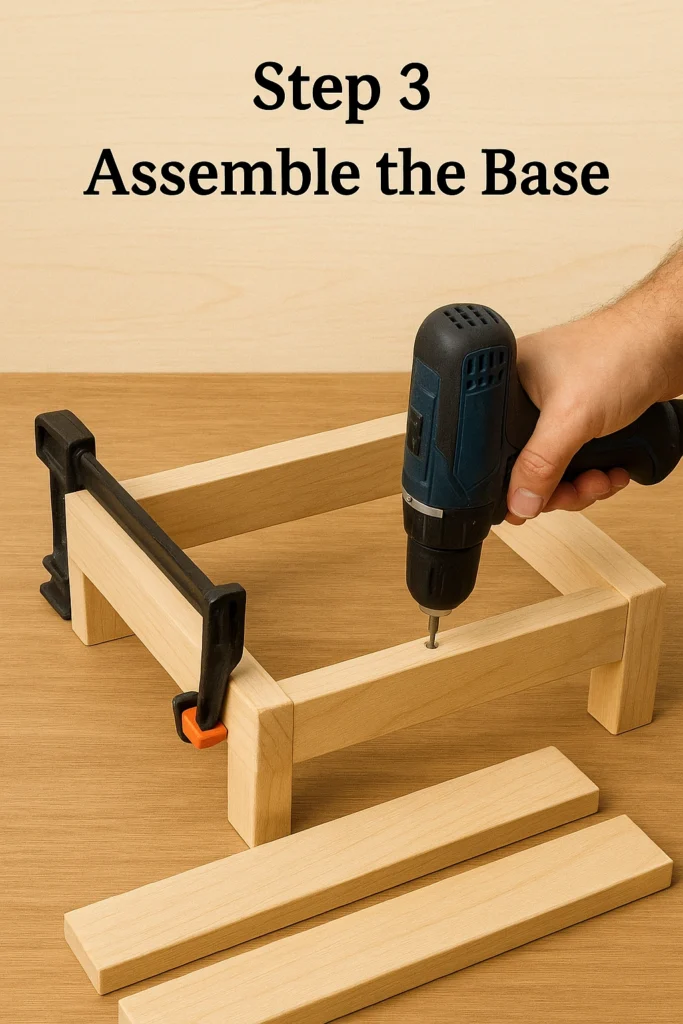
Step 3: Assemble the Base
- Attach the front legs to the seat supports using wood screws.
- Make sure the legs are level and flush with the base.
- Use clamps to hold the frame in place while drilling.
This creates the core structure for your seat and backrest to attach later.
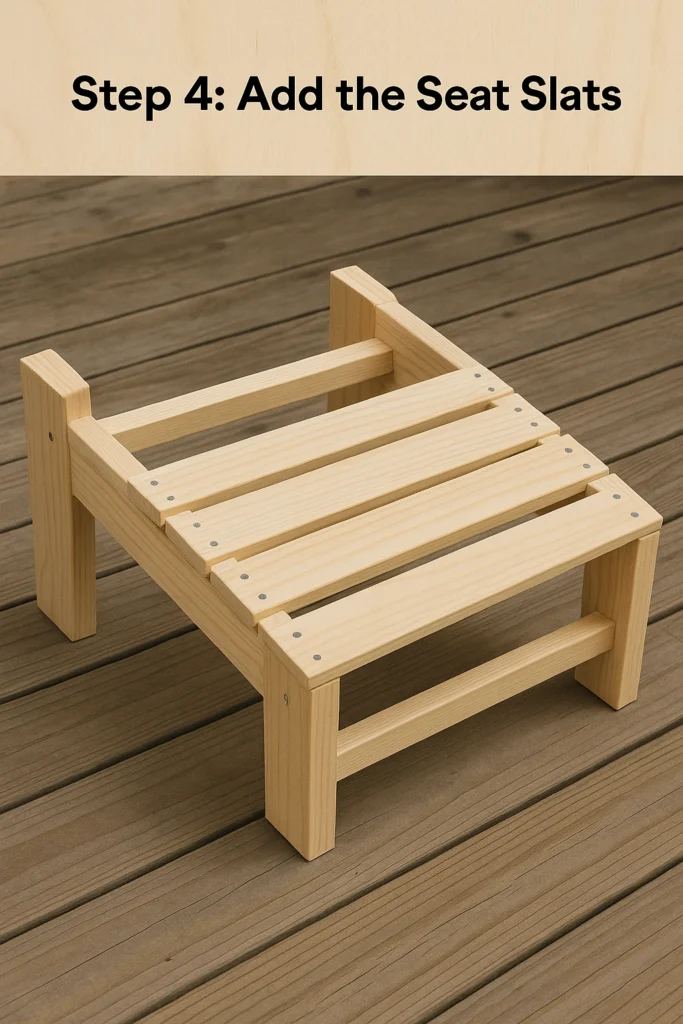
Step 4: Add the Seat Slats
- Space the slats evenly across the seat supports.
- Use 1/4″ spacing between slats for drainage and flexibility.
- Screw each slat down with two screws at each end.
Double-check that the seat is flat and stable before moving on.
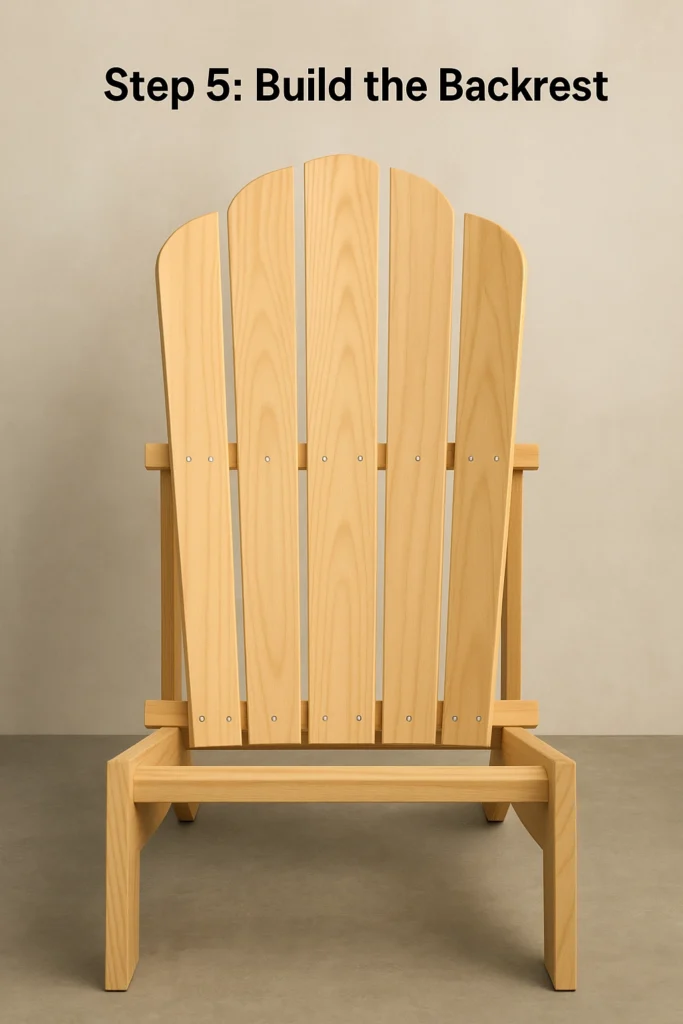
Step 5: Build the Backrest
- Attach your curved back slats to a horizontal brace at the bottom and another one midway.
- Keep spacing even and align the tallest slat in the center.
- Then, screw the entire backrest unit onto the rear legs or seat supports.
This step is where the iconic Adirondack curve comes to life!
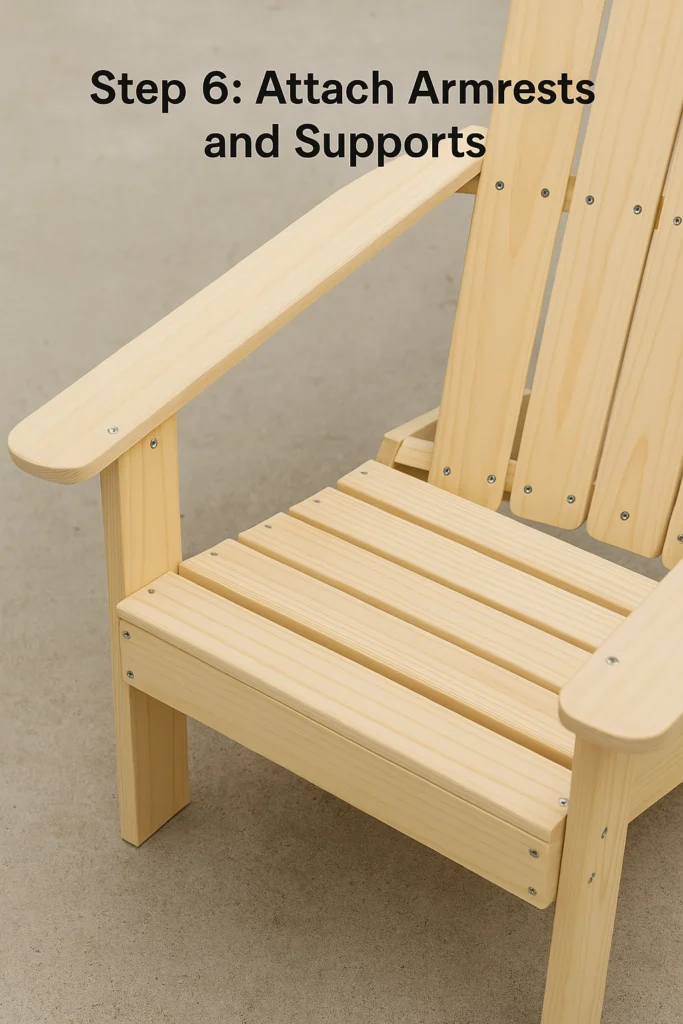
Step 6: Attach Armrests and Supports
- Attach the armrest supports to the front legs.
- Rest the armrests across the top, connecting to the back support.
- Secure with screws and wood glue for stability.
Make sure your armrests are even and securely fastened, as they’ll support a lot of weight over time.
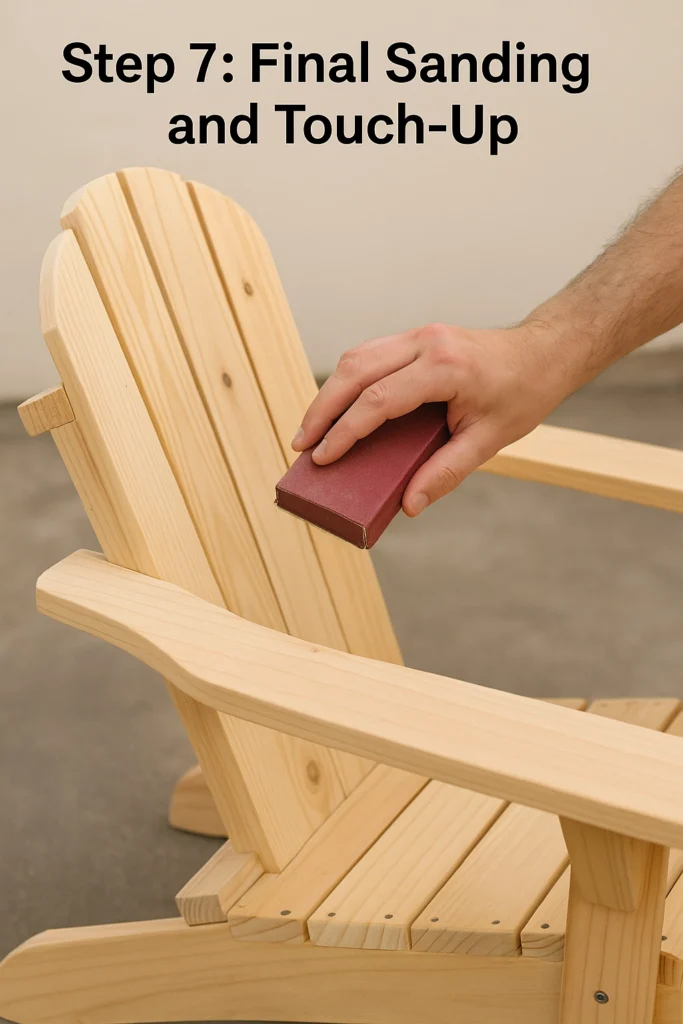
Step 7: Final Sanding and Touch-Up
Now that the structure is complete:
- Fill in screw holes with wood filler (optional)
- Do a final round of sanding for a smooth finish
- Wipe off dust with a damp cloth
Step 8: Stain or Paint the Chair
Choose a weatherproof outdoor stain or paint to protect your chair from sun and rain.
- Apply 1–2 coats with a brush
- Let dry completely between coats
- Don’t forget the underside and joints!
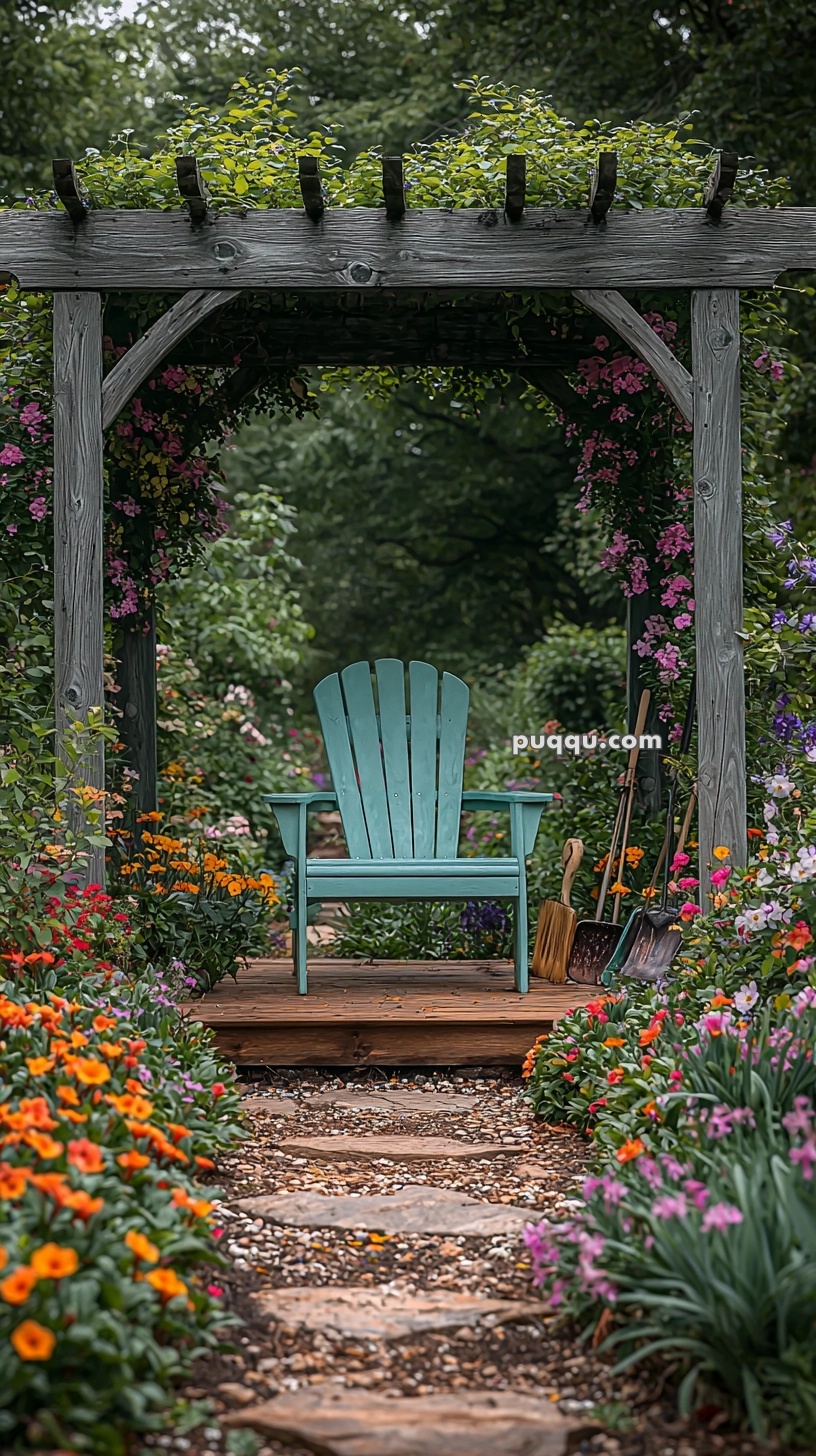
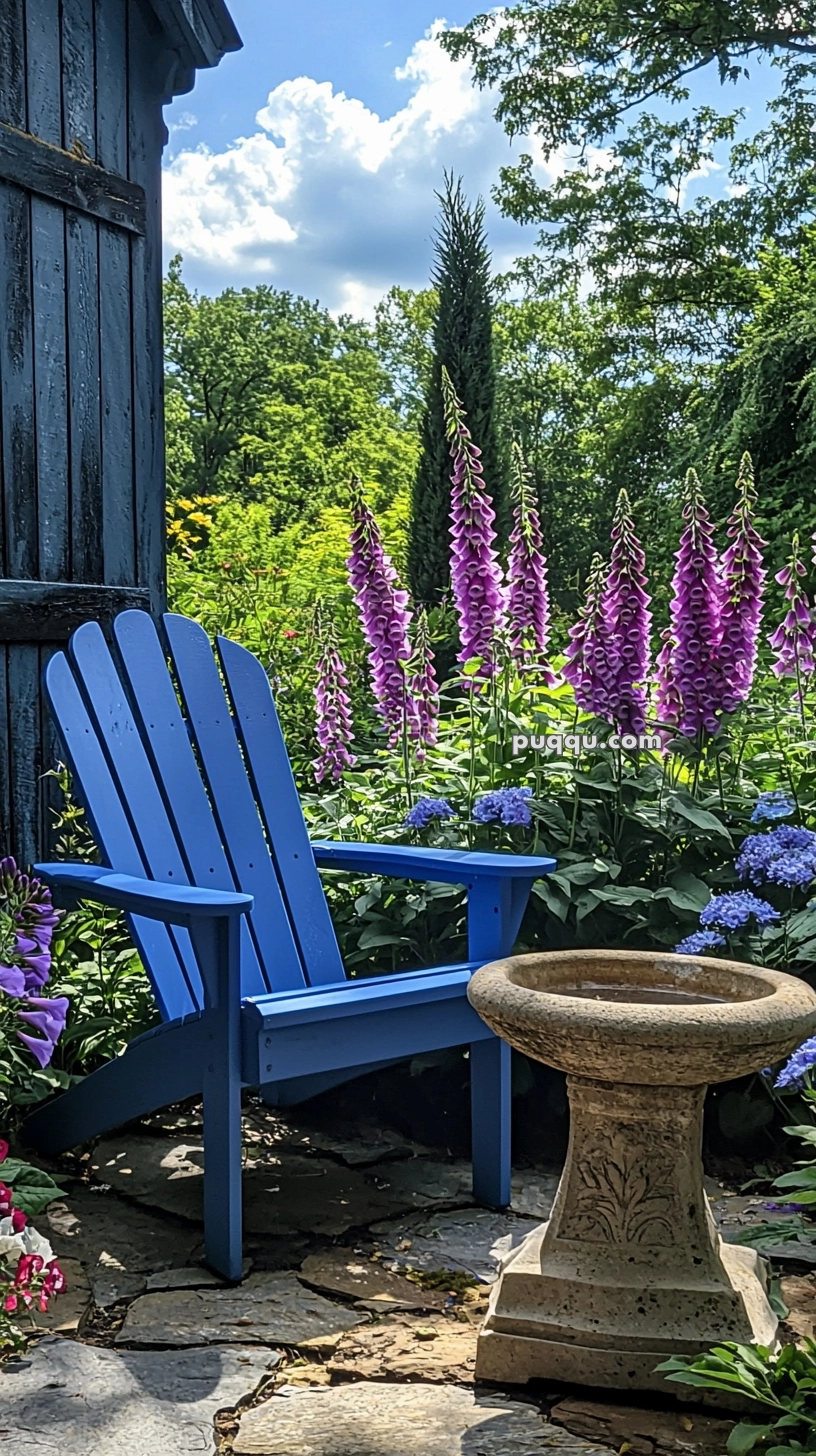
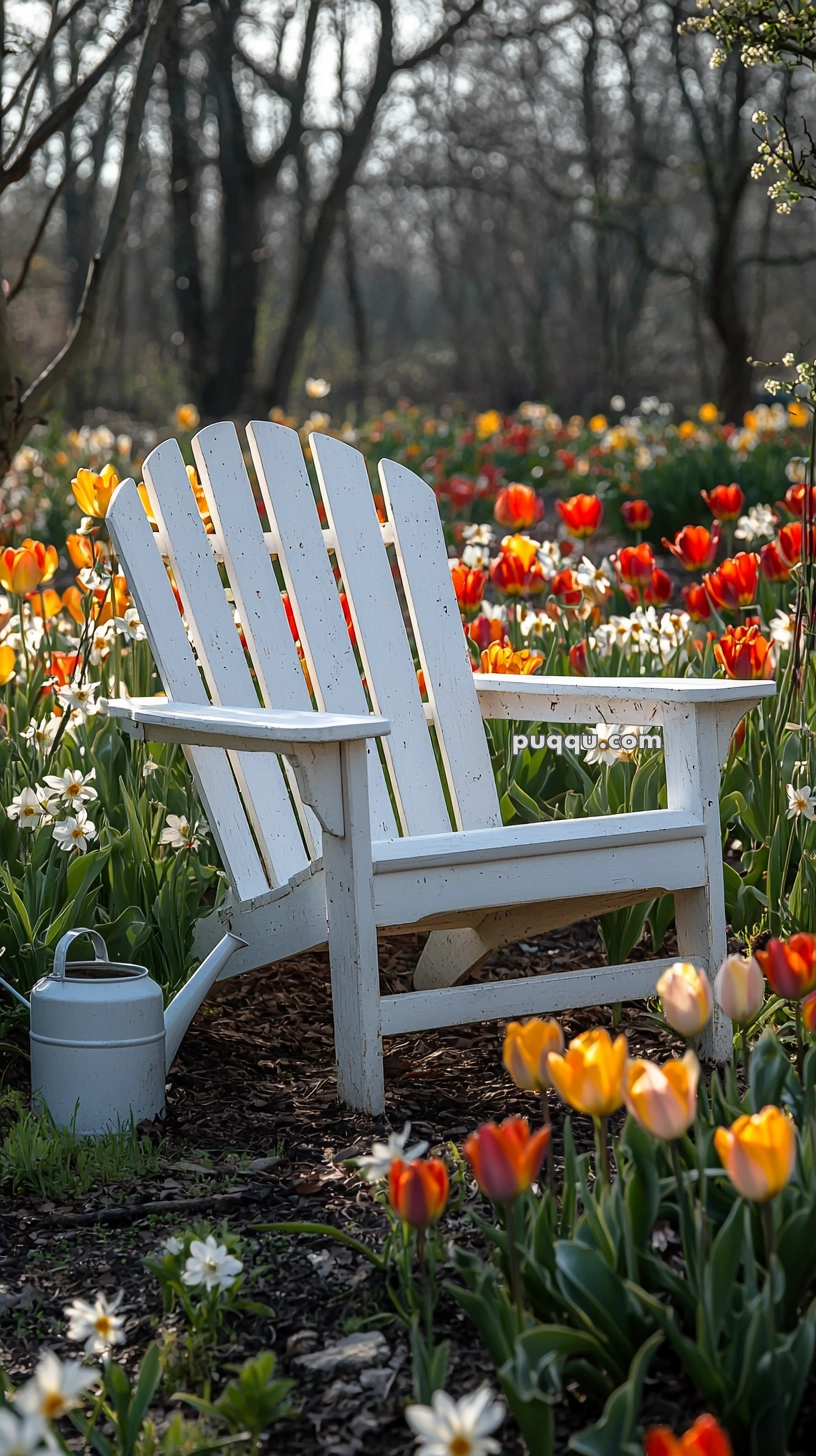
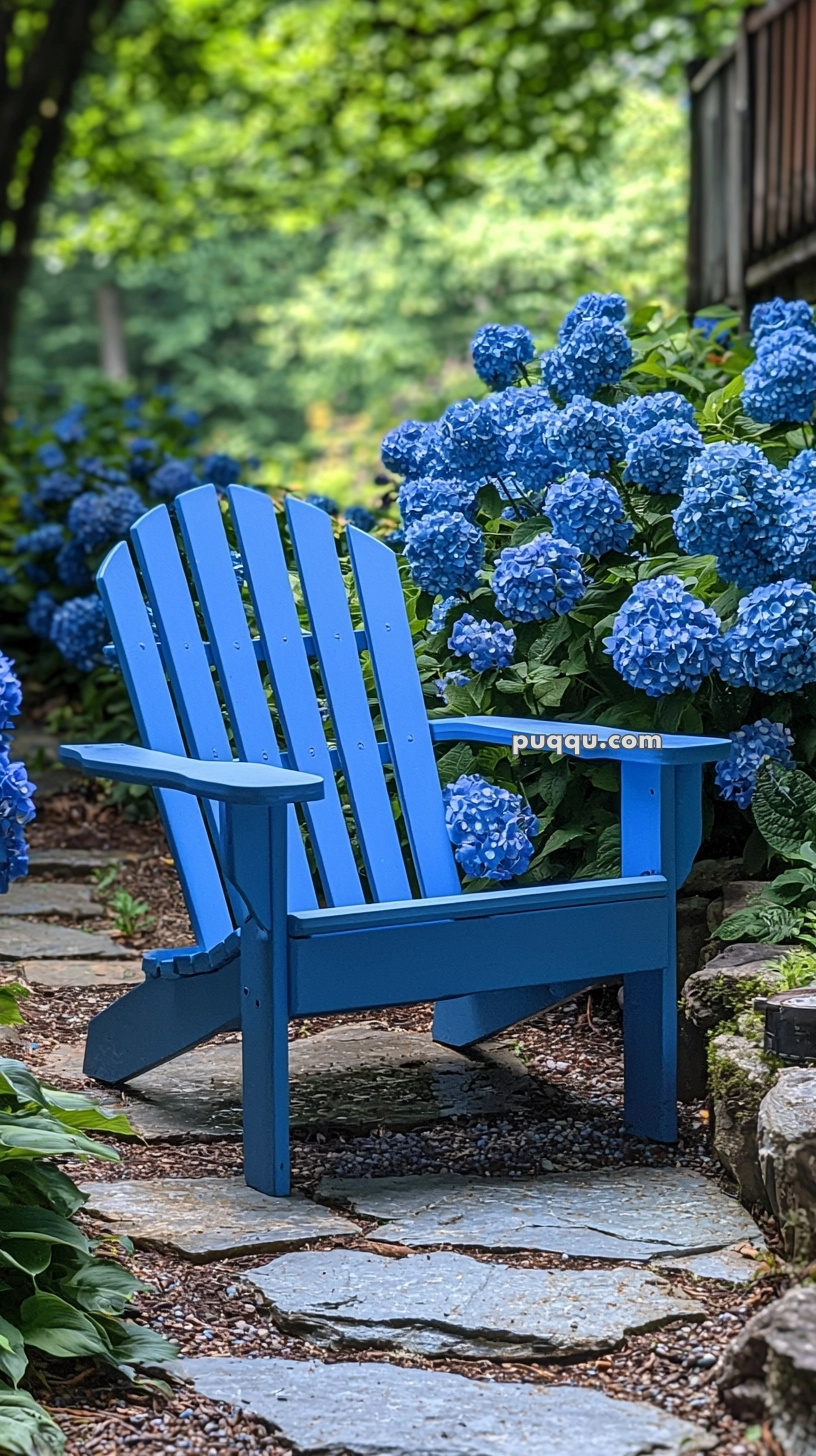
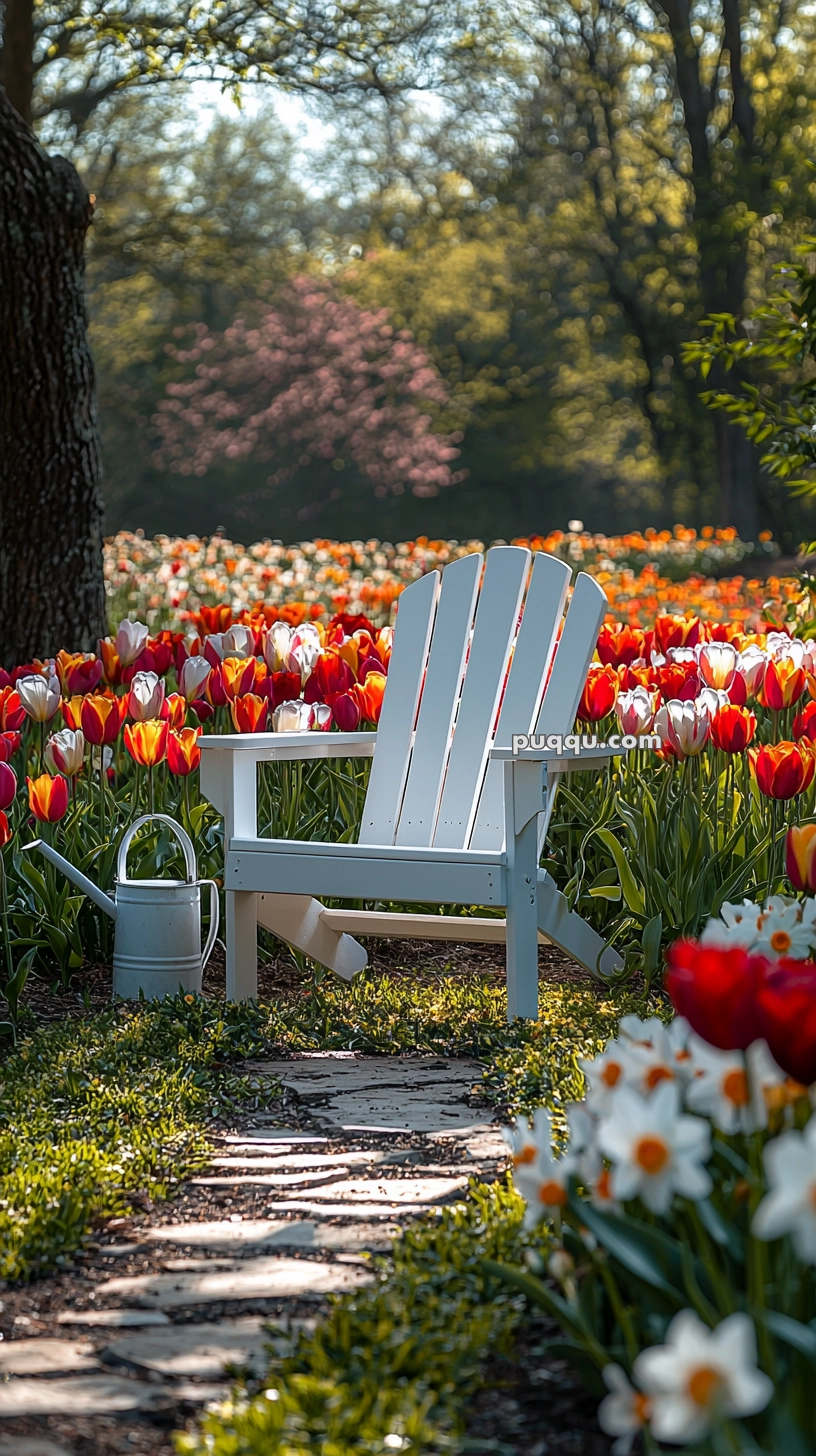
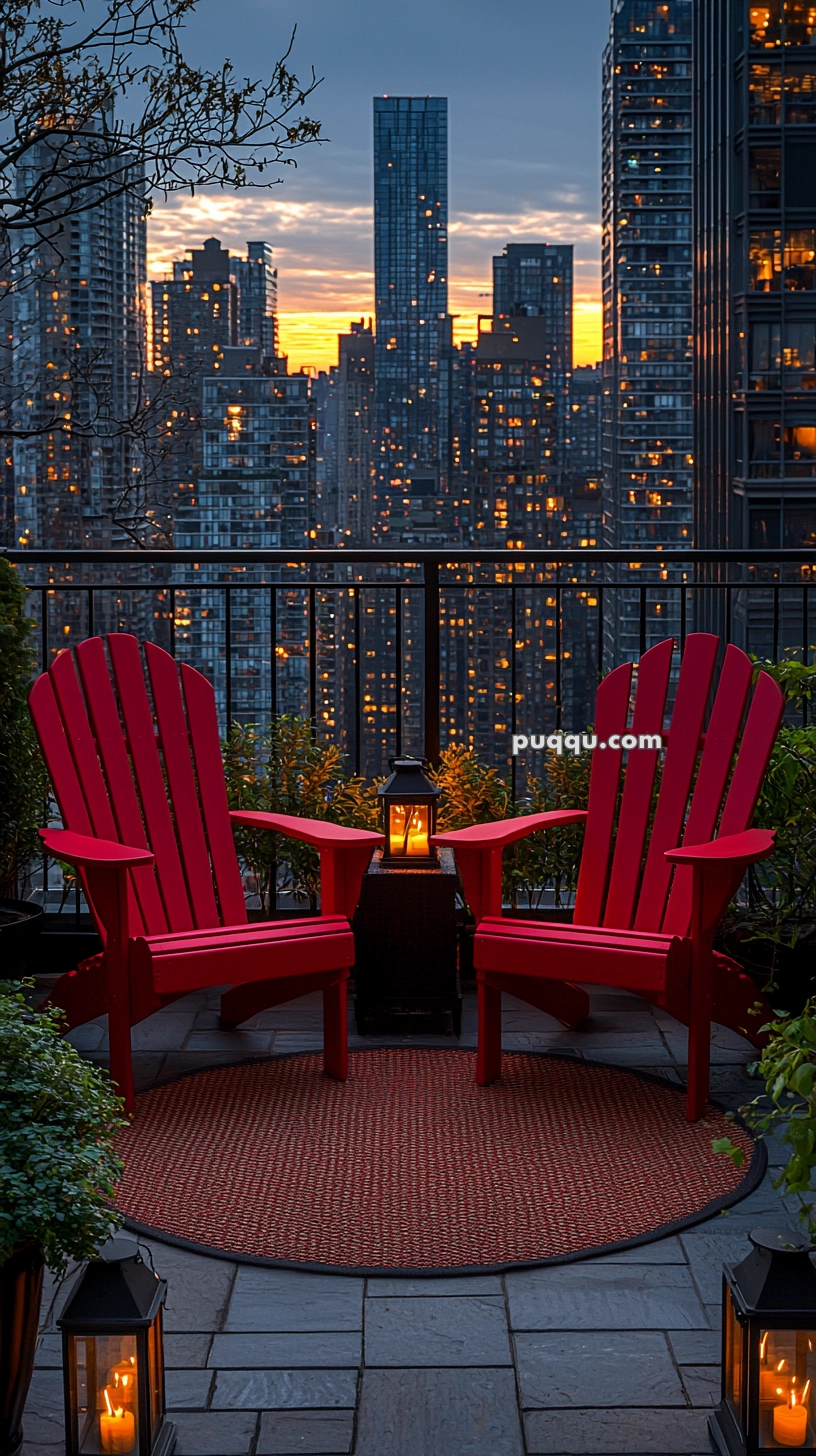
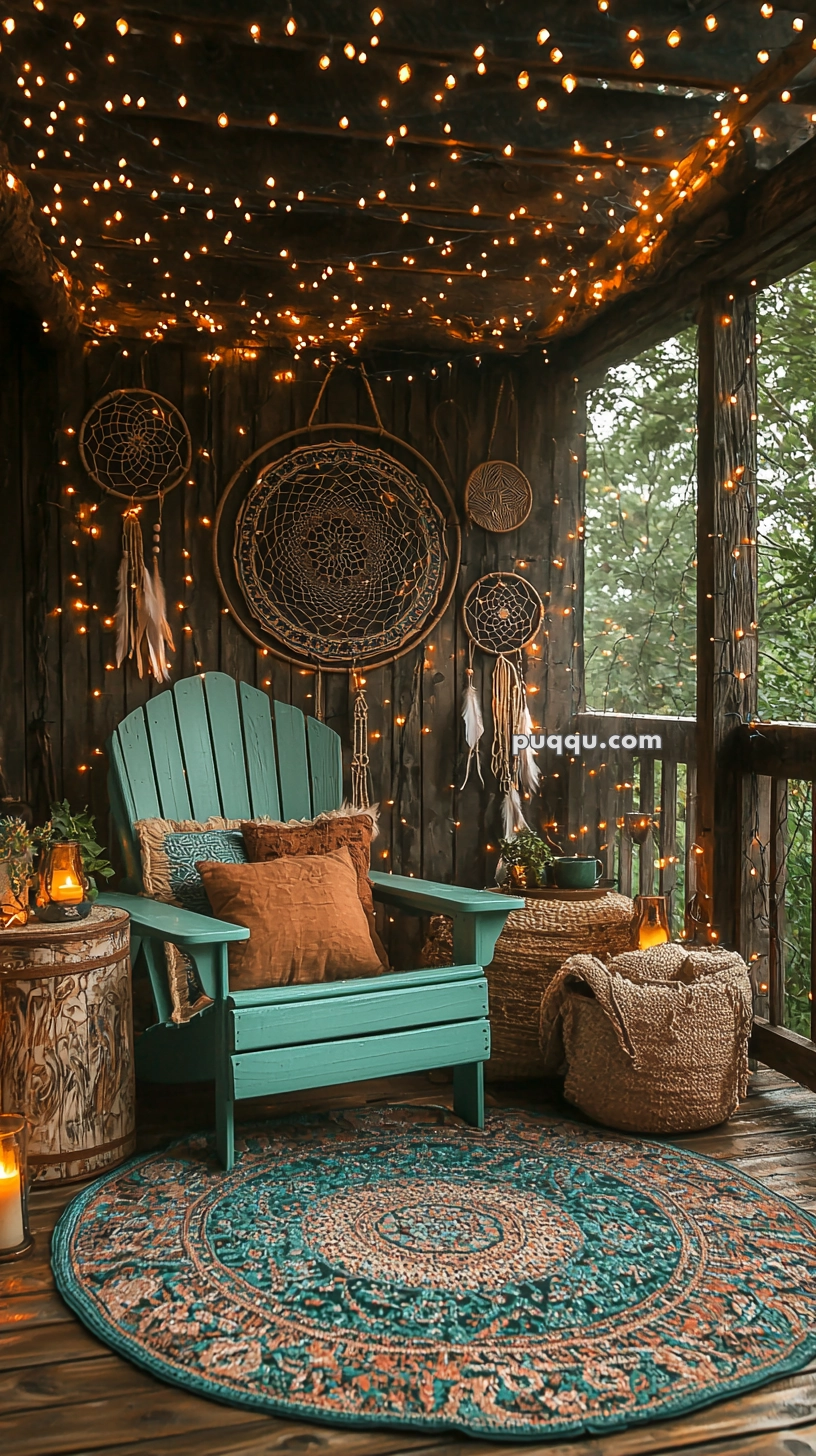
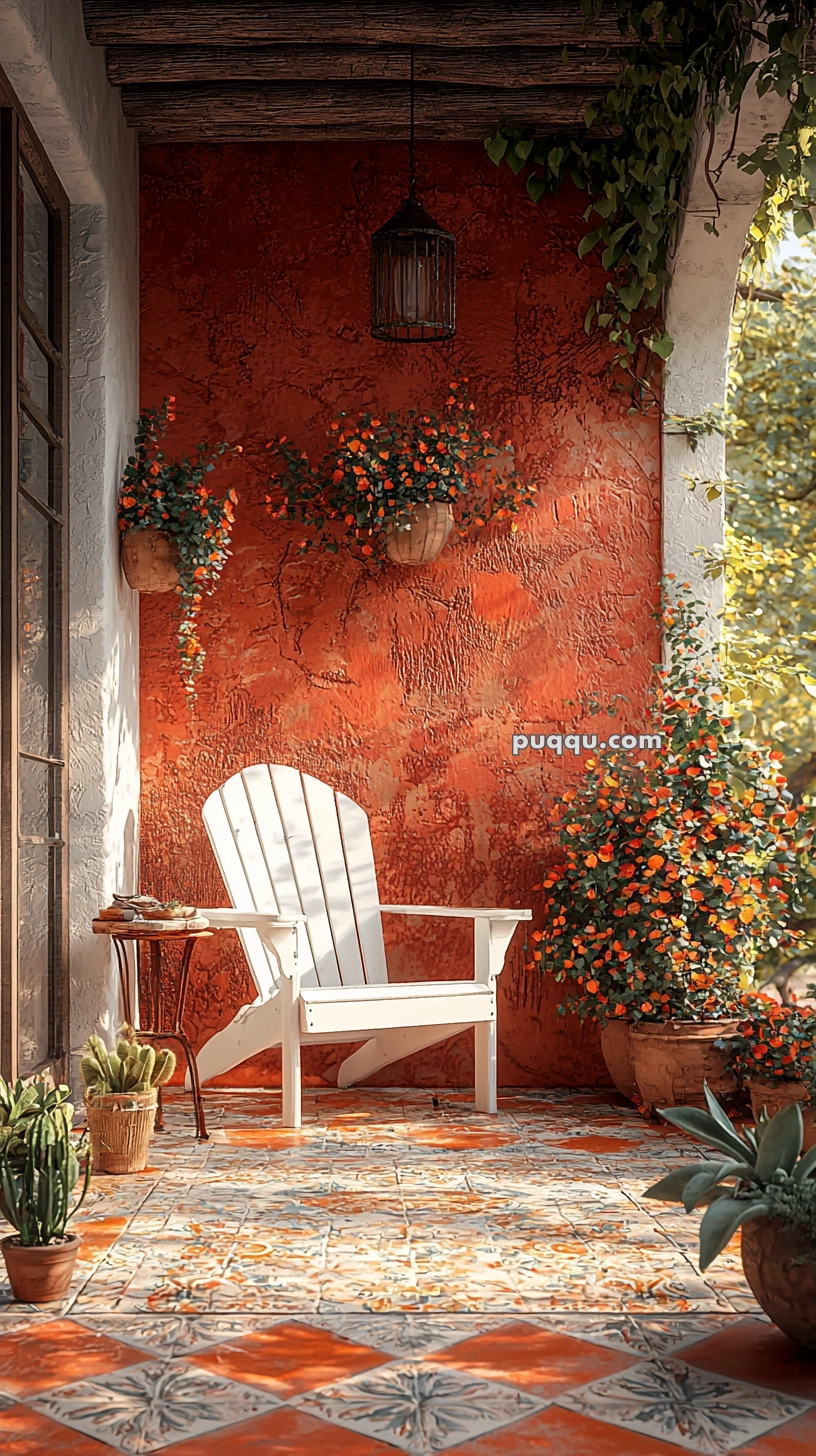
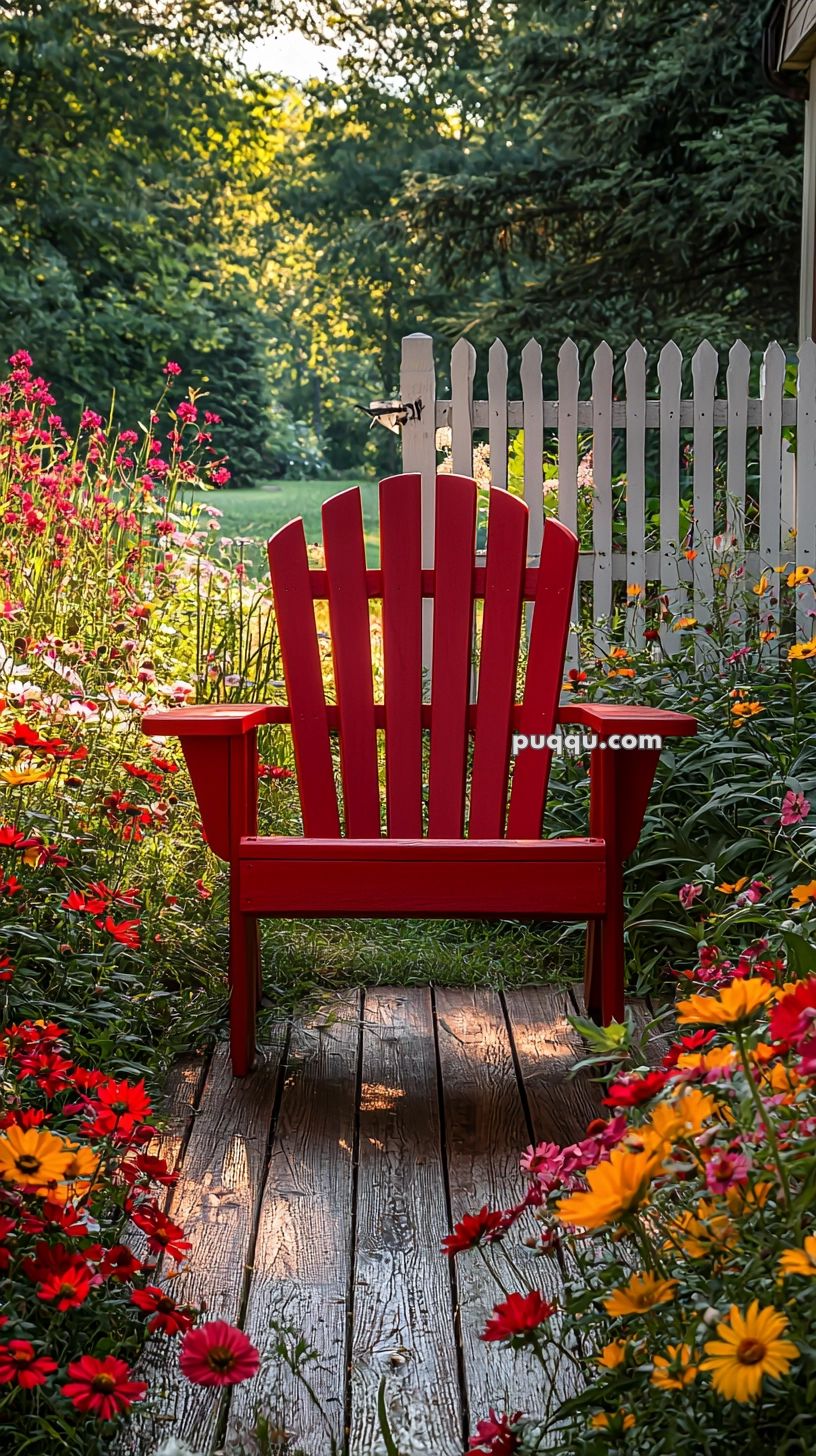
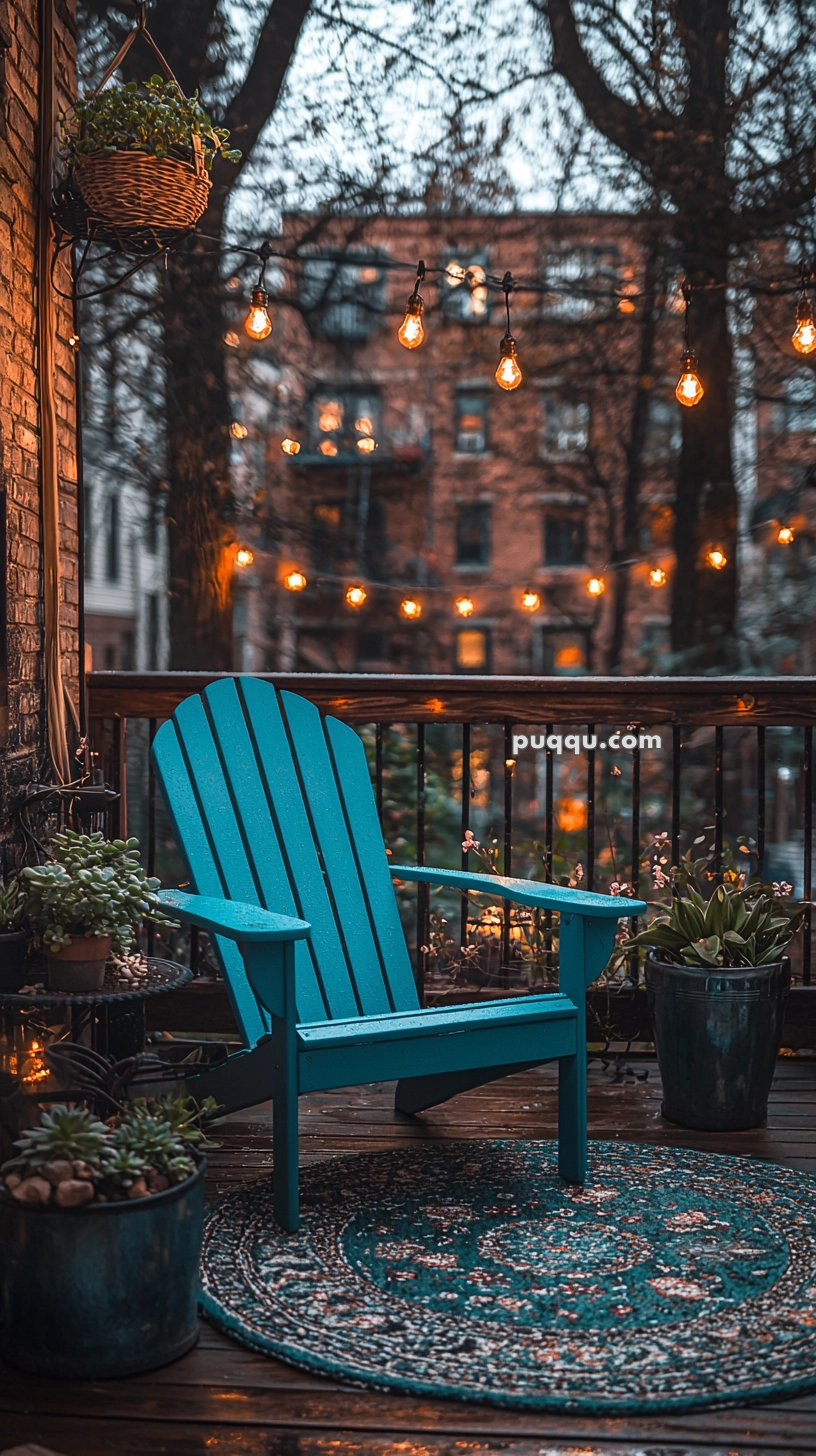
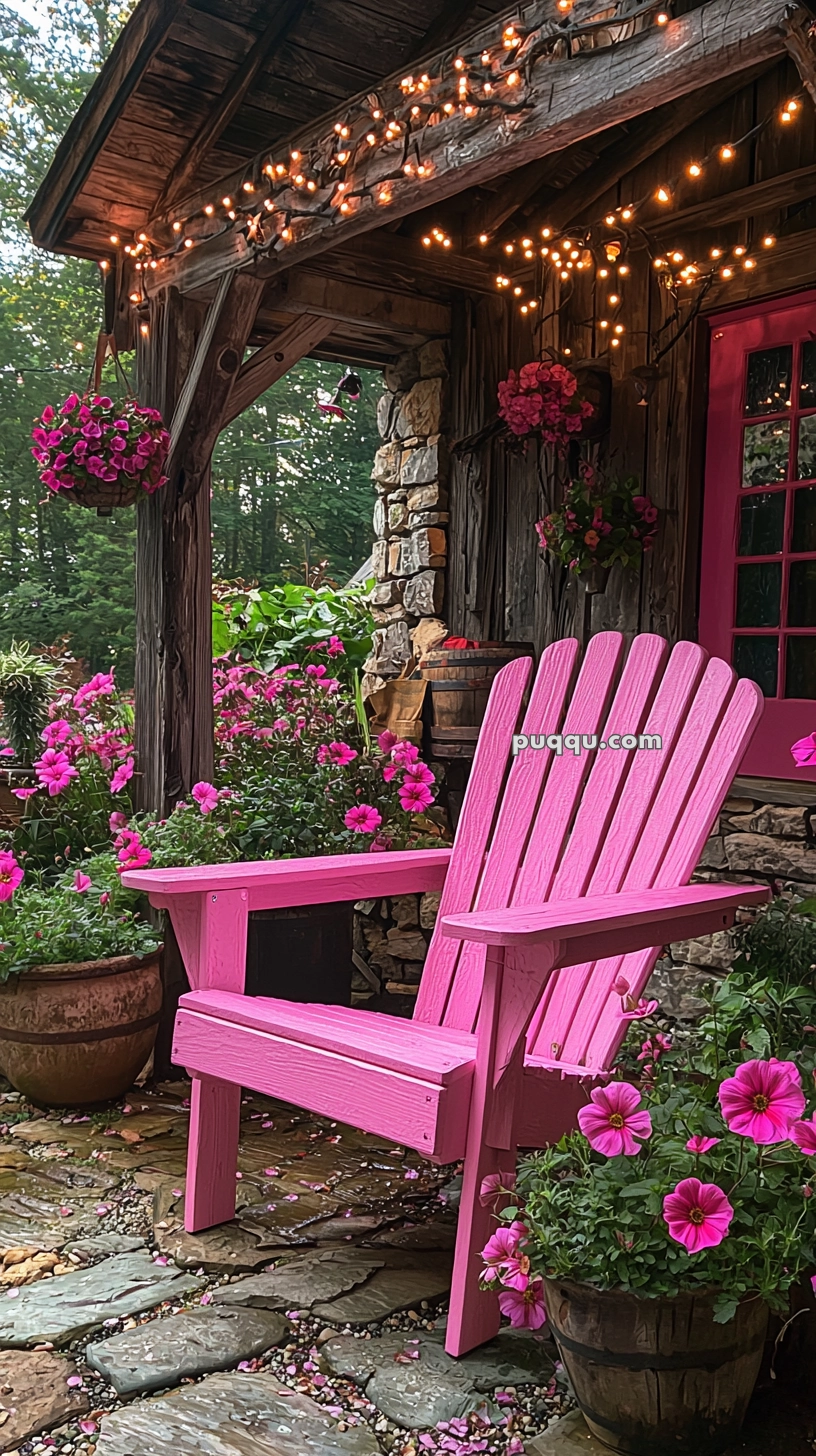
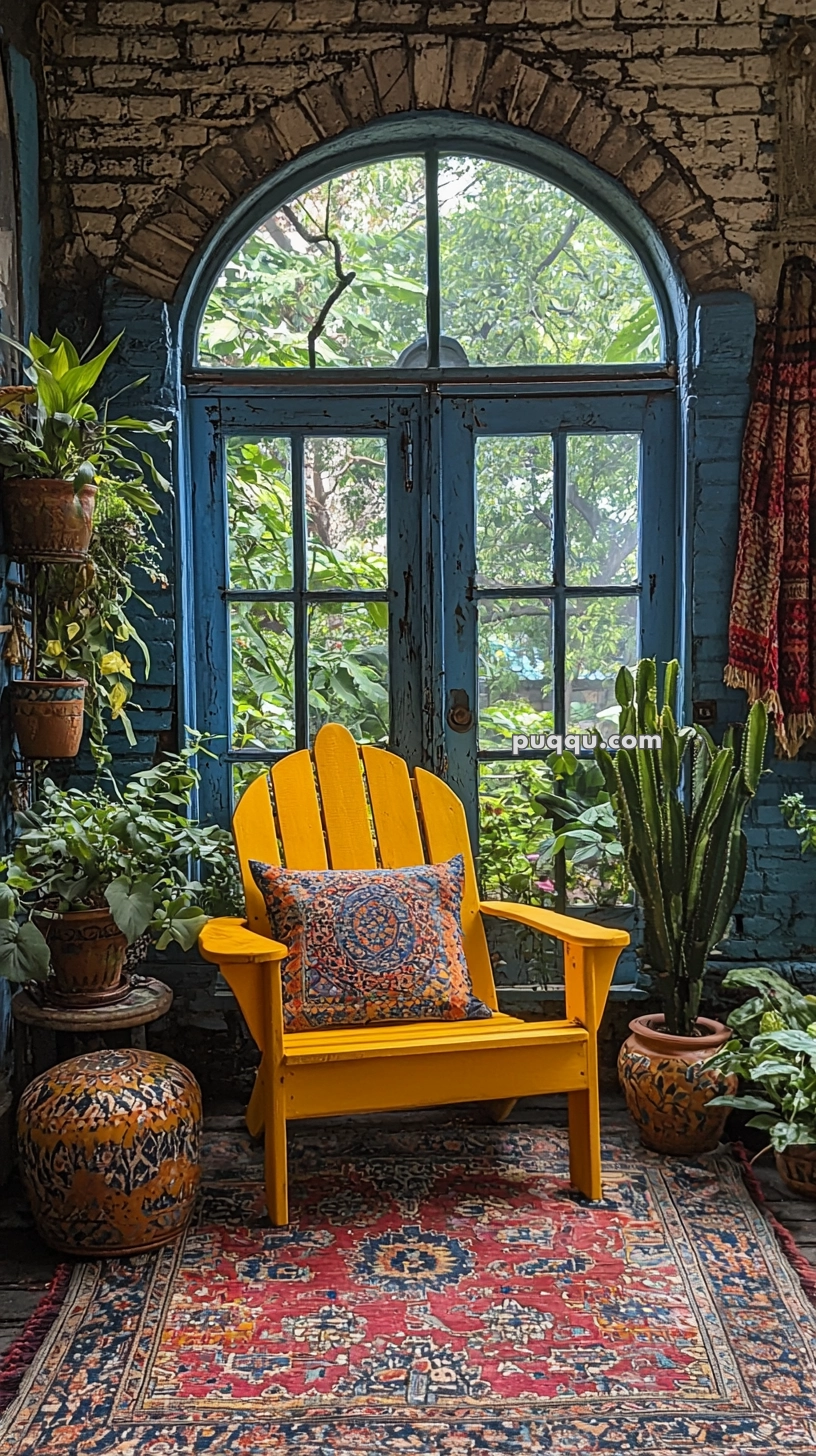
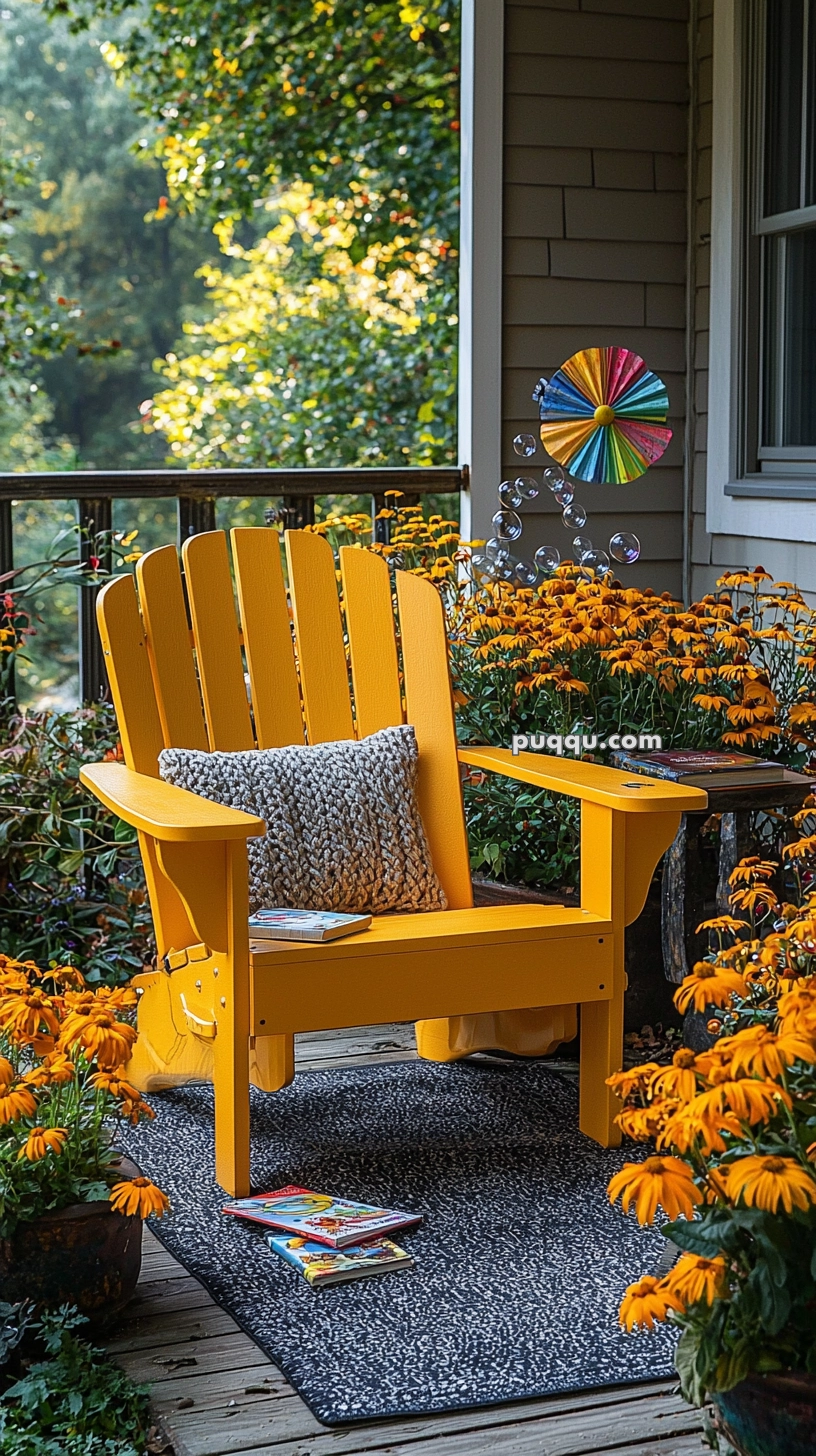
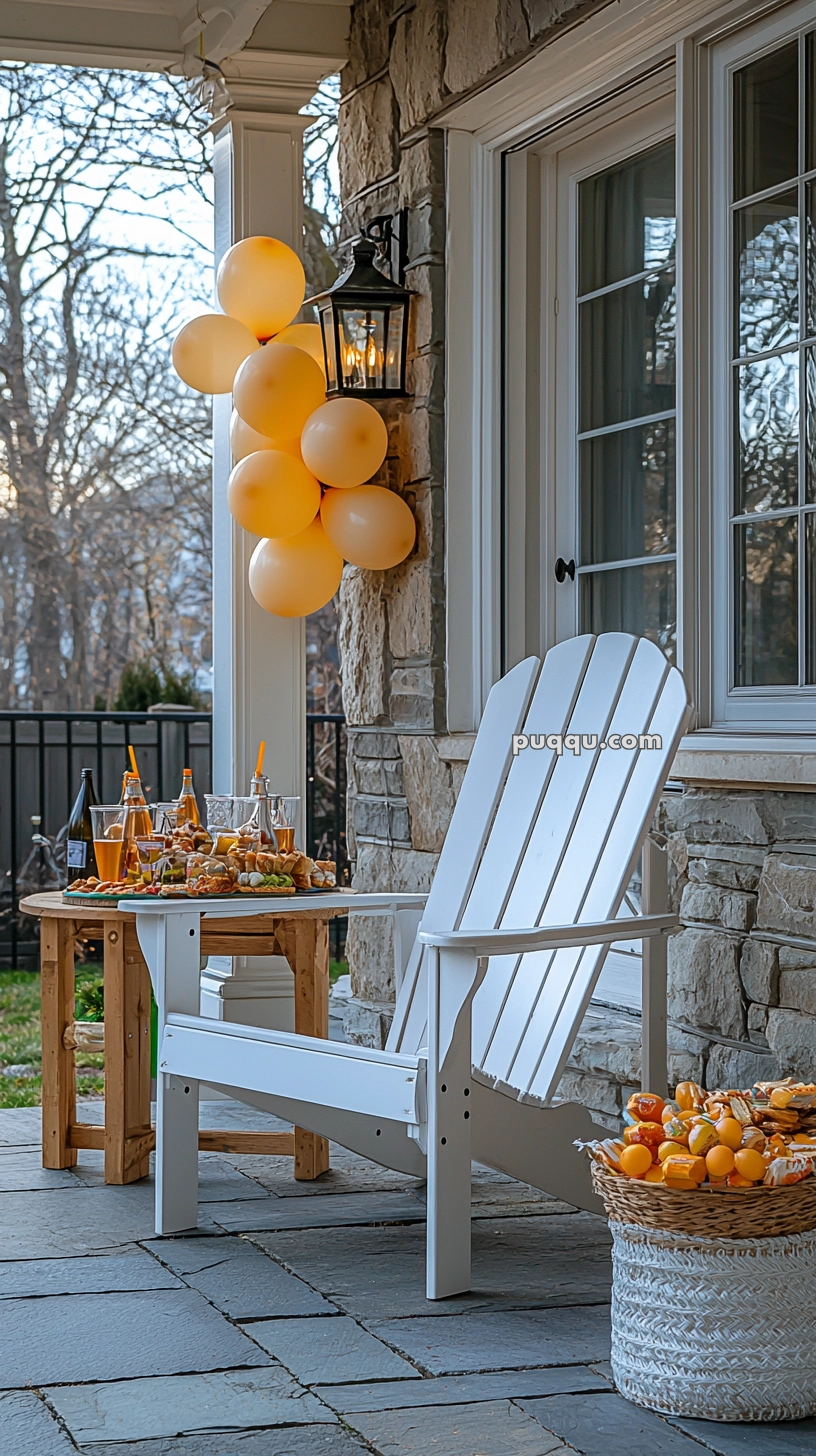
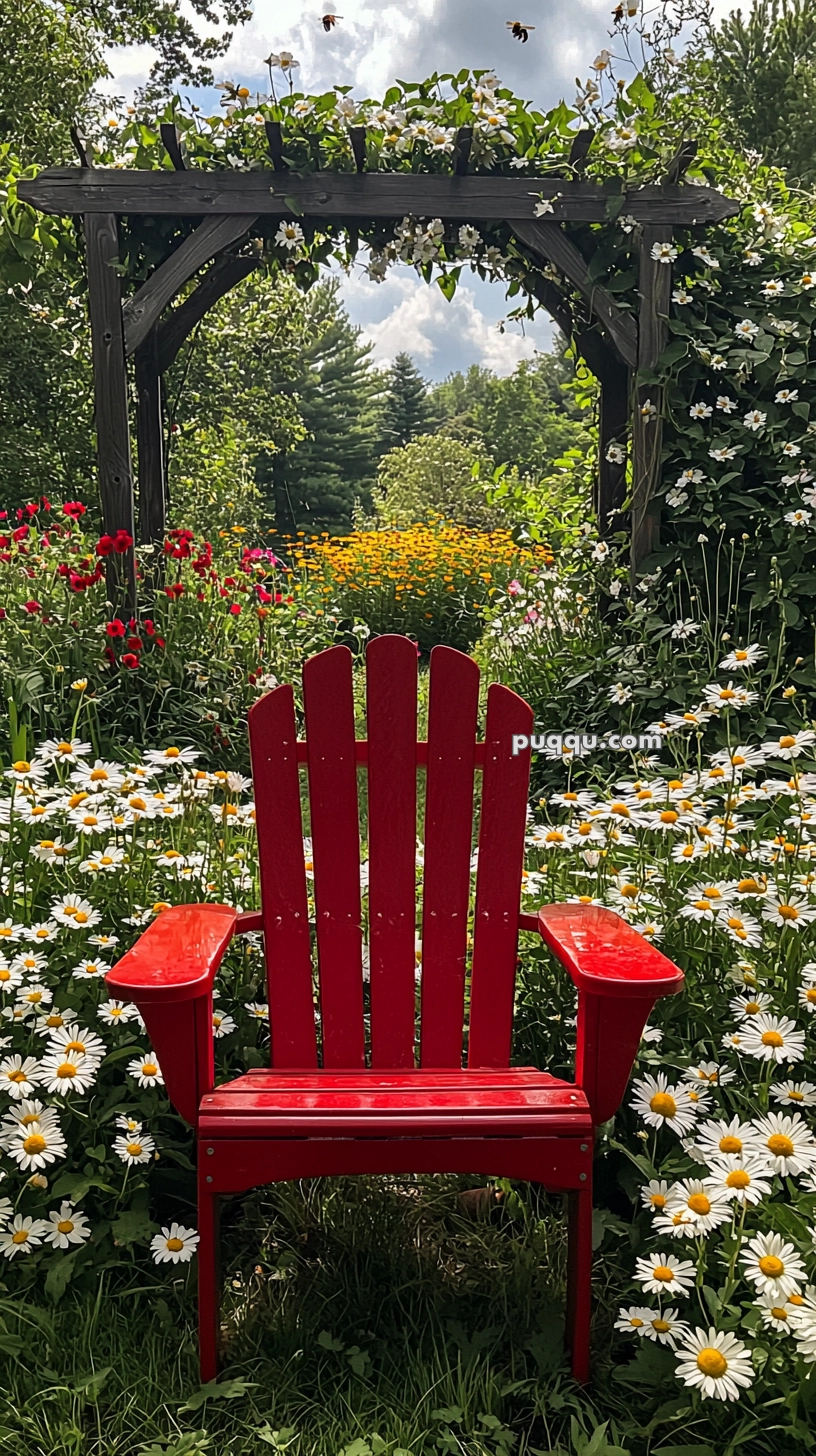
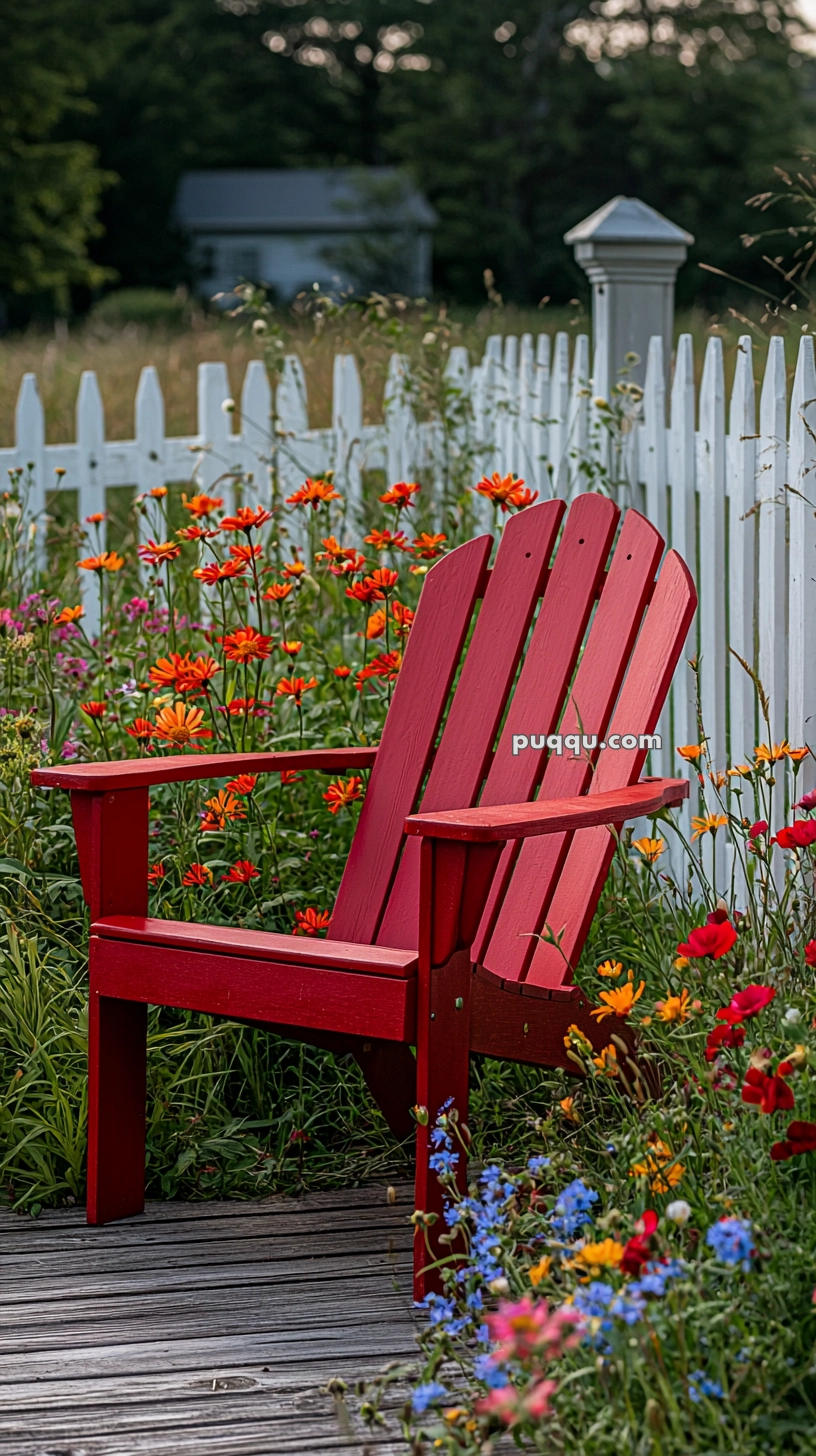
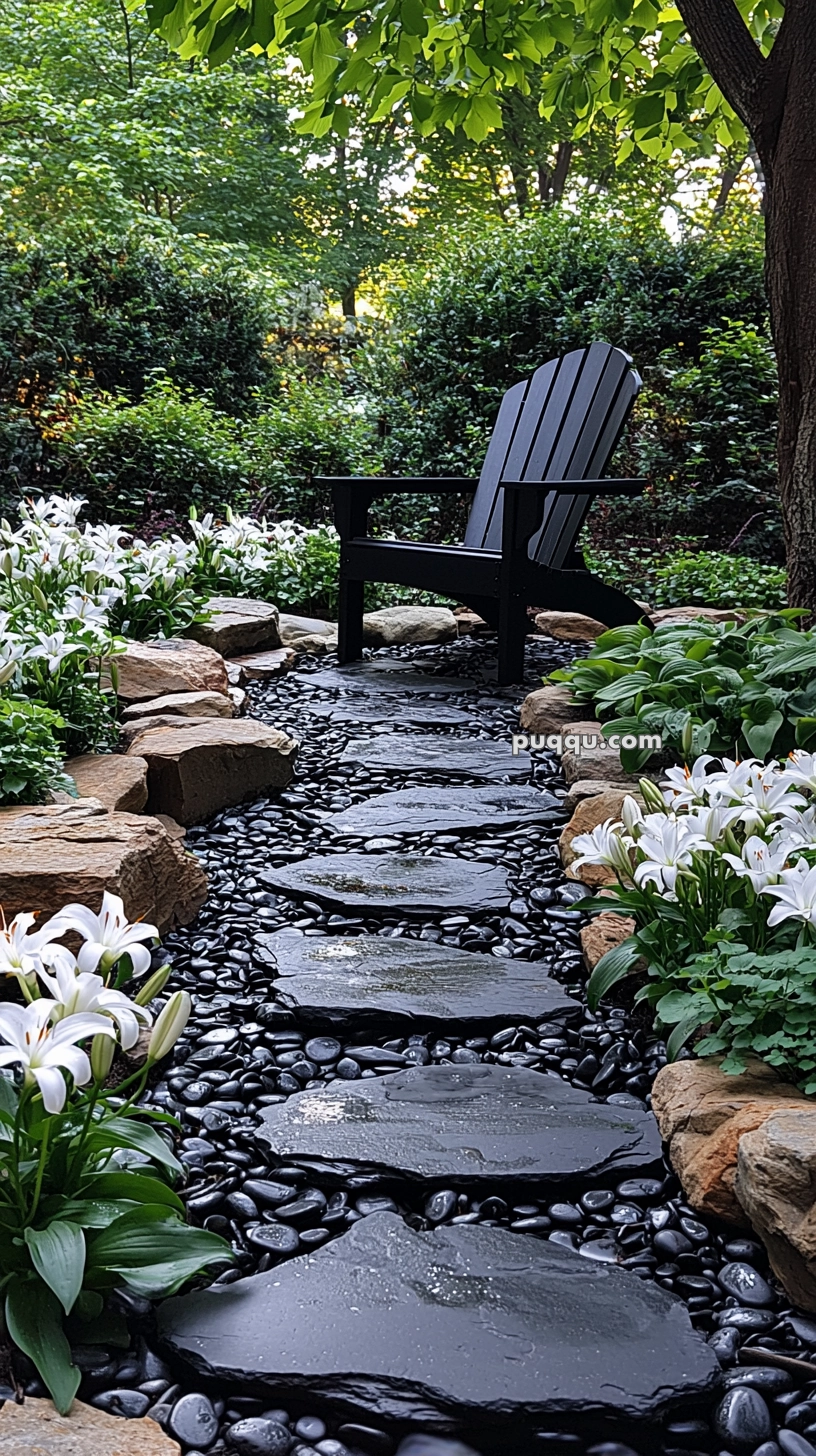
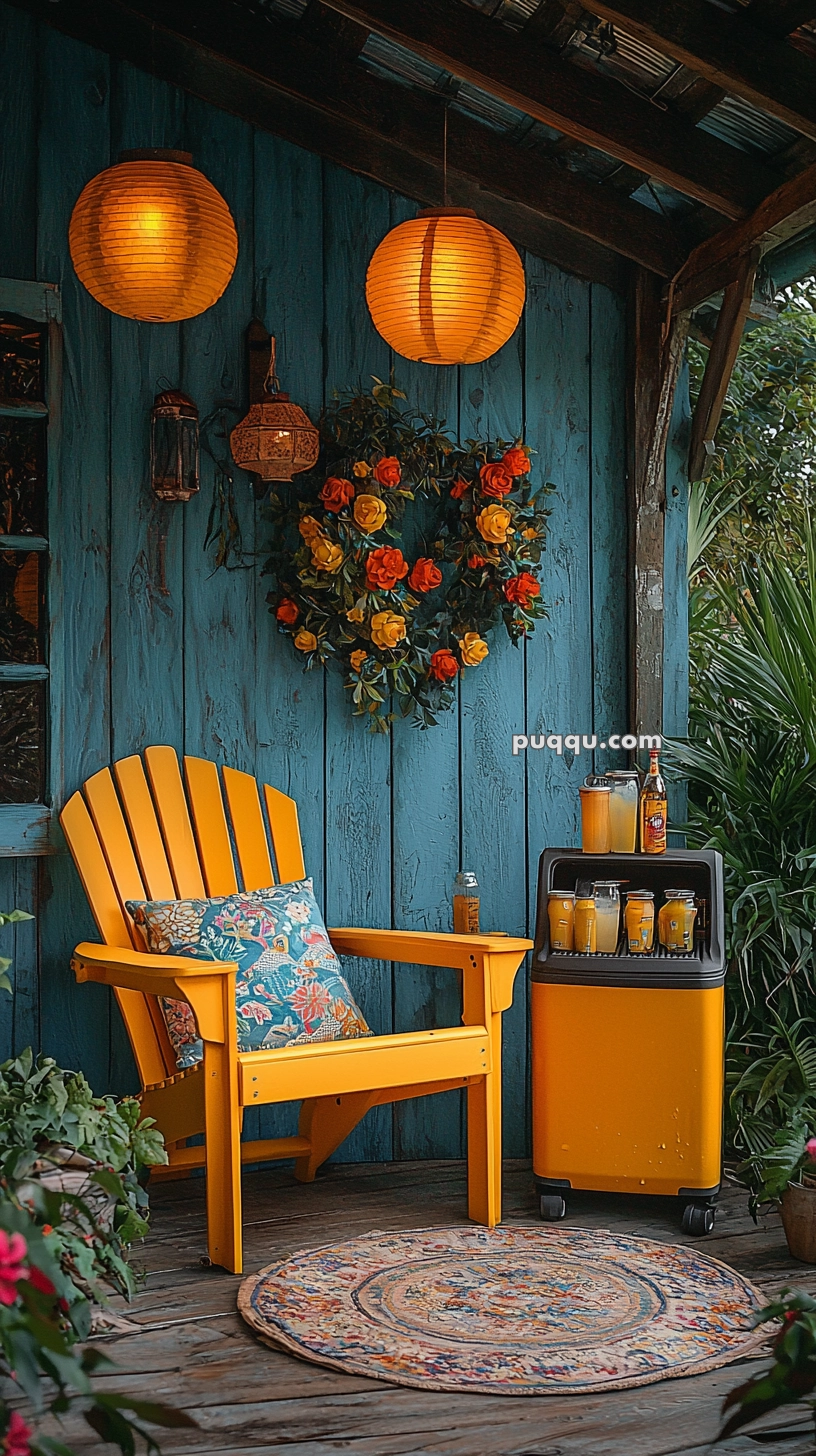
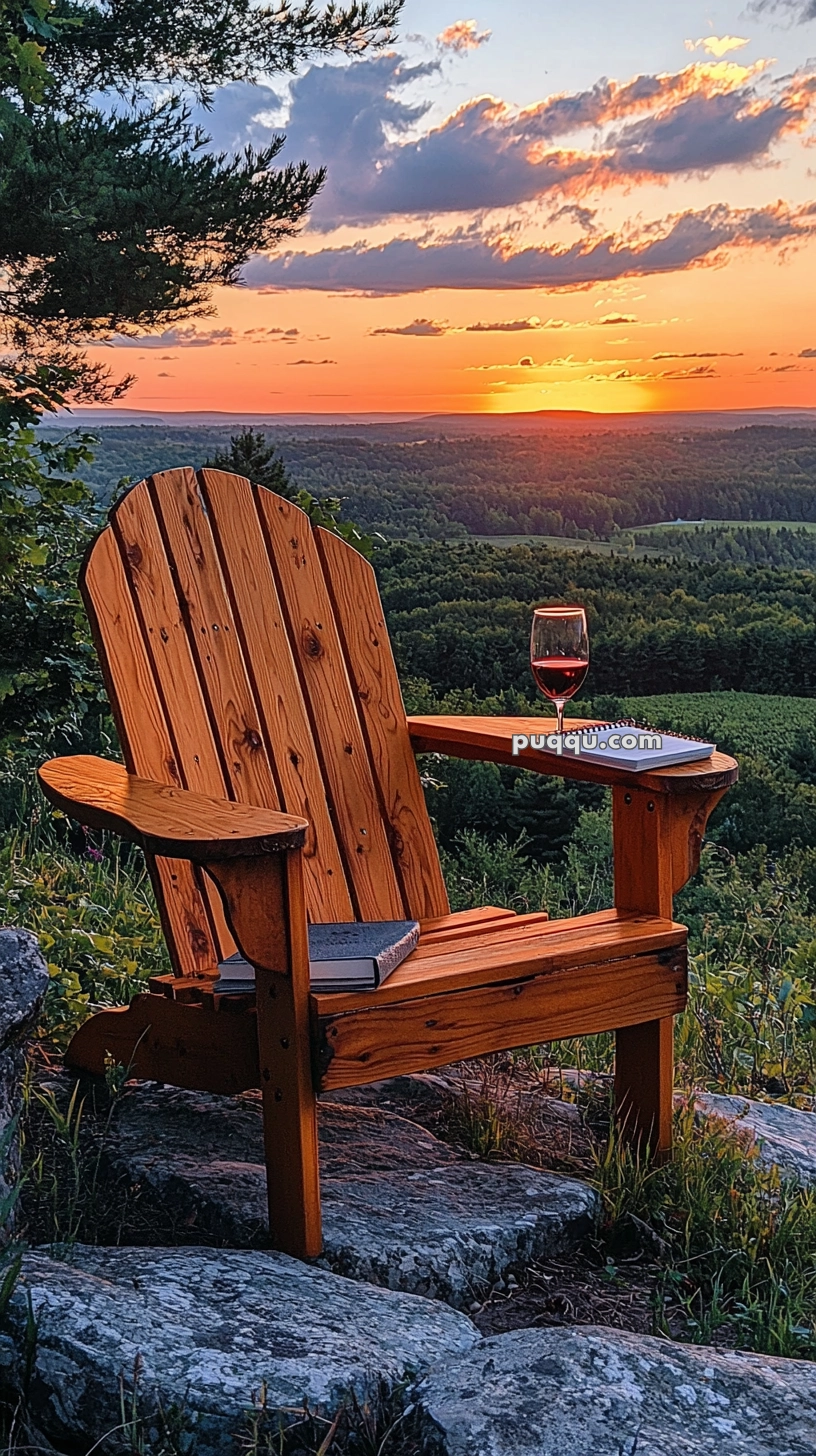
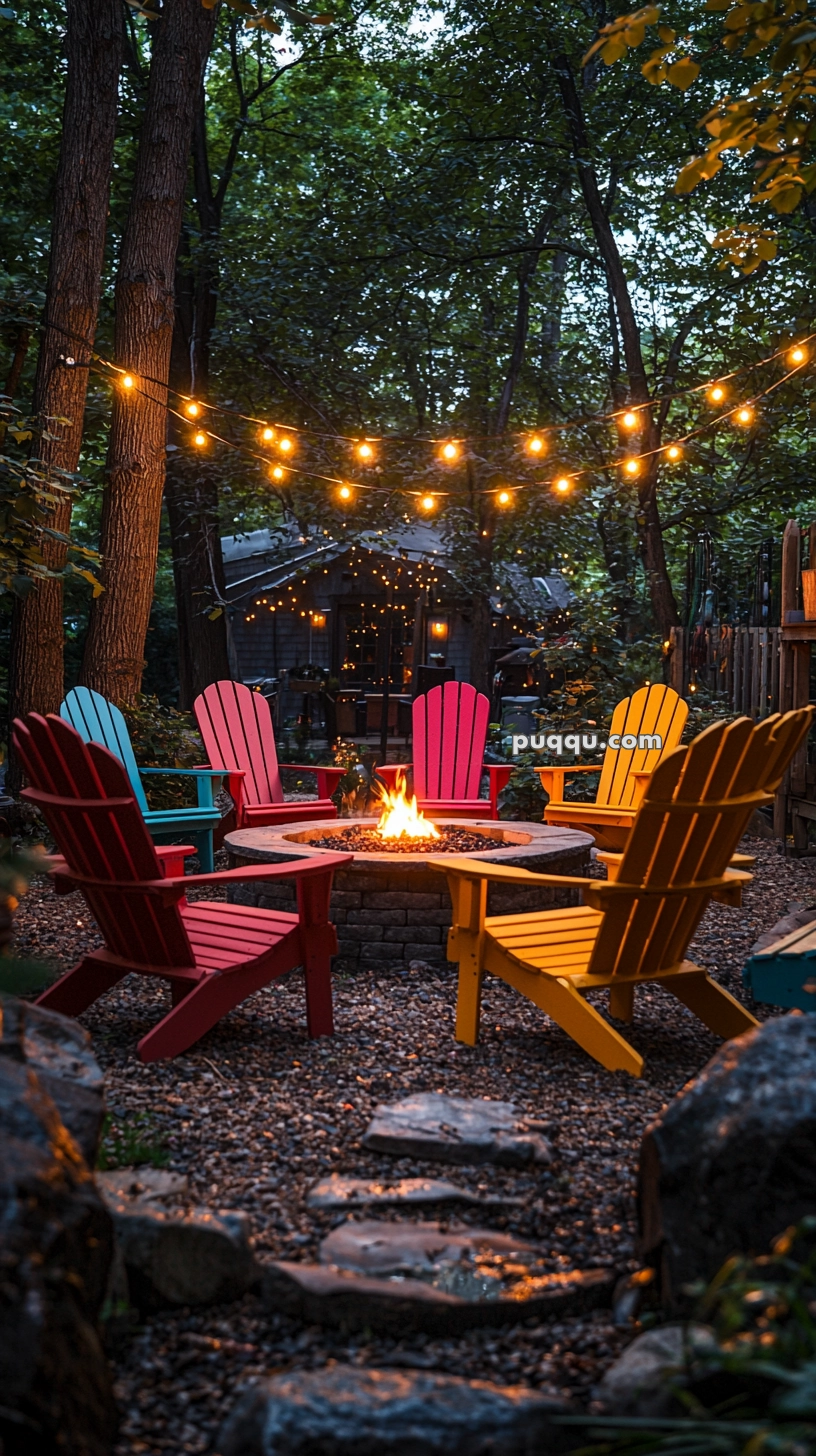
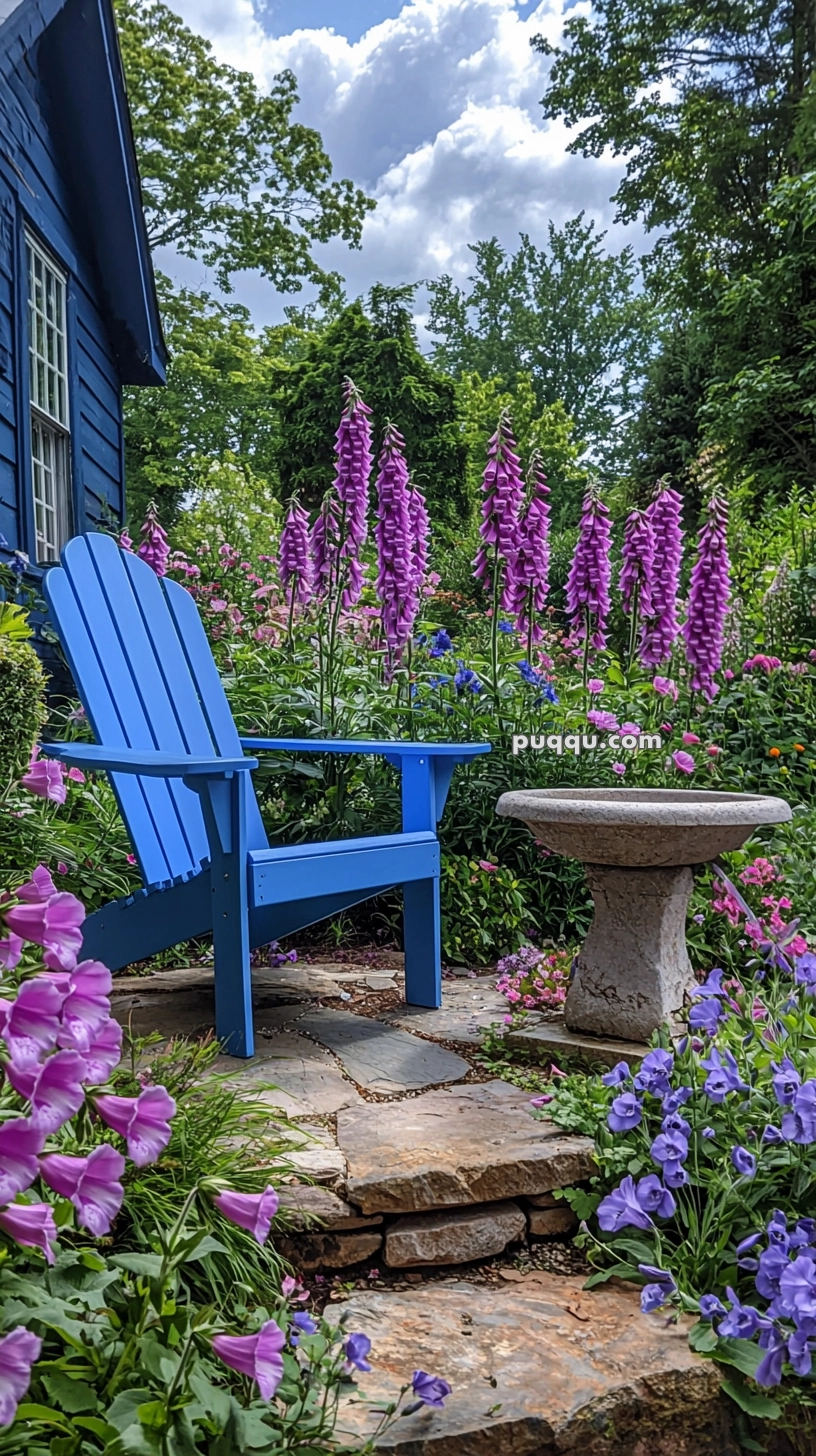
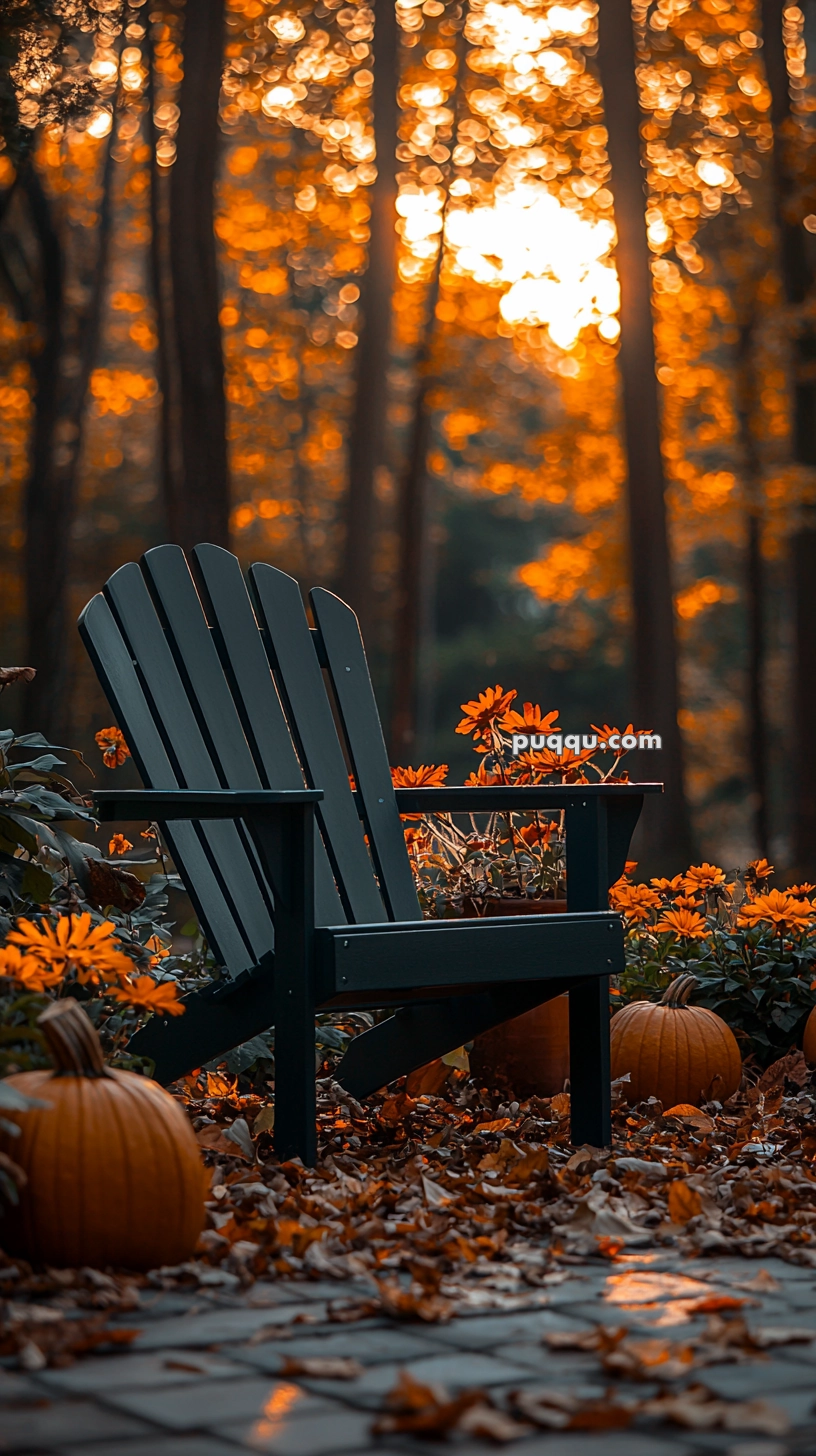
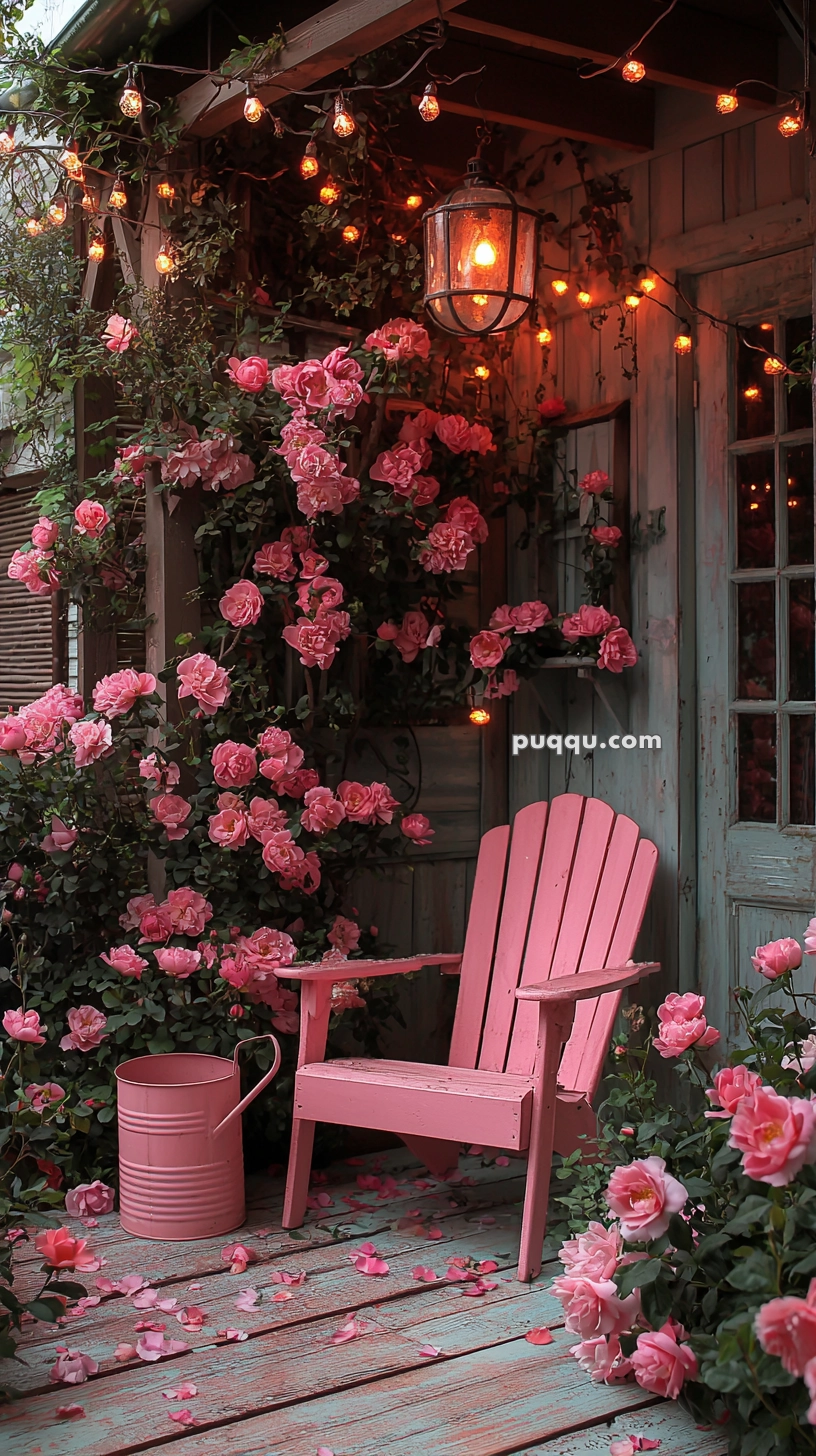
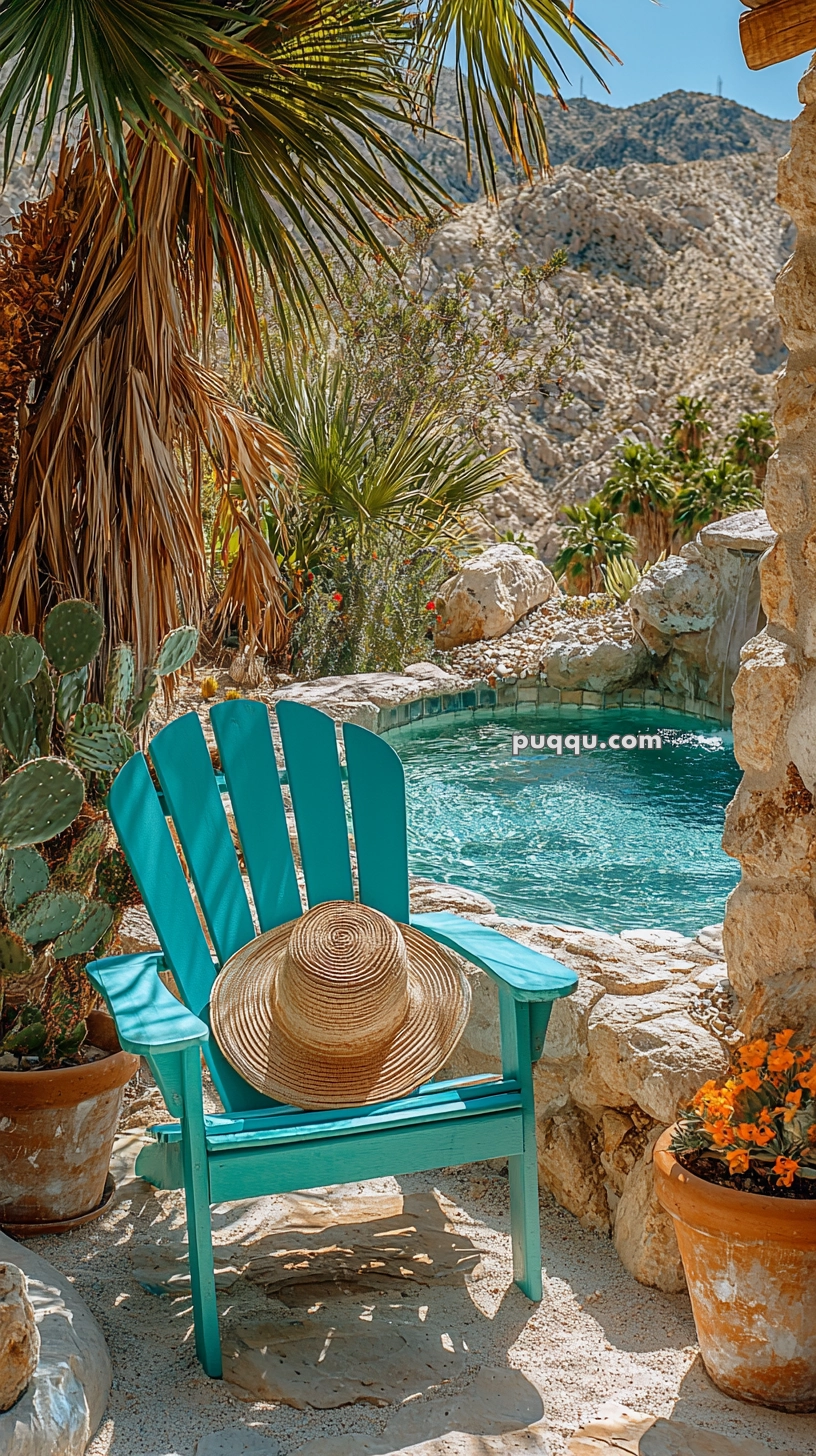
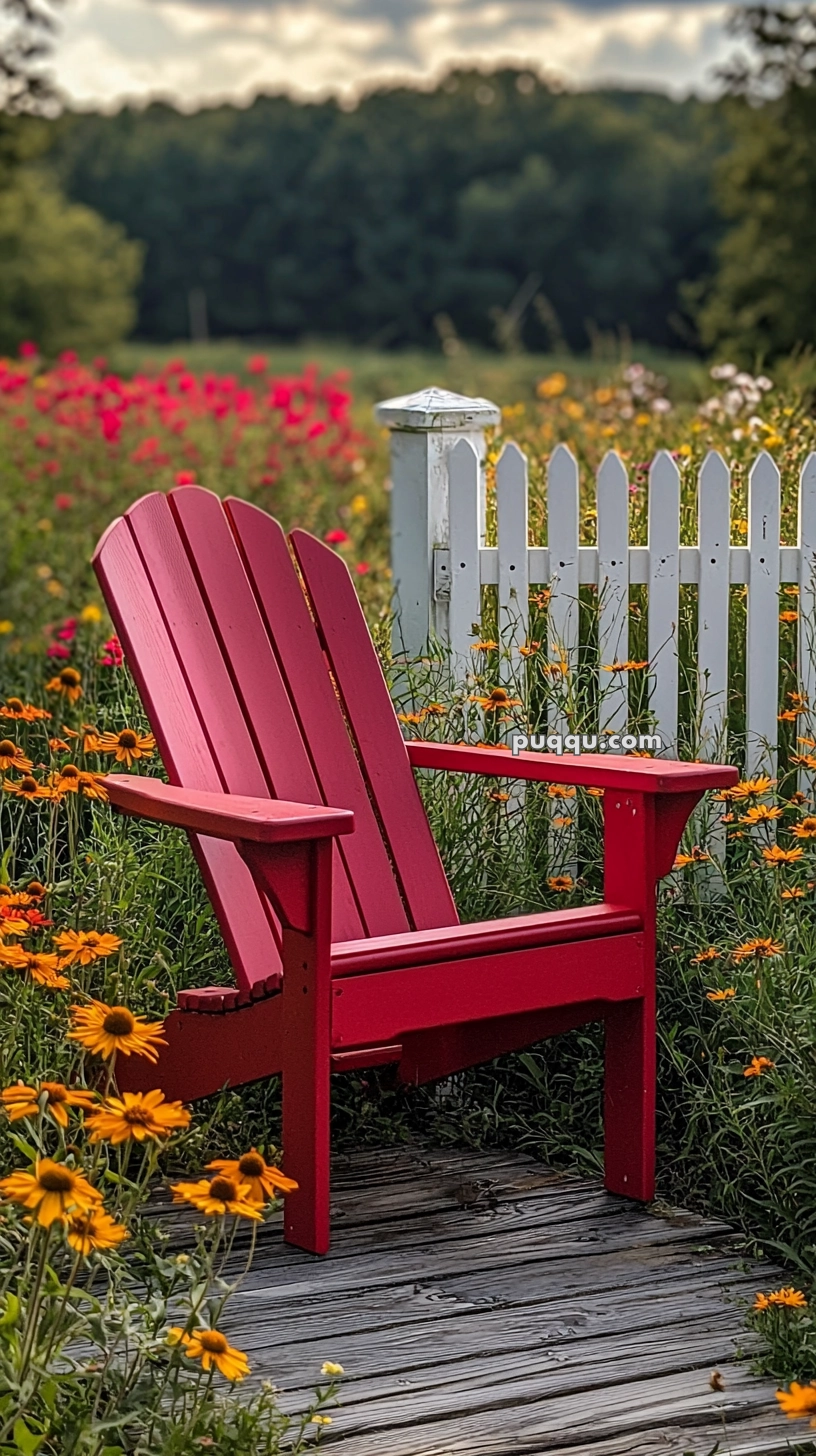
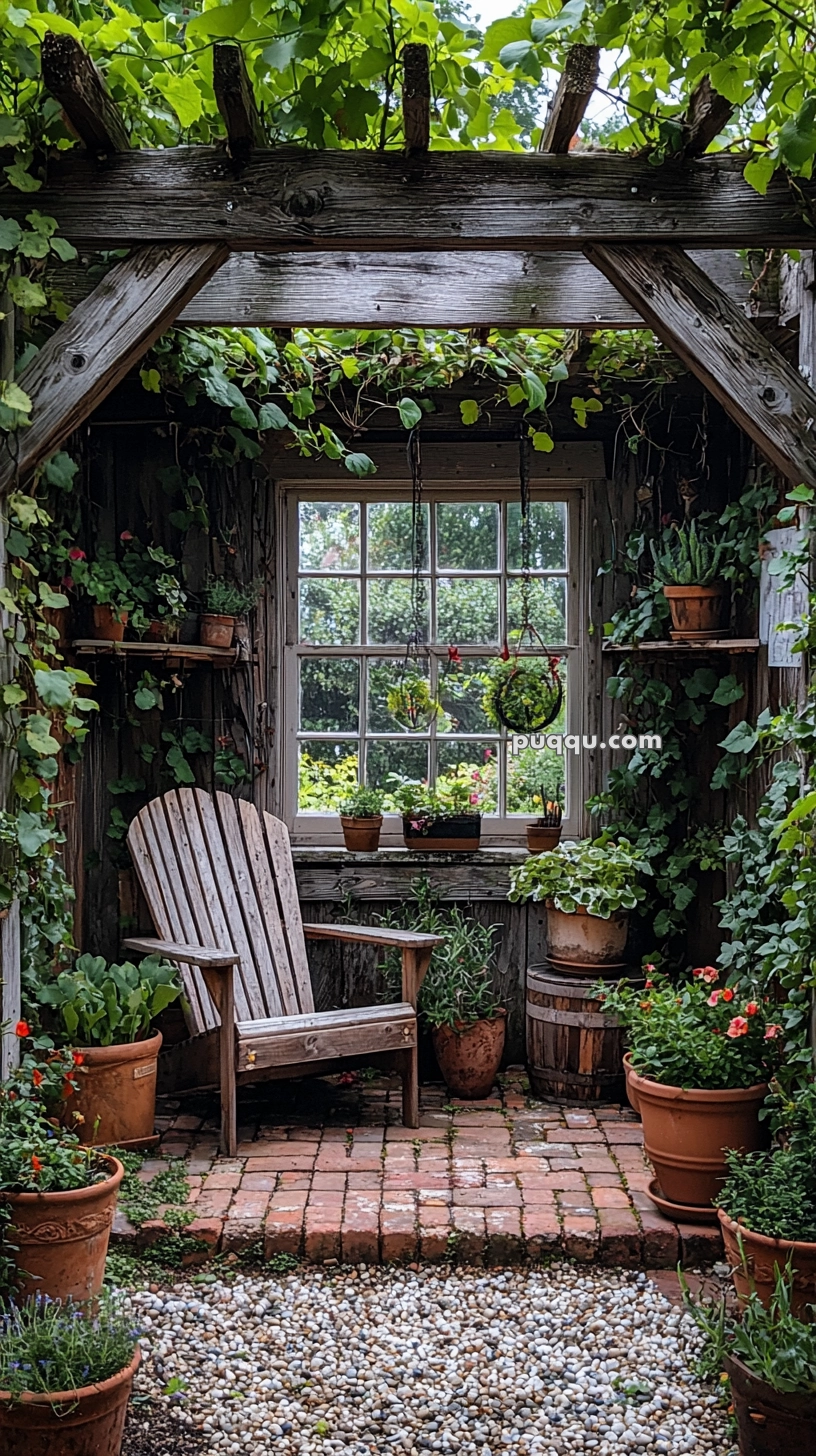
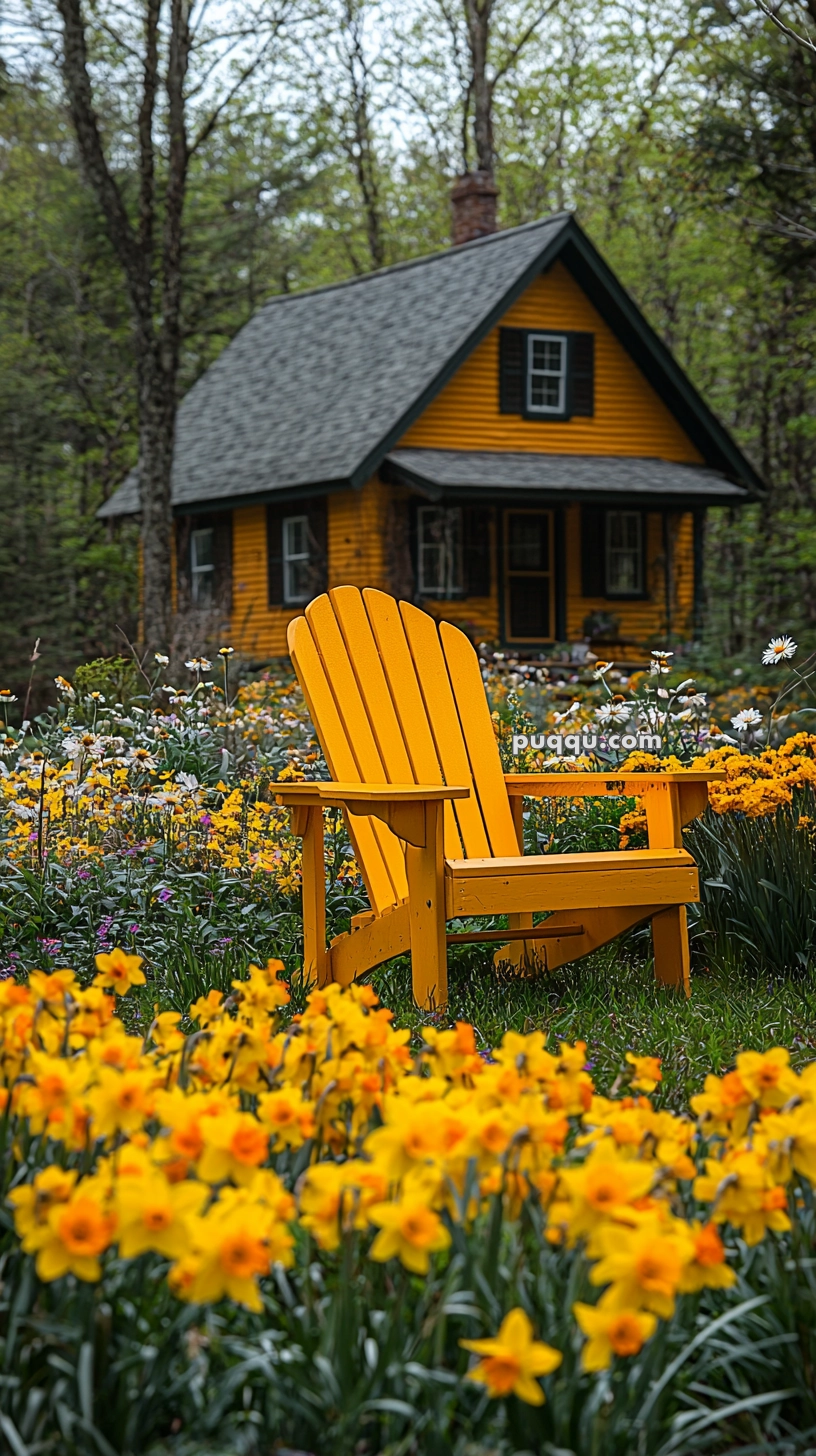
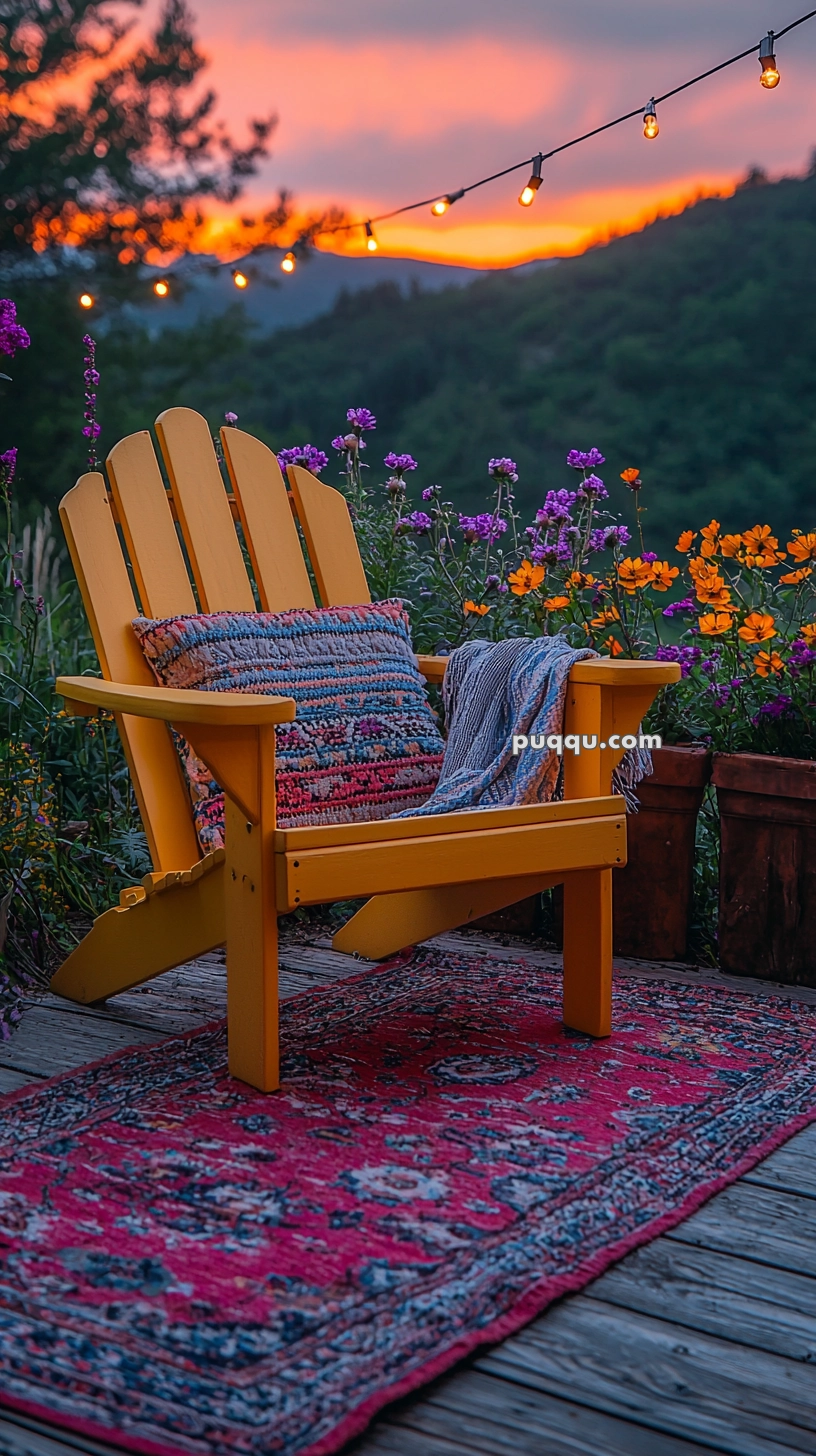
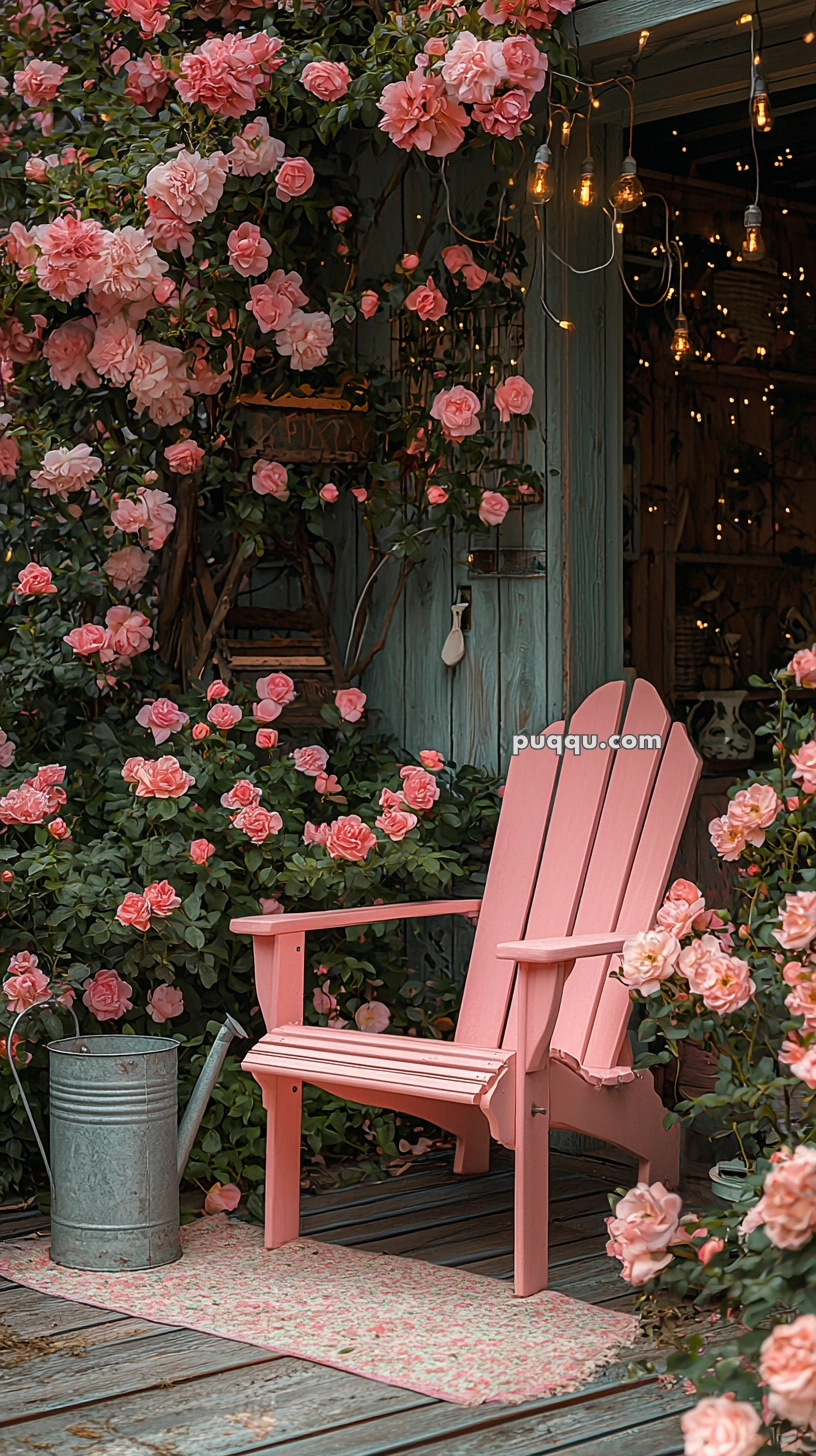
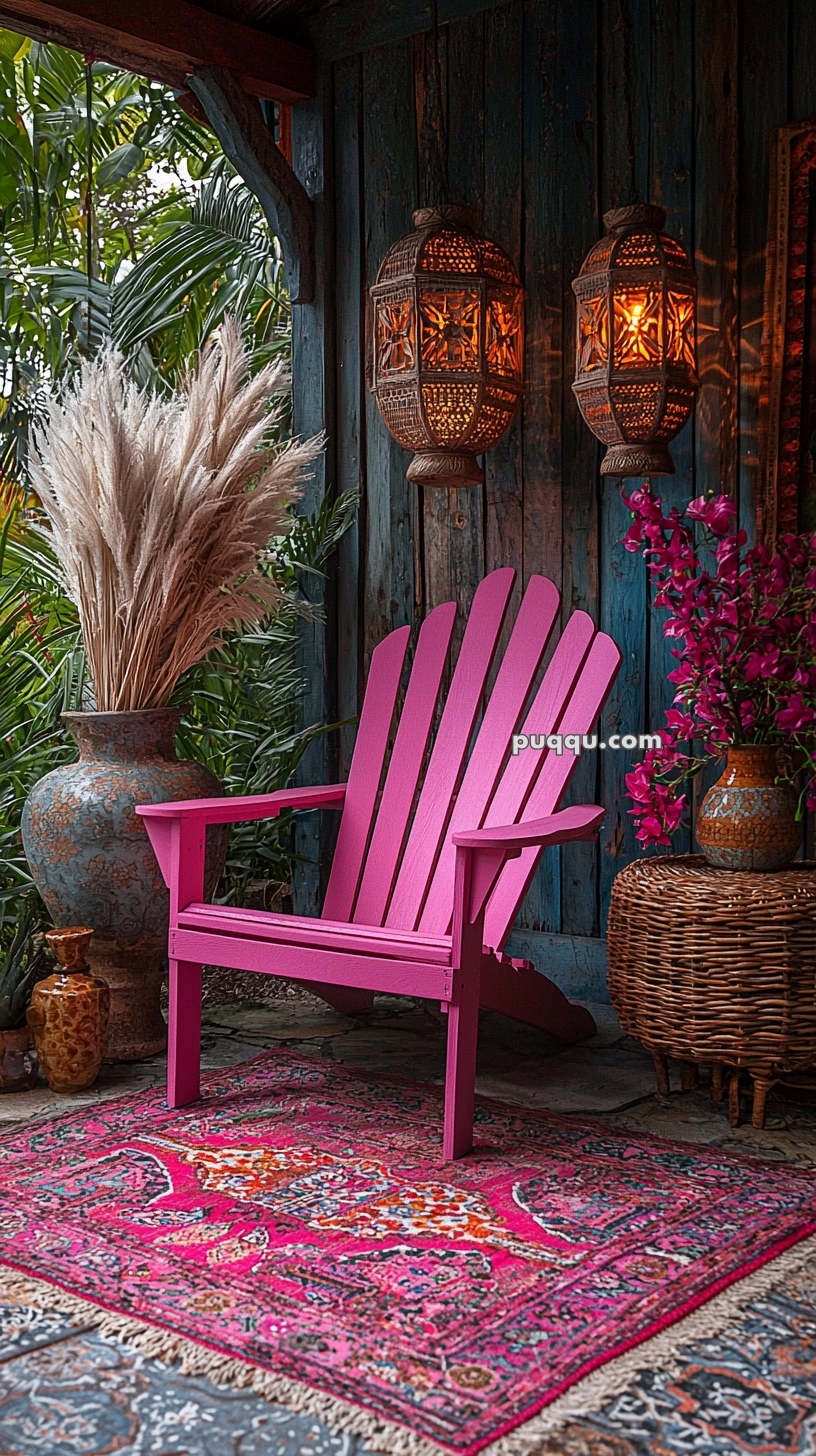
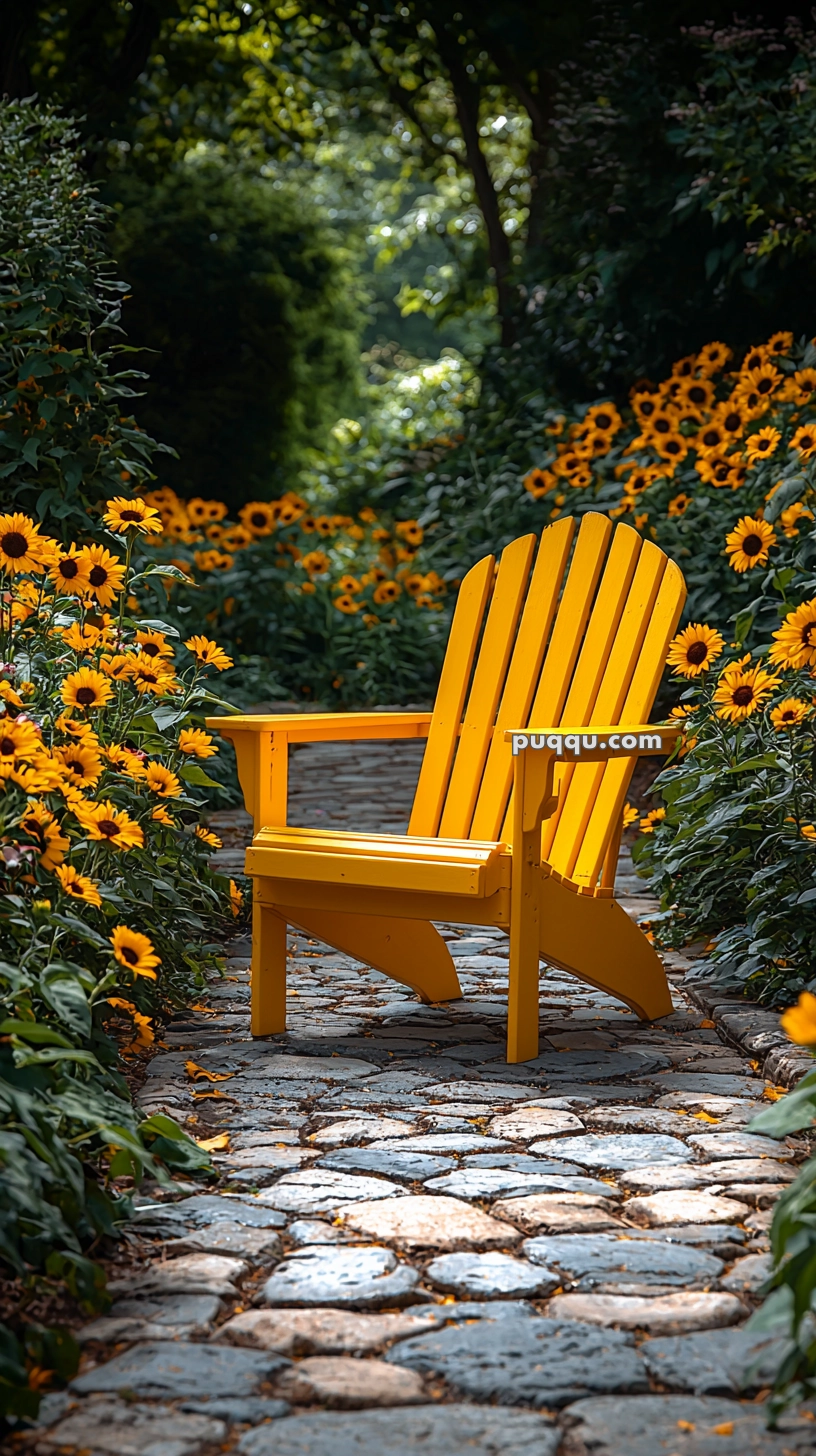
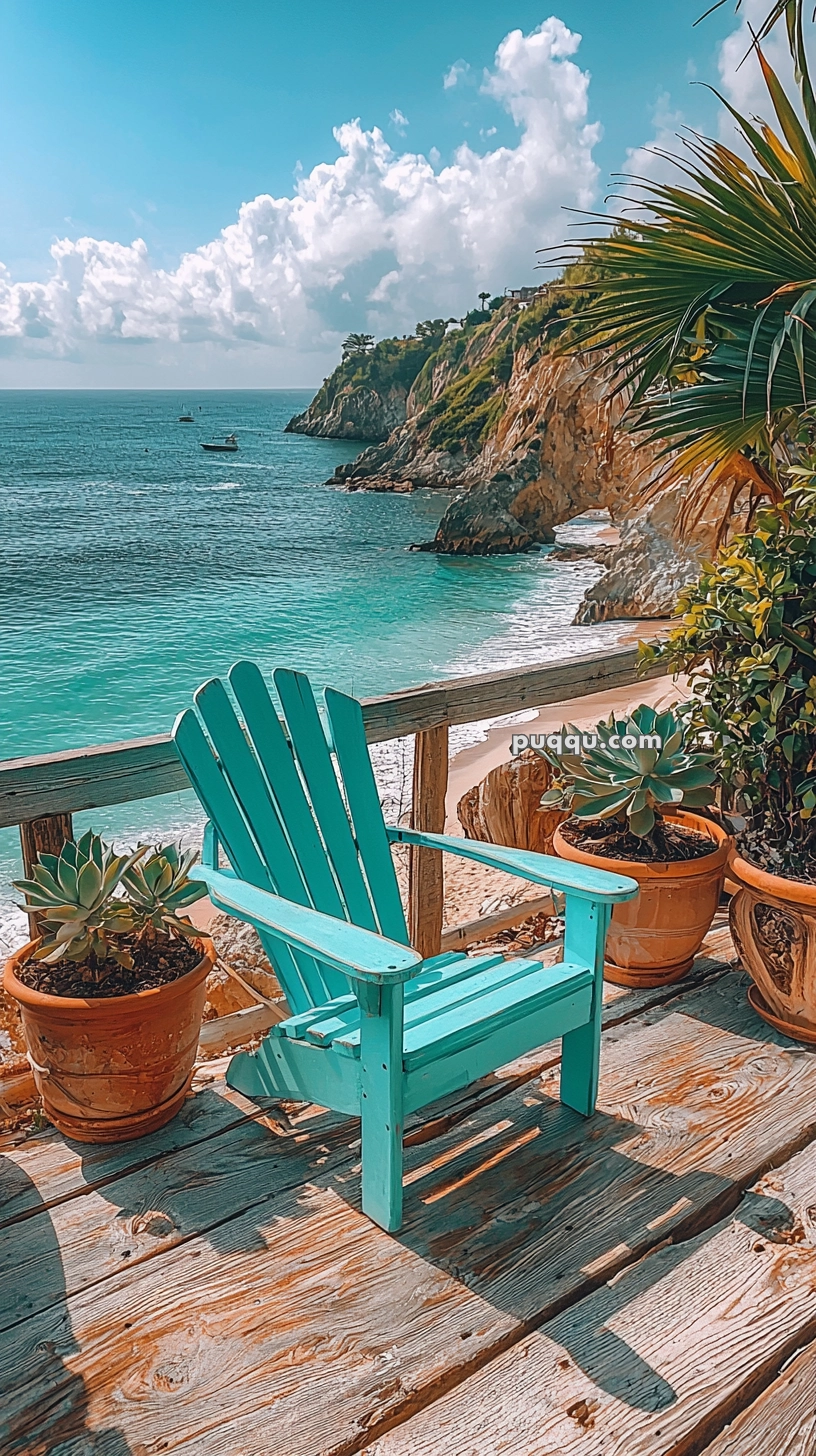
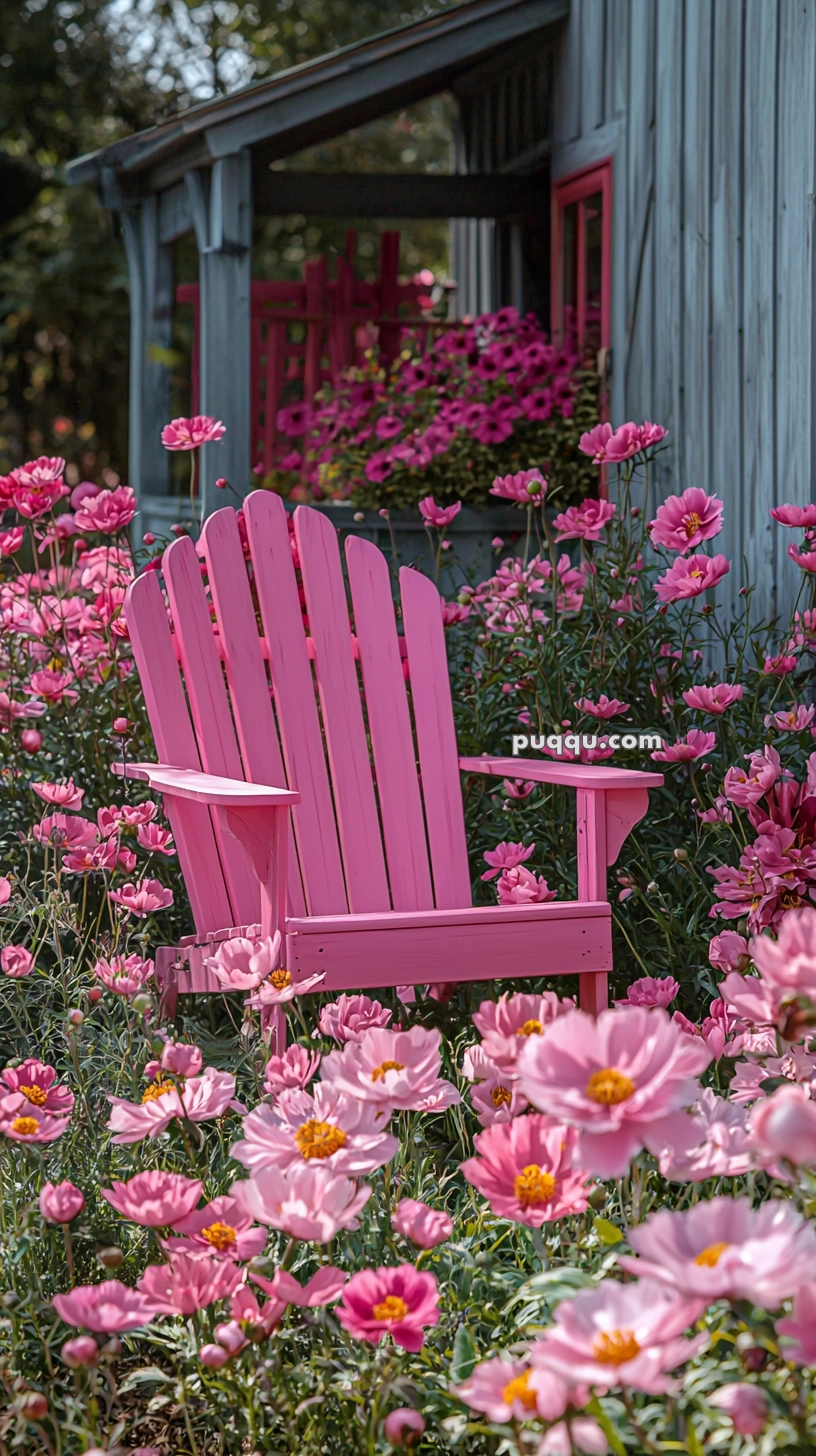
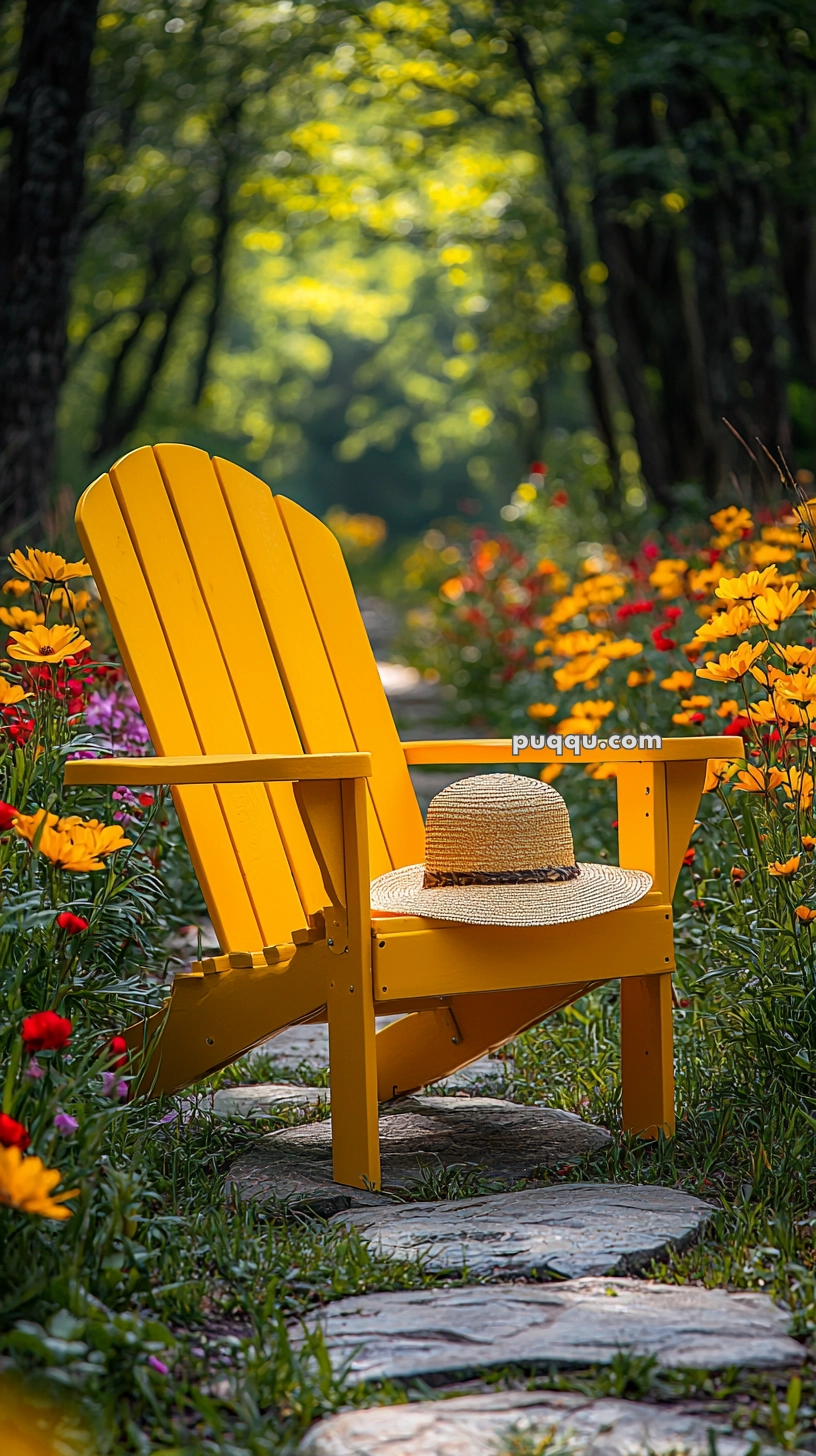
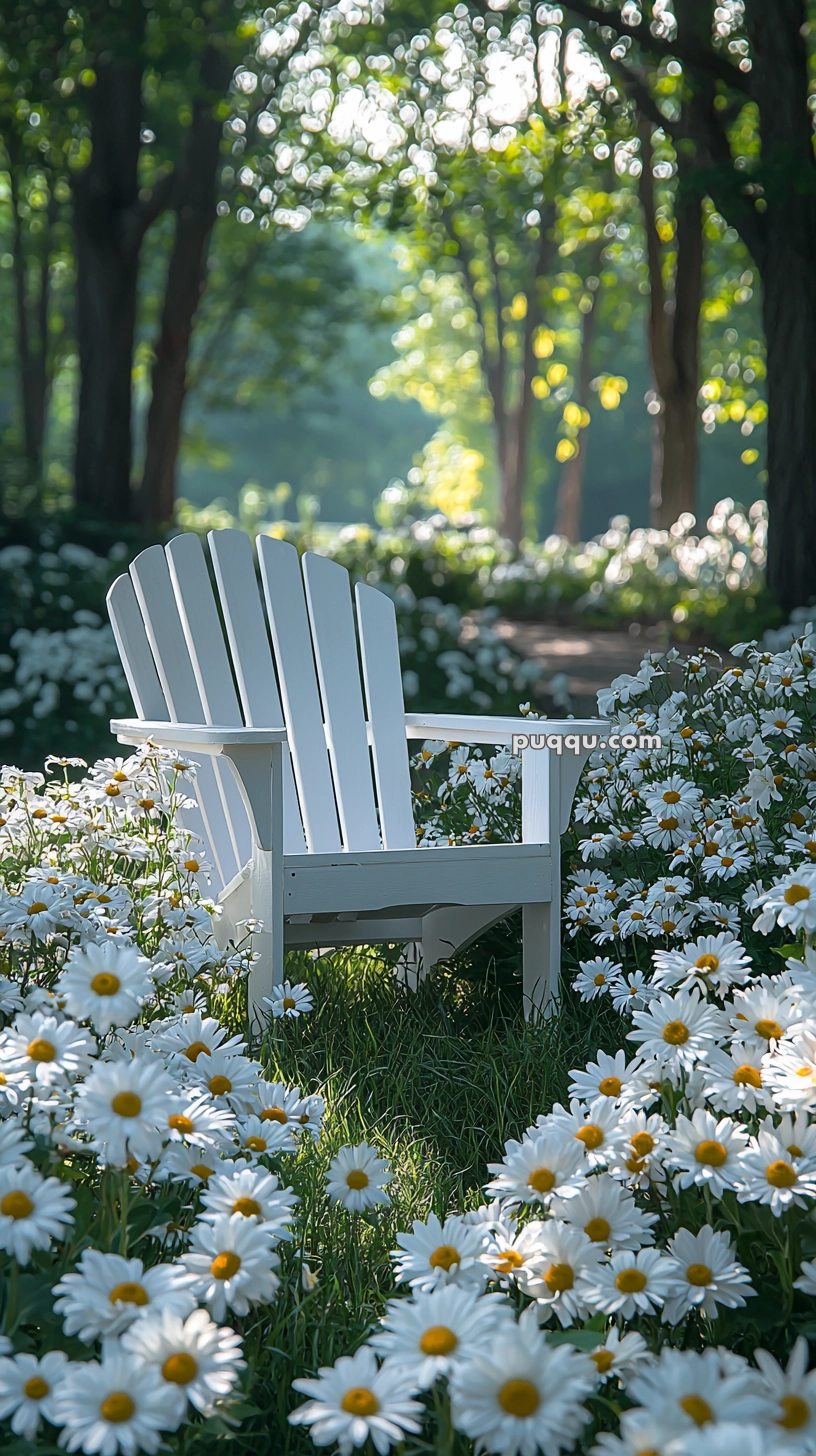
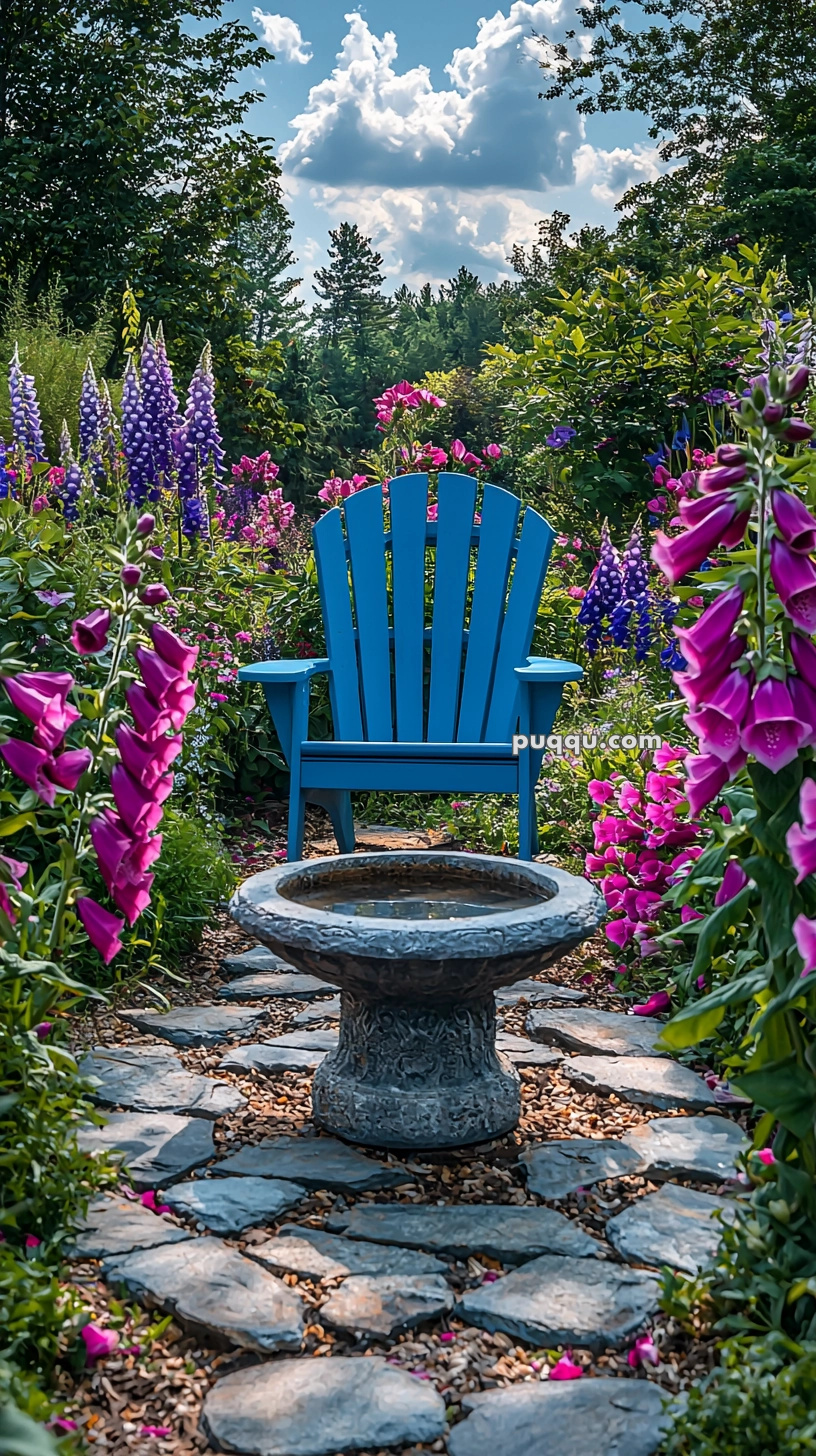
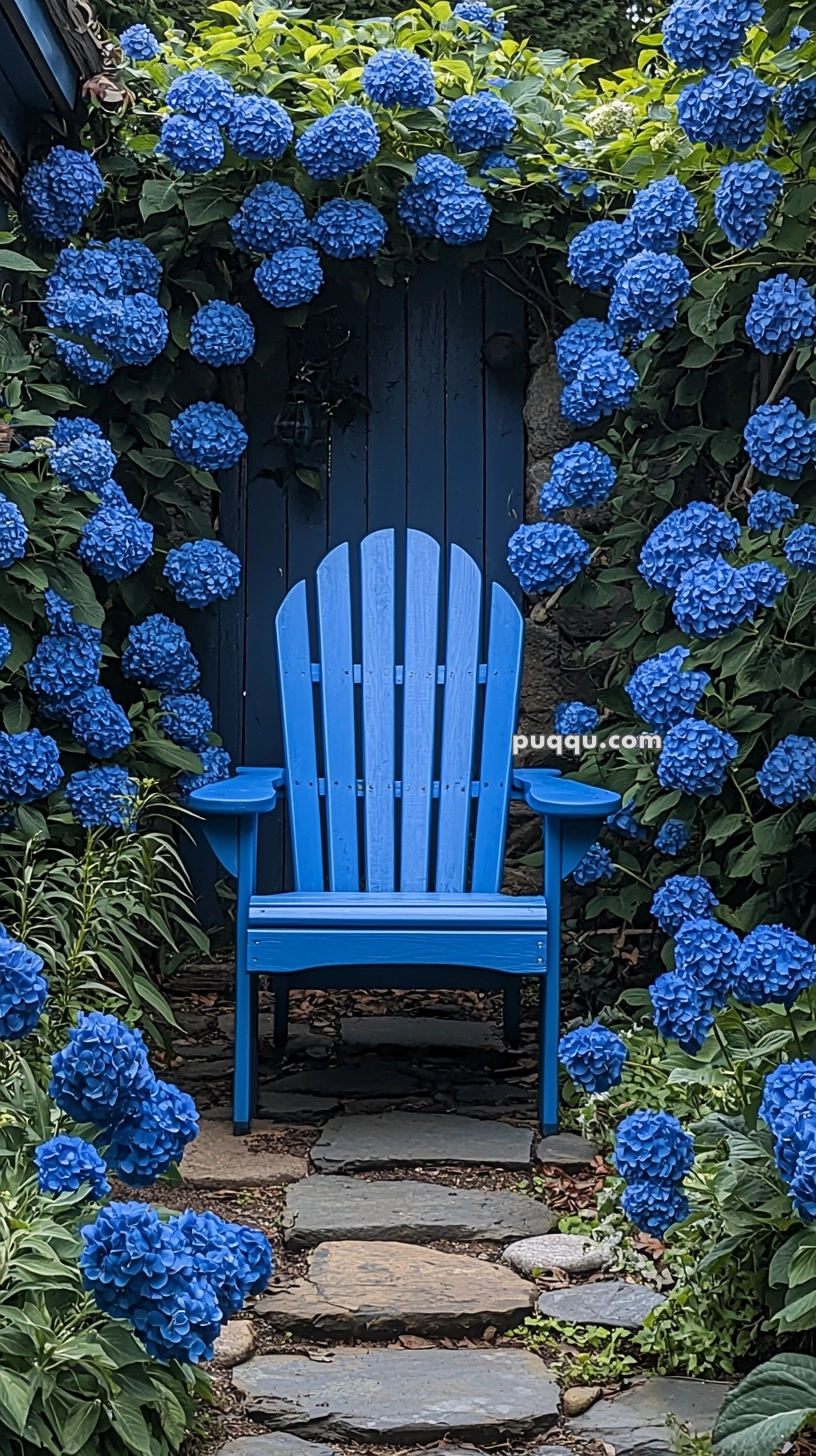
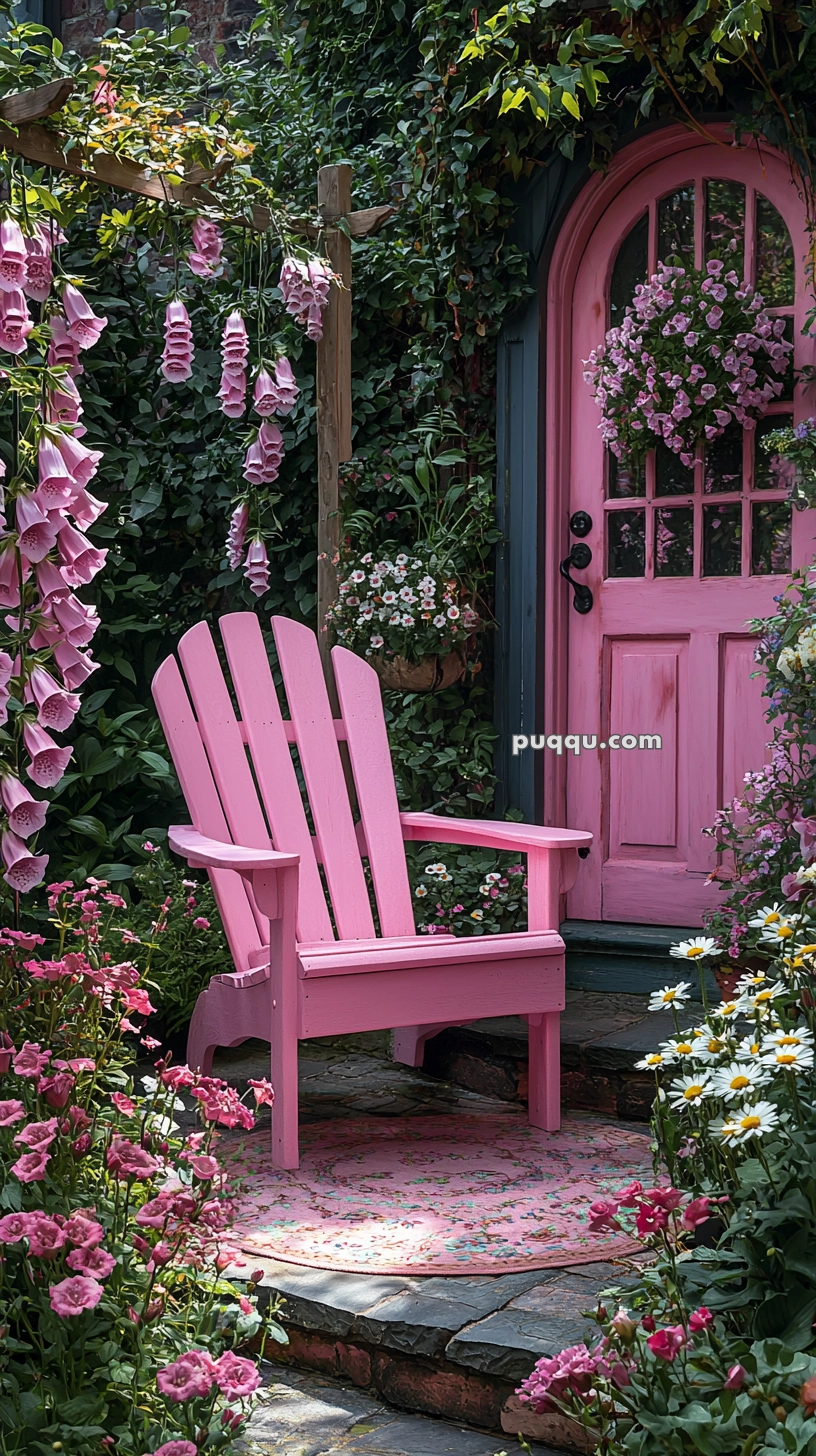
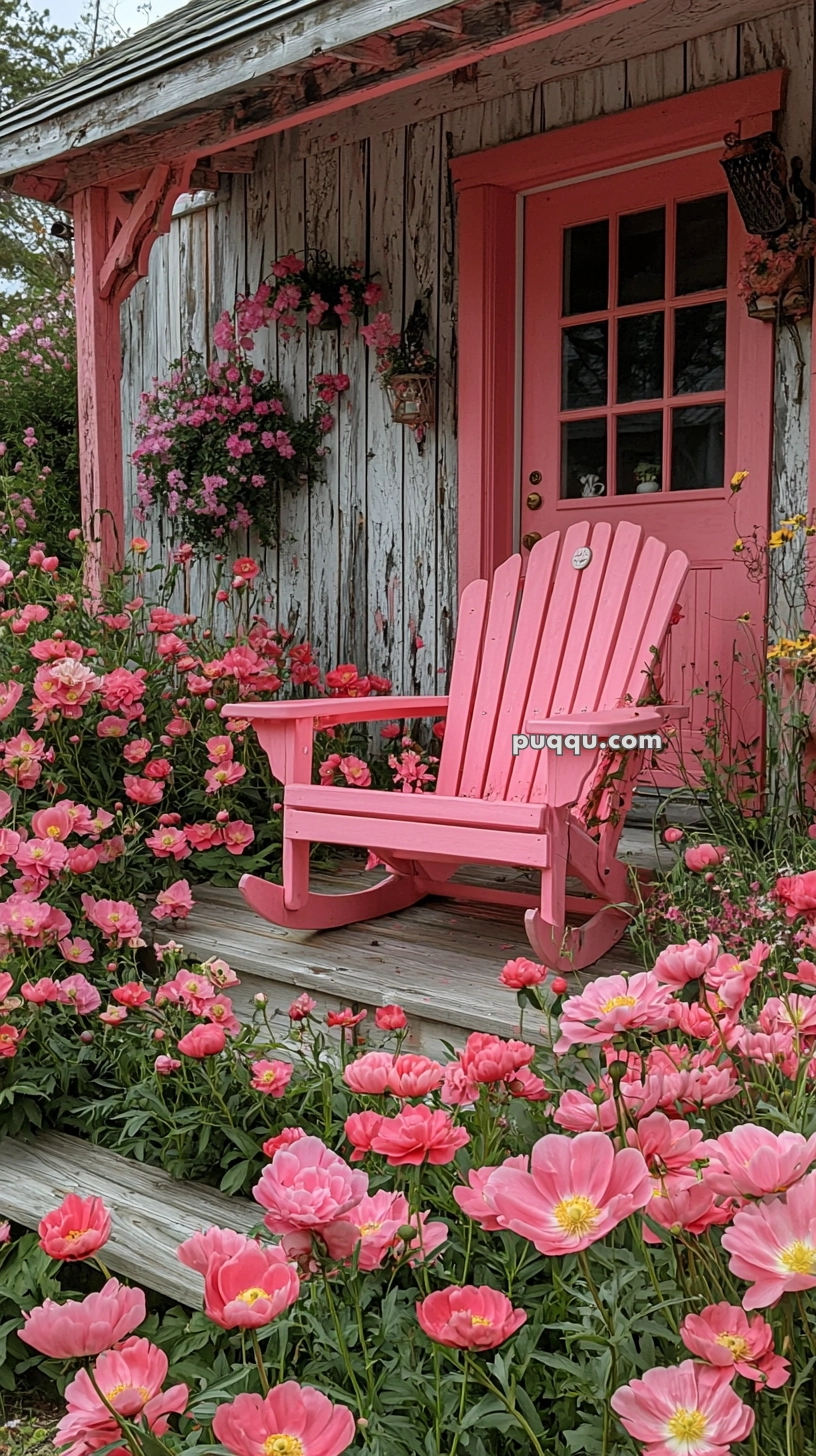
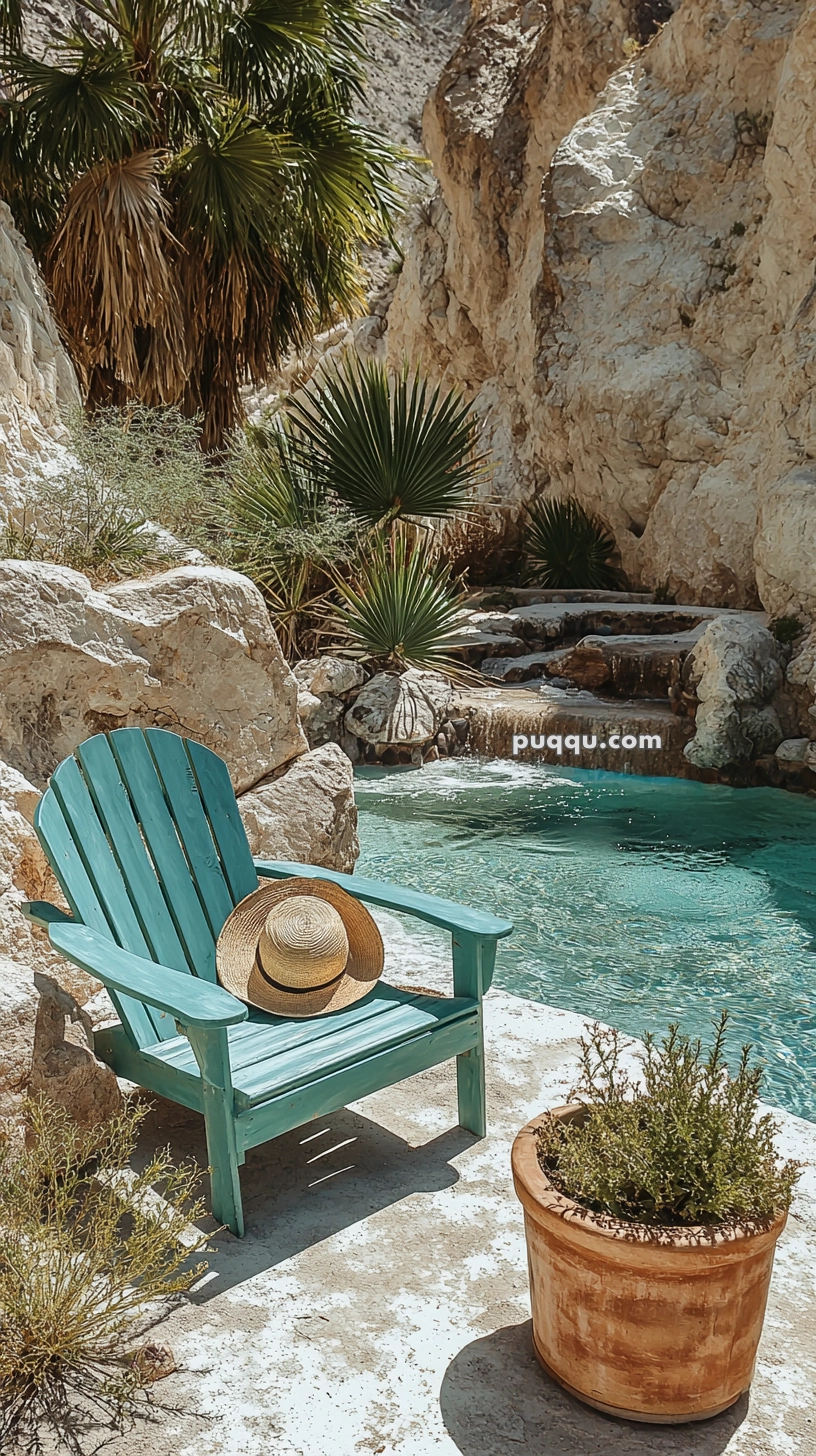
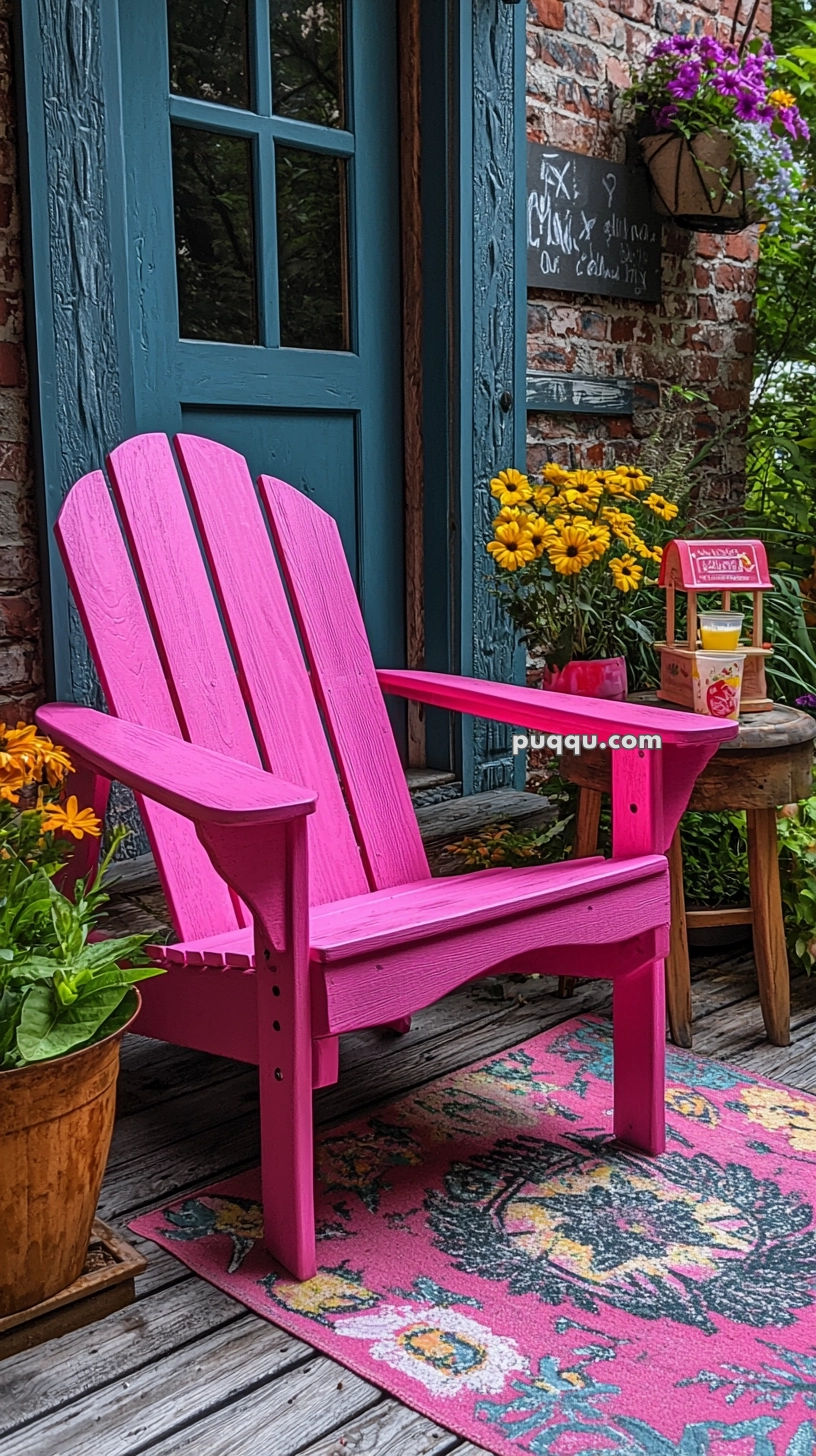
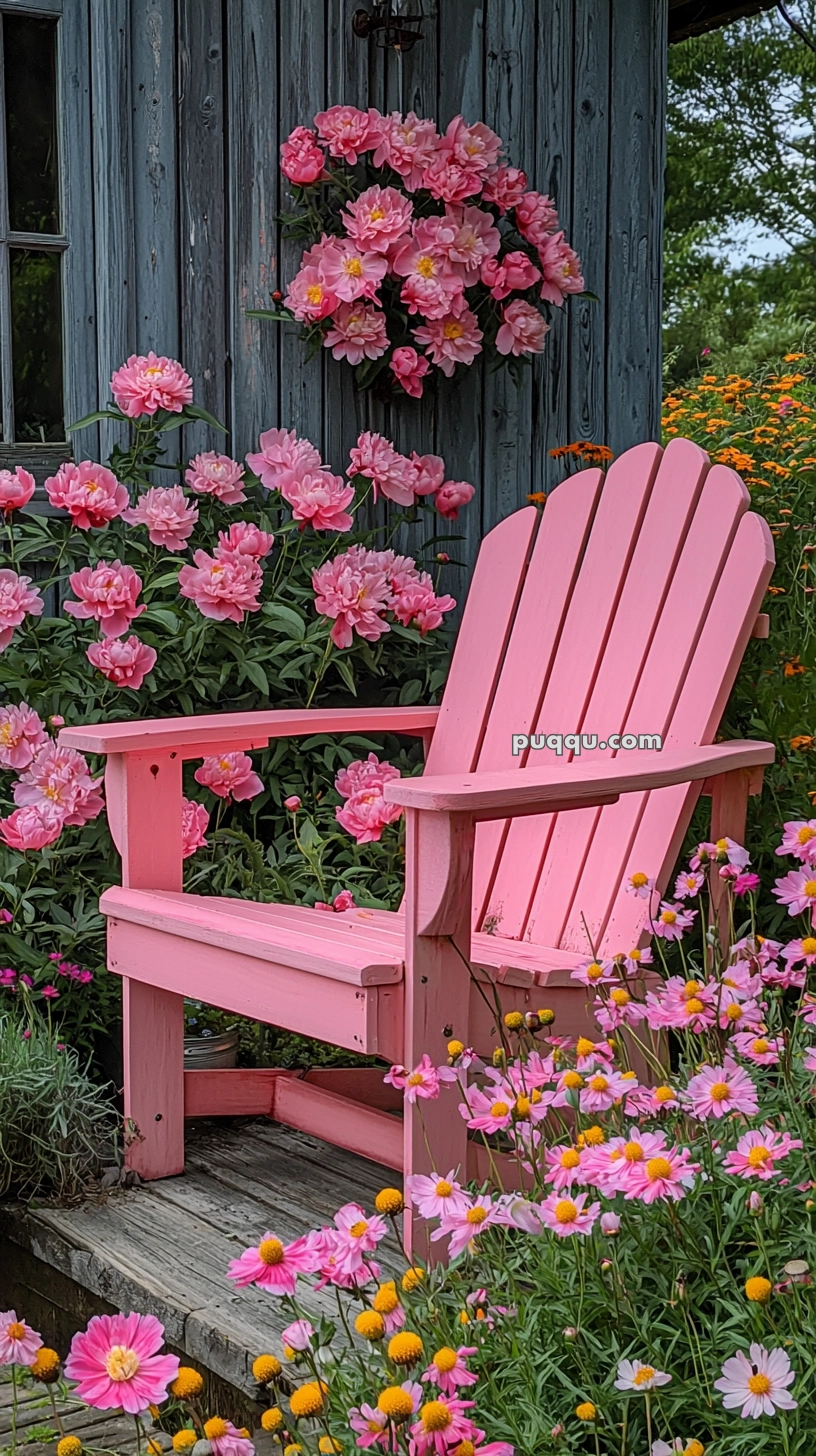
Choose a natural wood tone, coastal white, deep navy, or even cheerful yellow to match your outdoor space.

Optional Add-Ons
Want to upgrade your DIY chair?
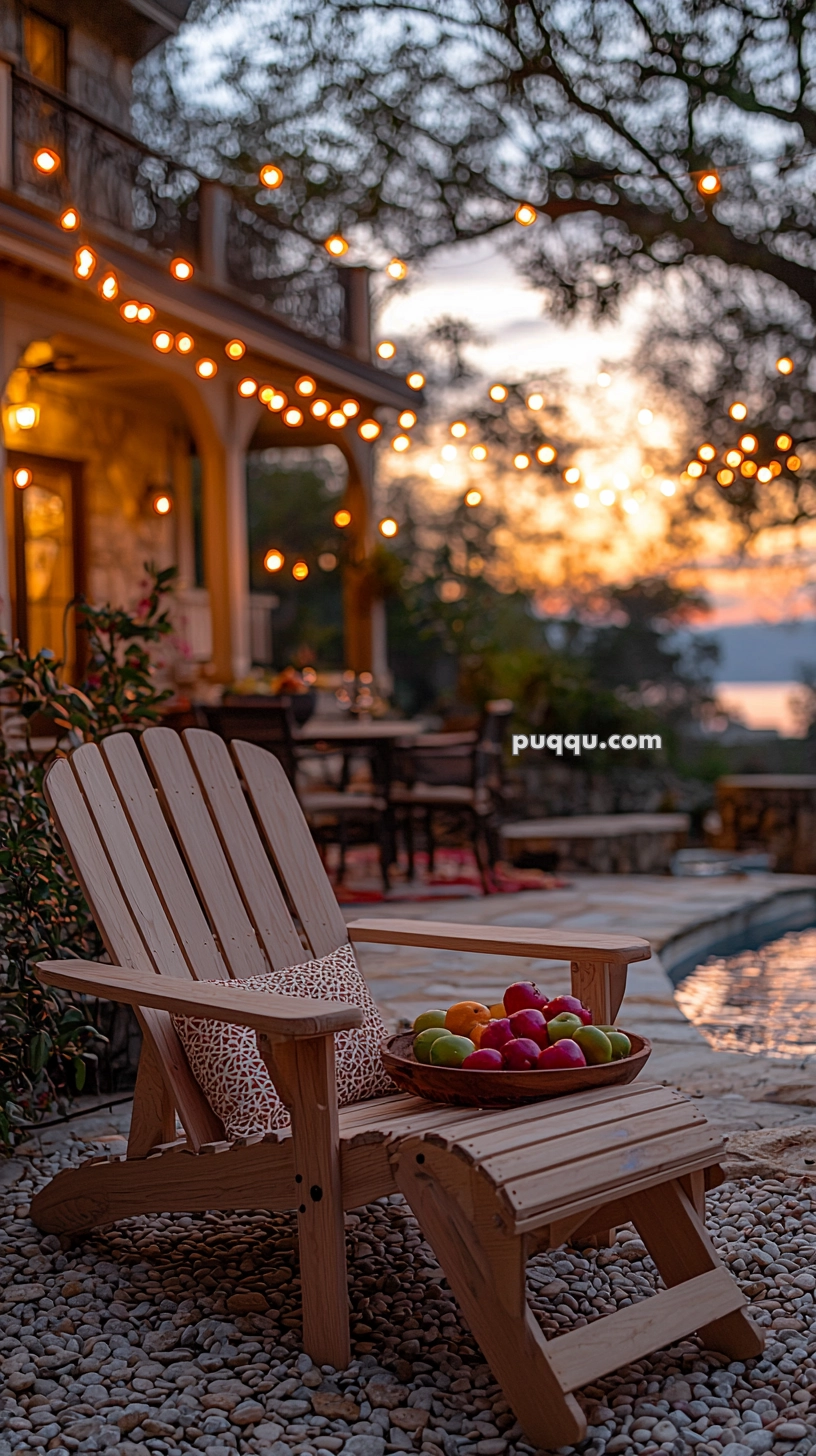
- Add a matching footrest or ottoman
- Attach cup holders to the armrests
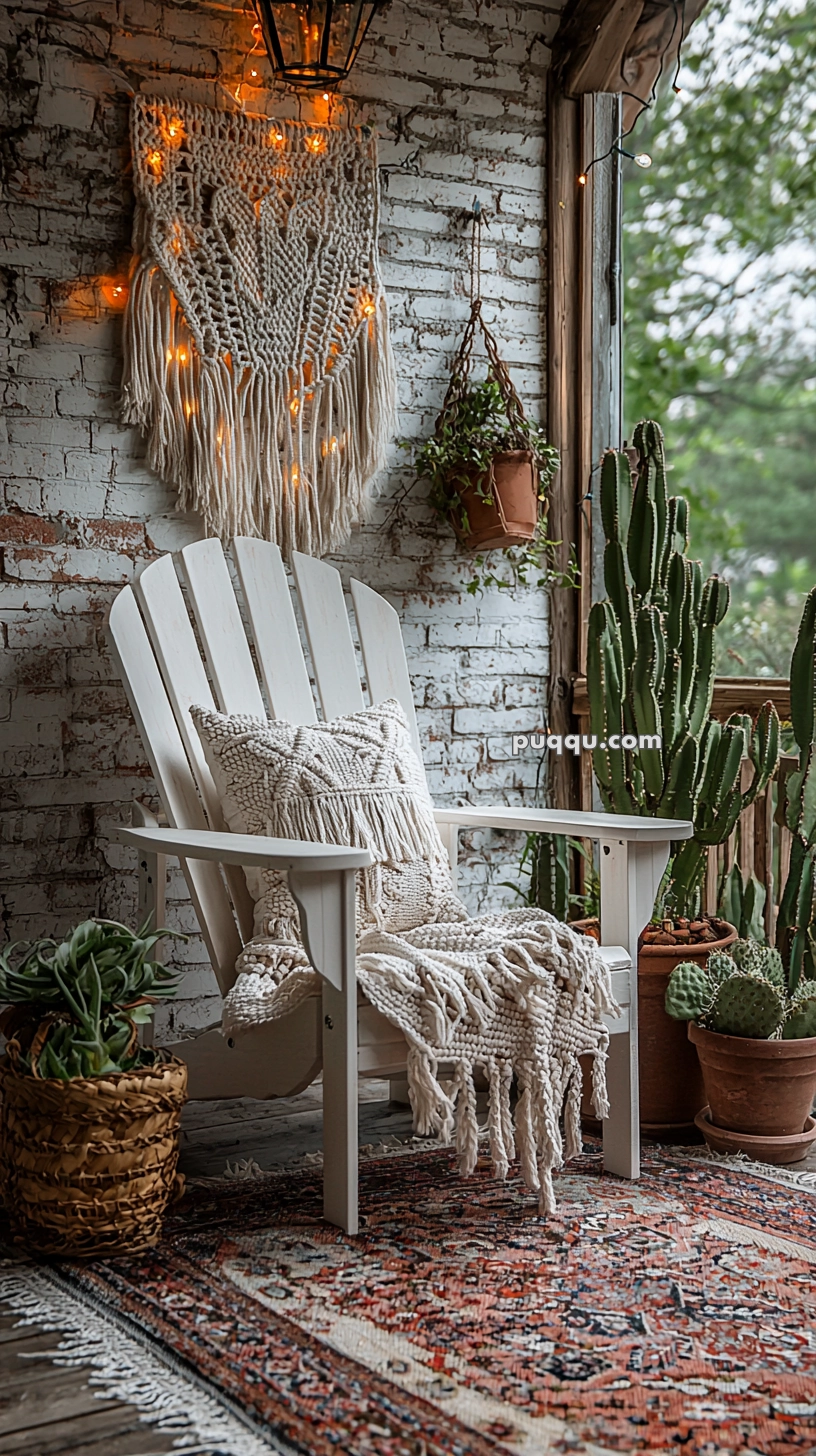
- Use cushions or seat pads for extra comfort
- Personalize with engraved initials or painted designs
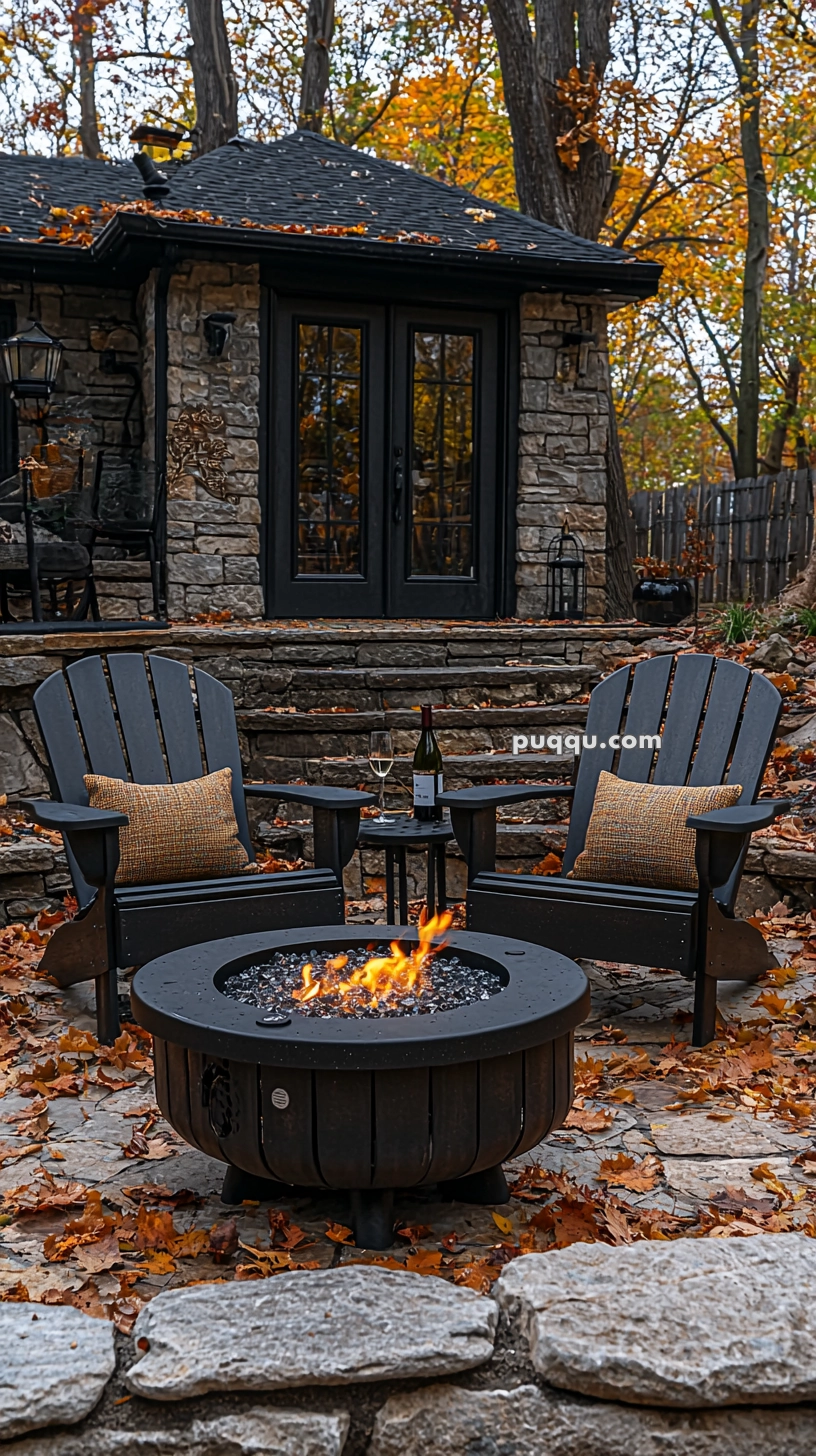
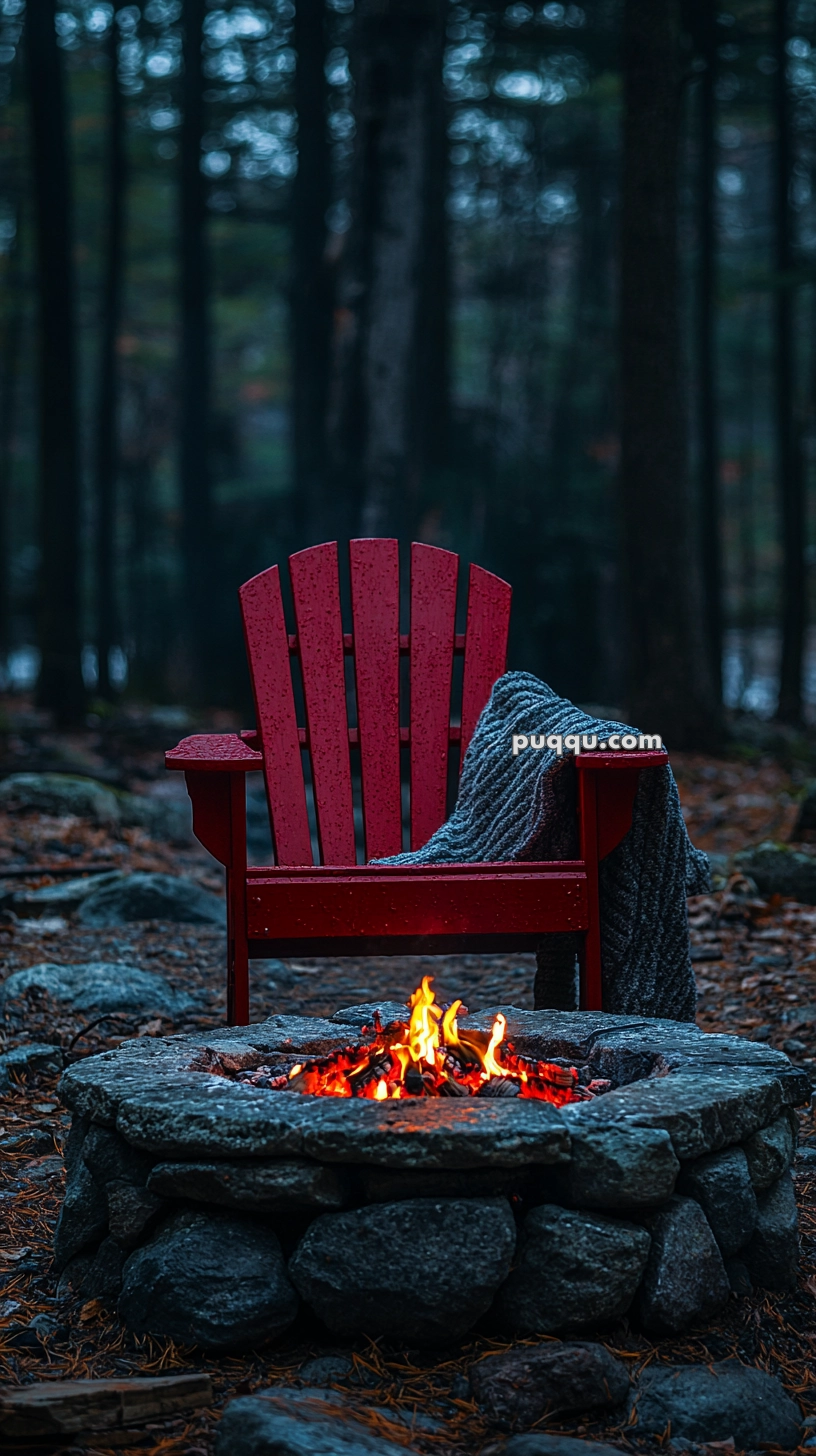
Conclusion
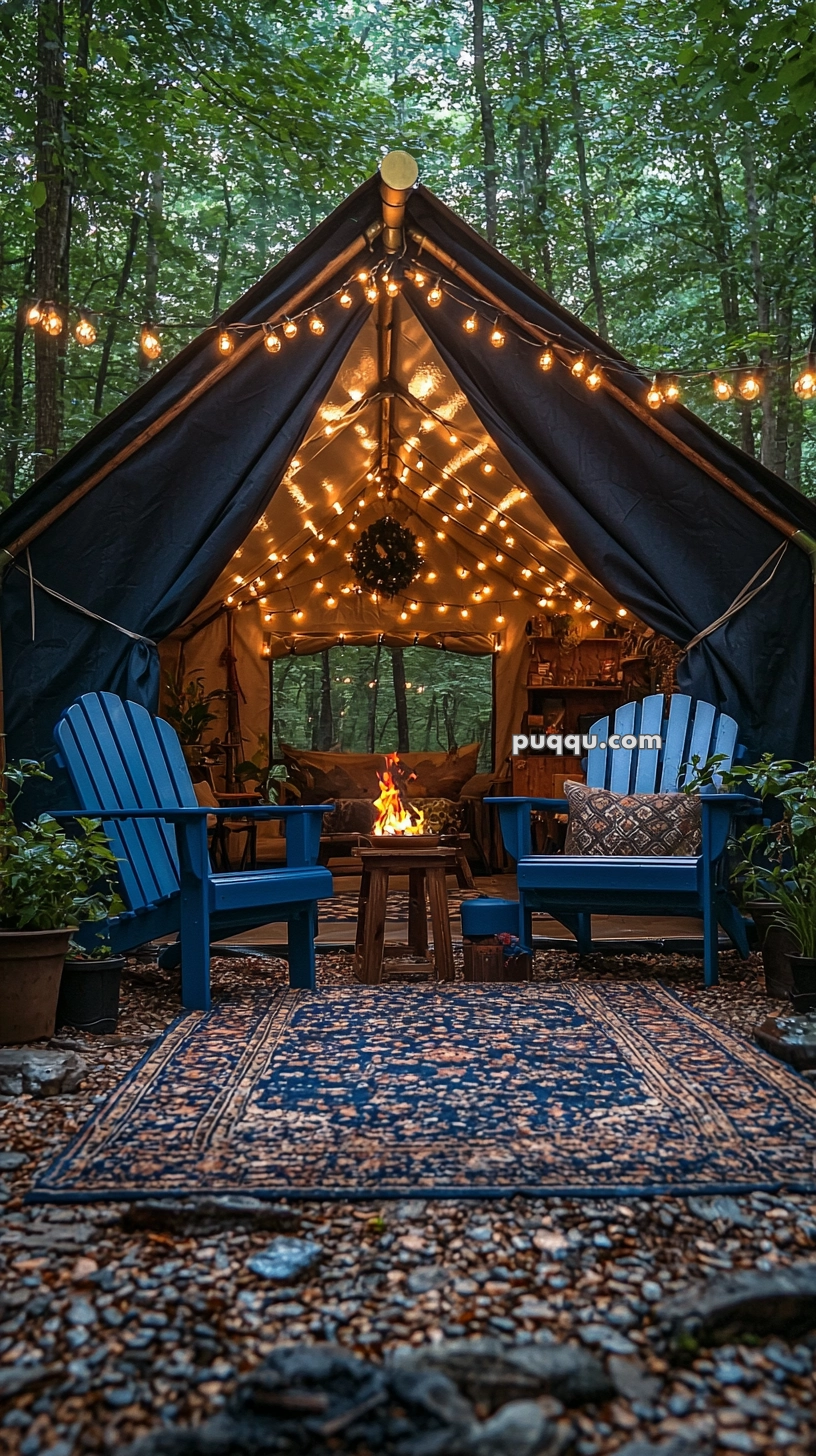
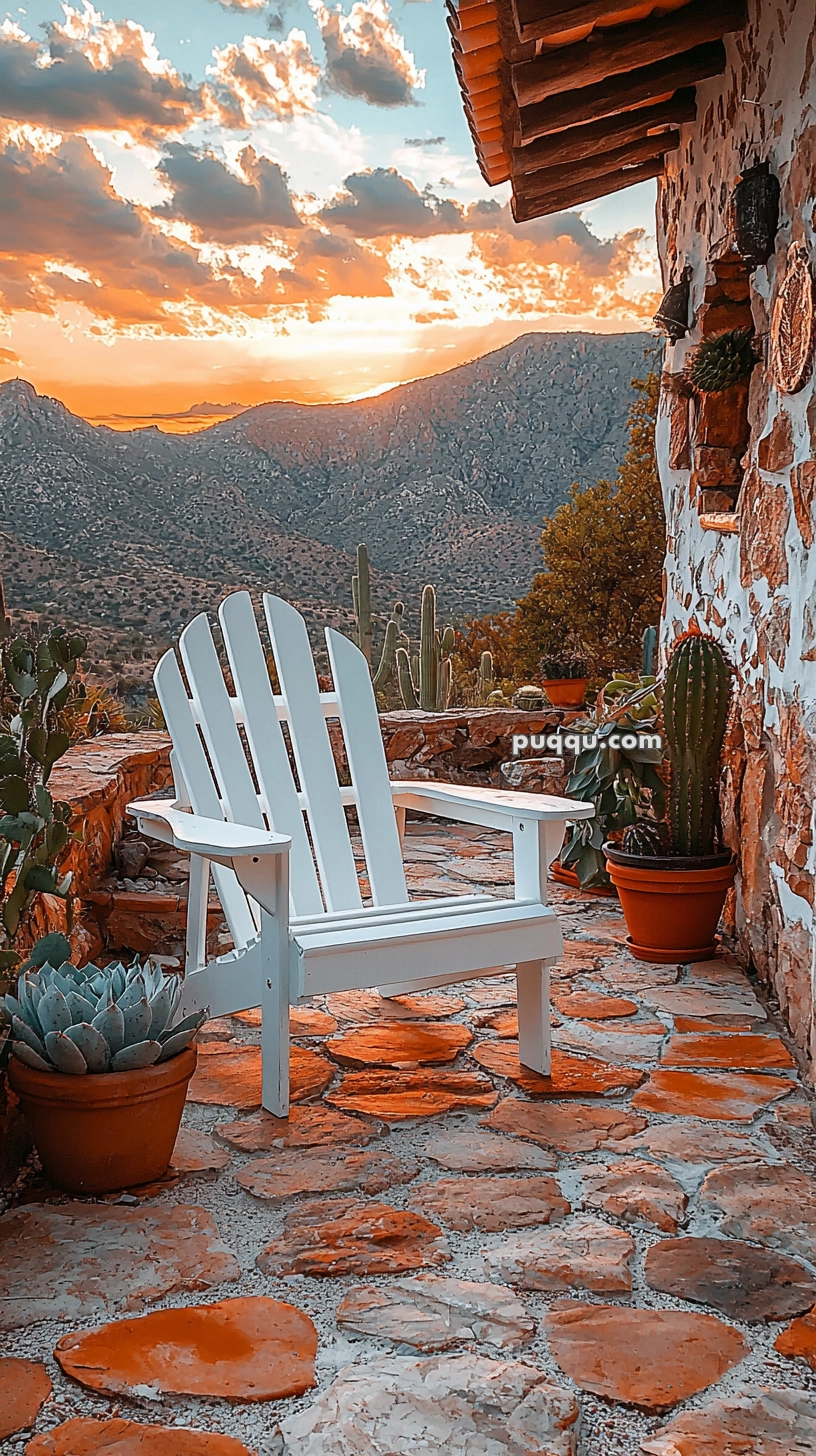
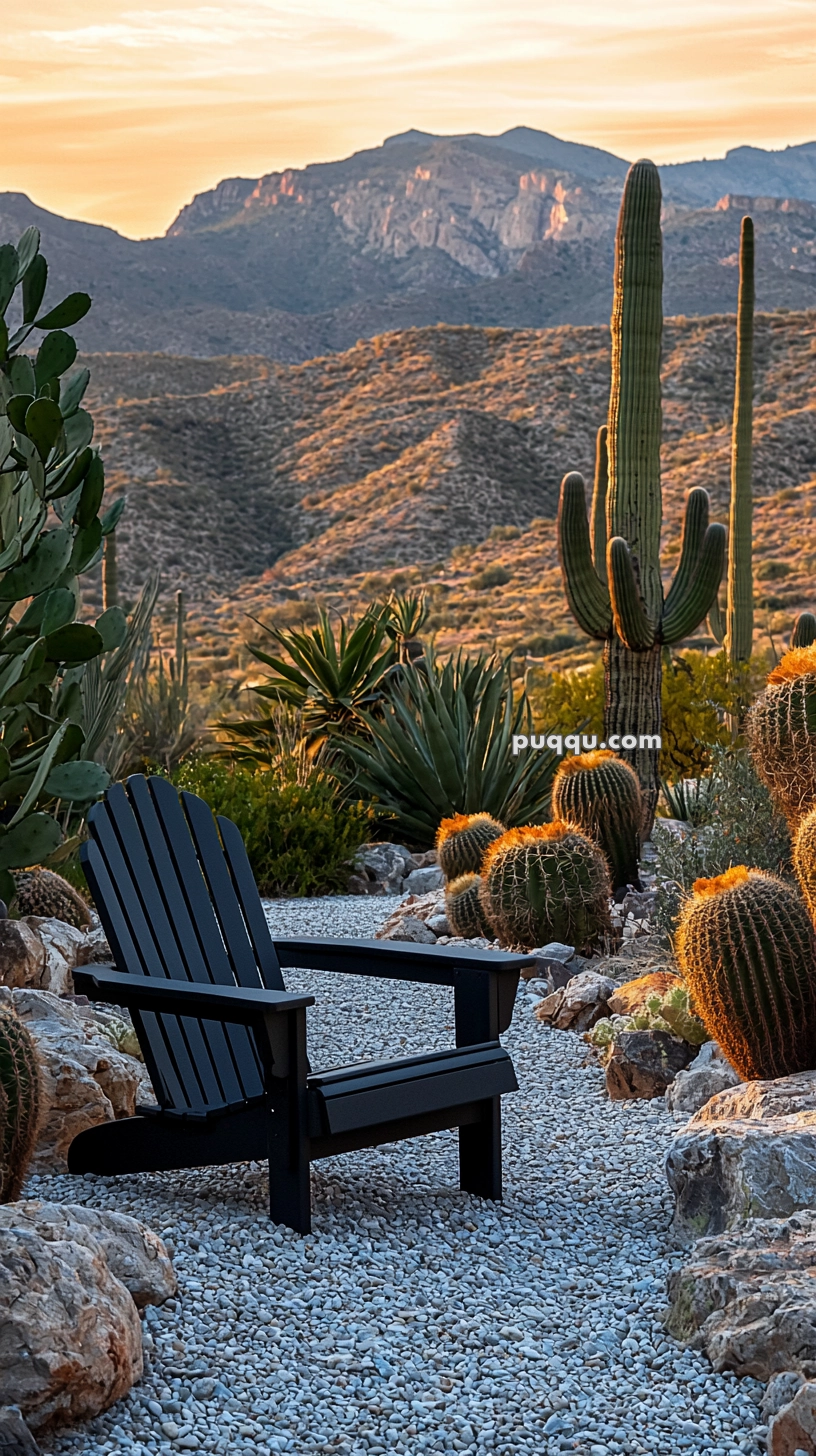
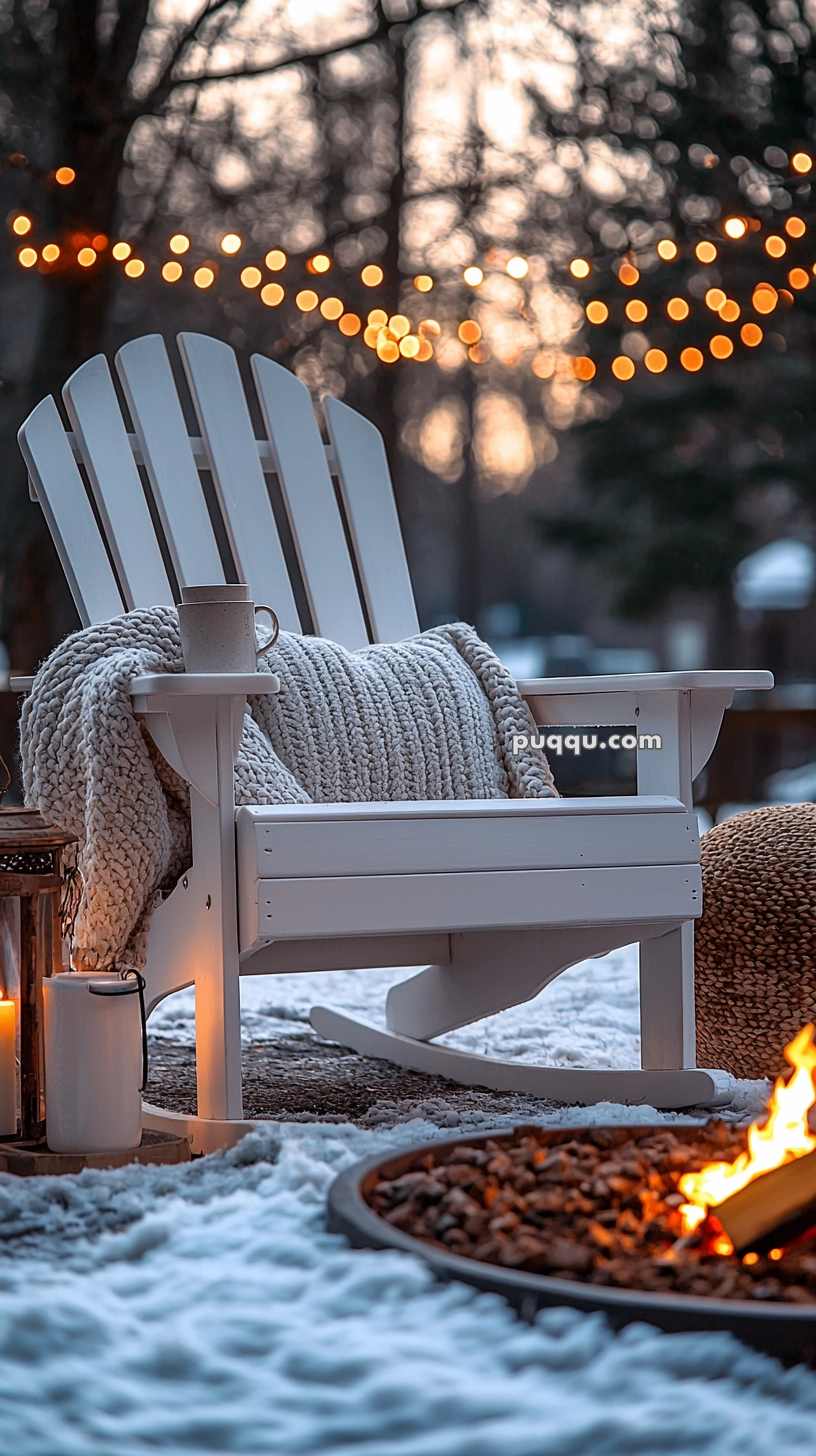
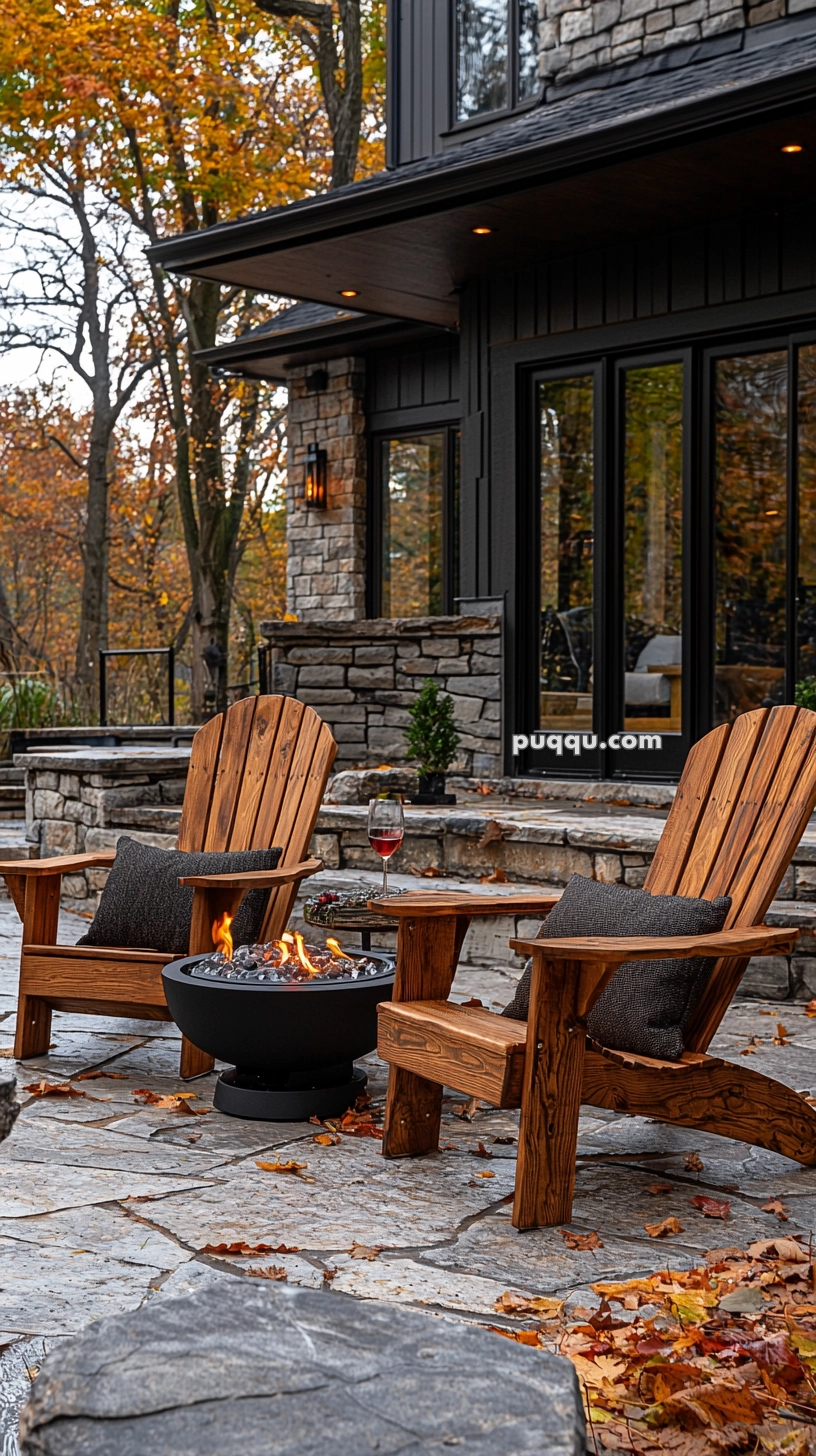
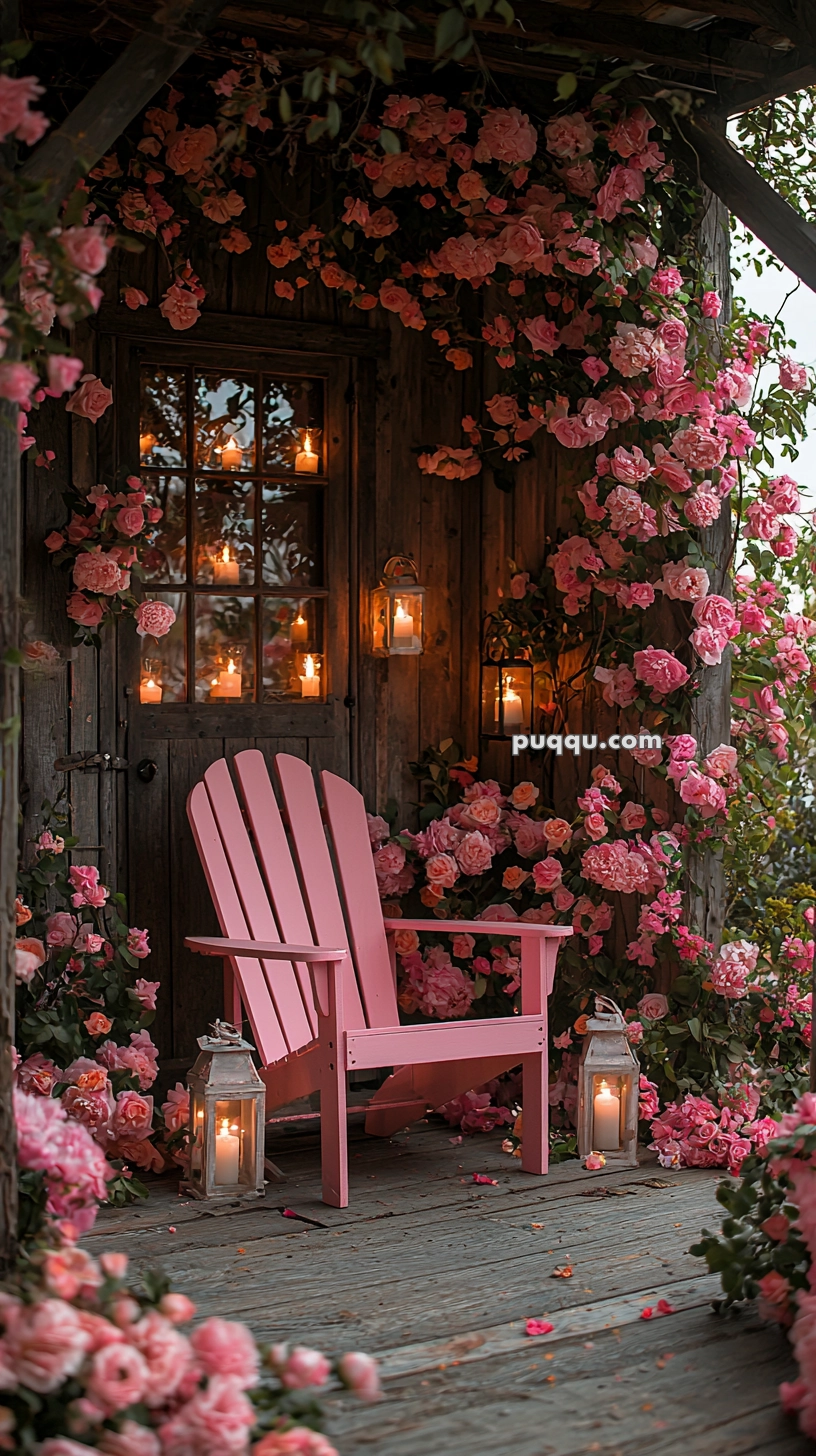
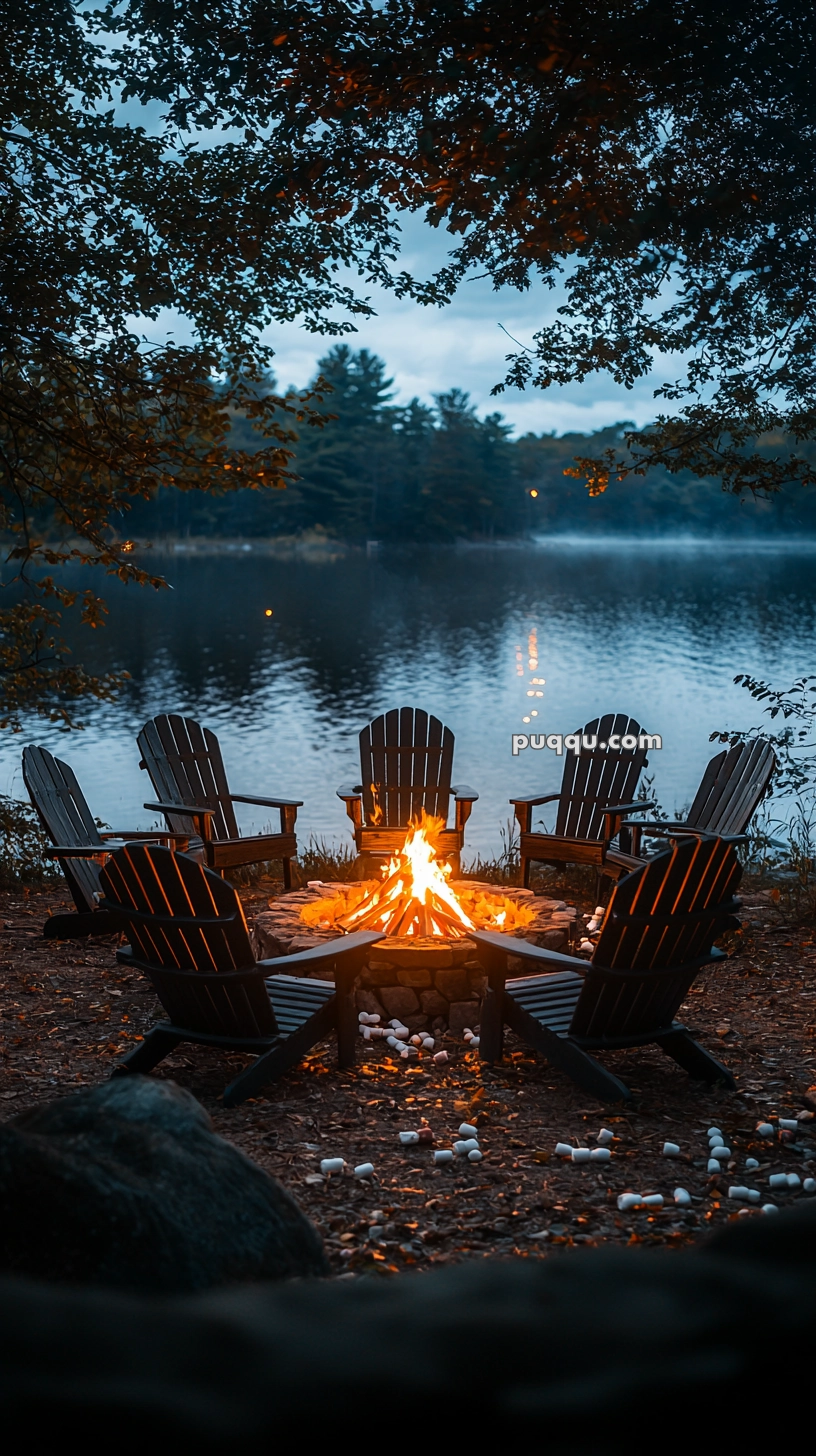
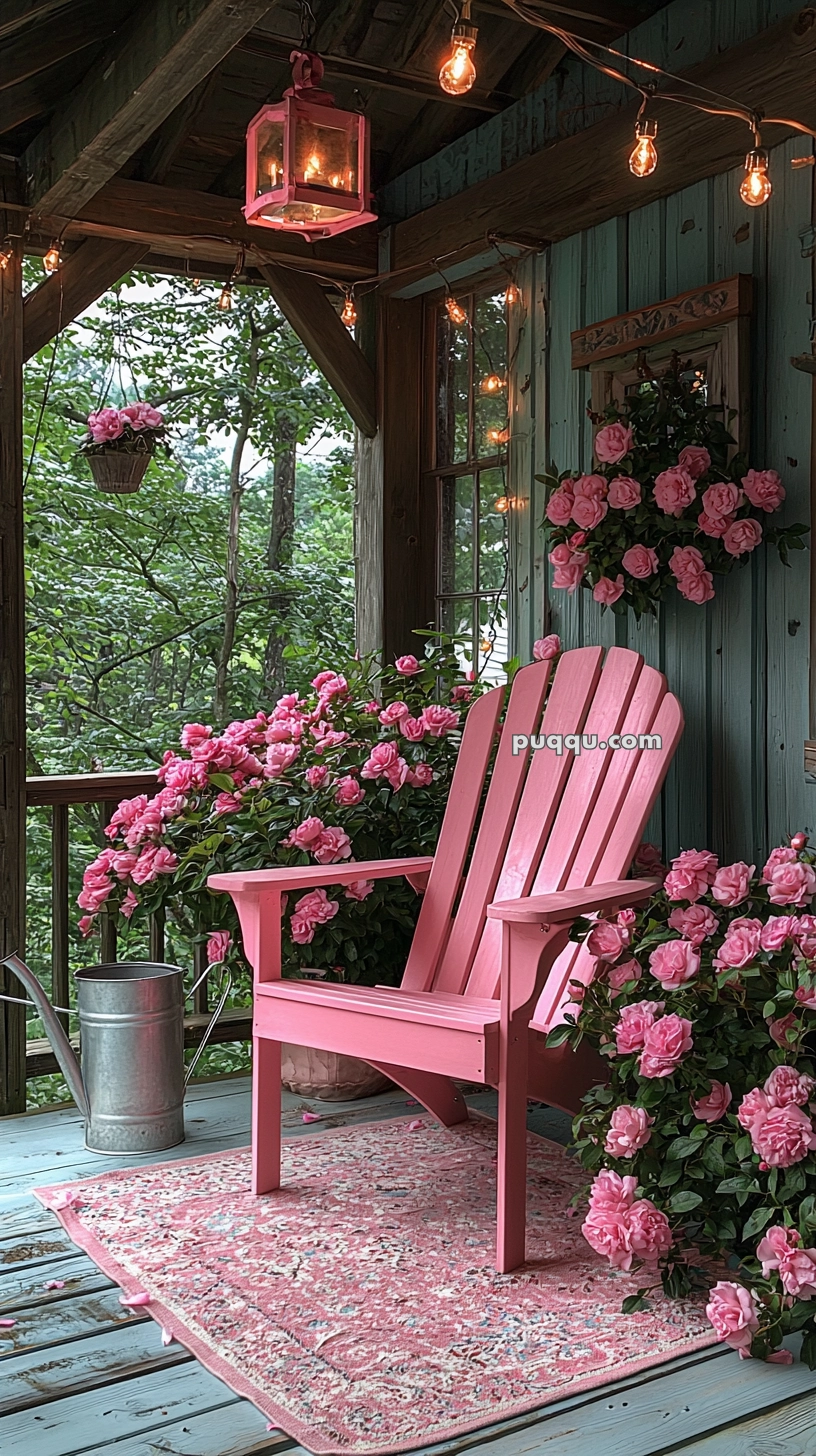
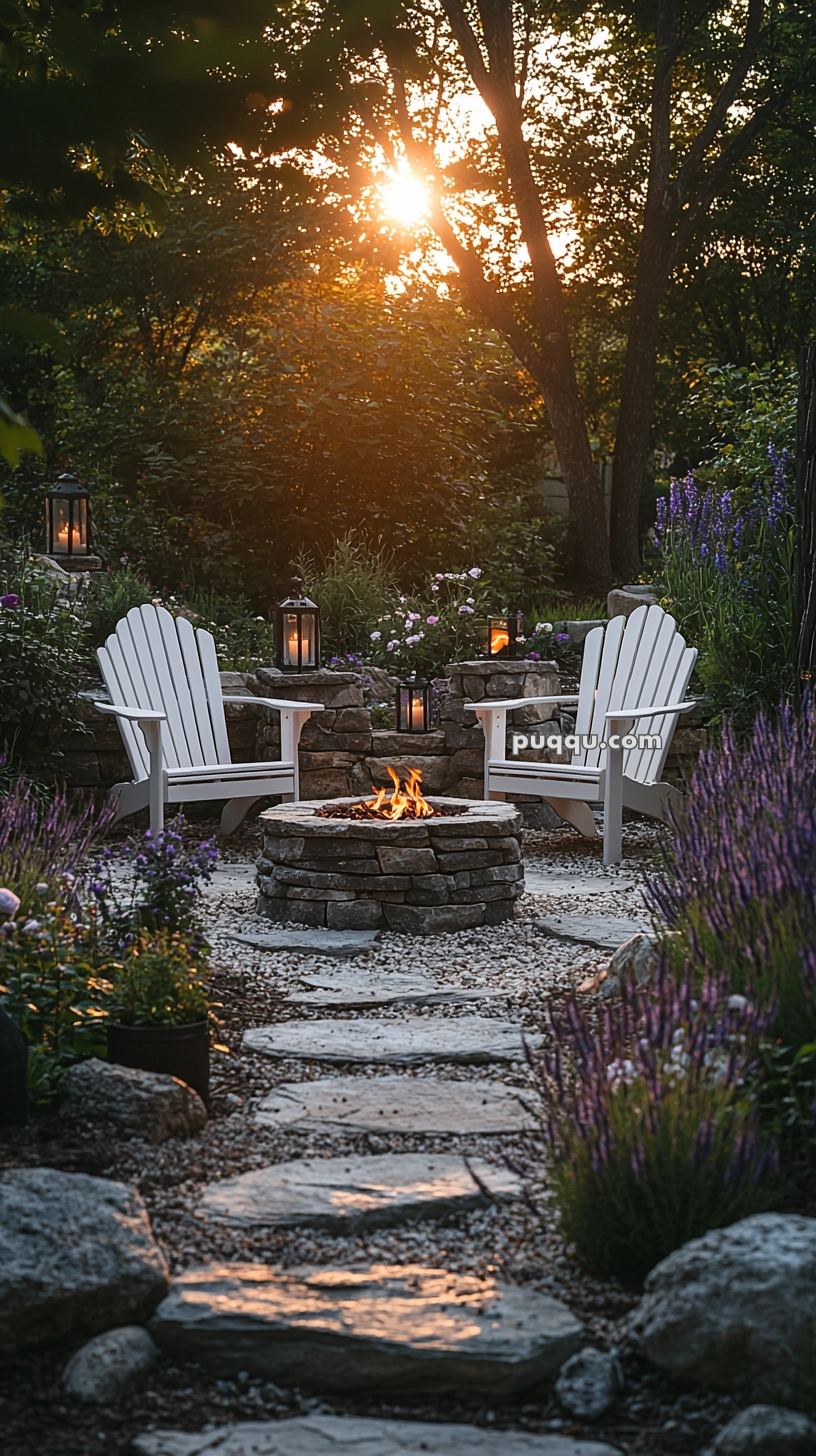
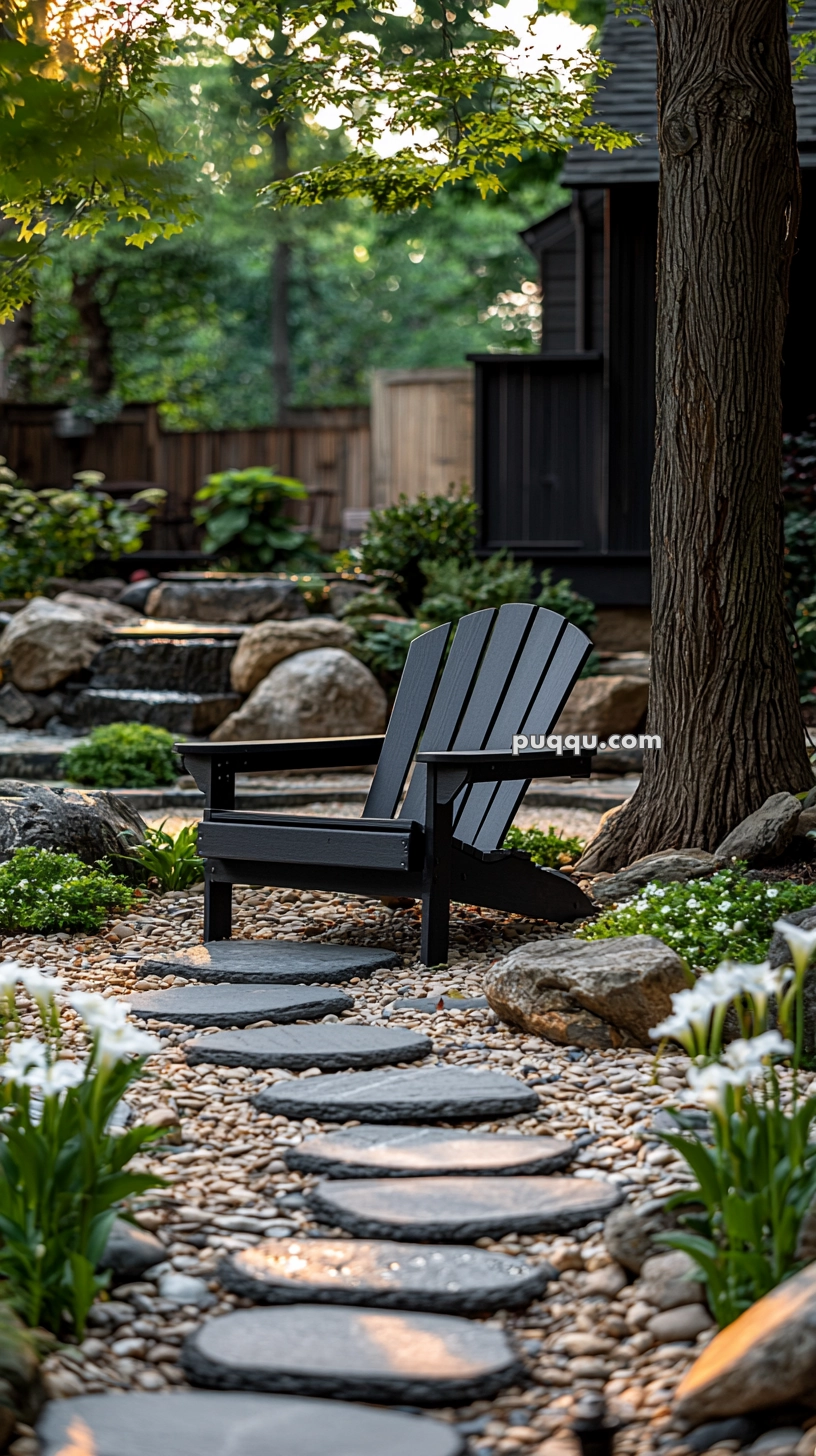
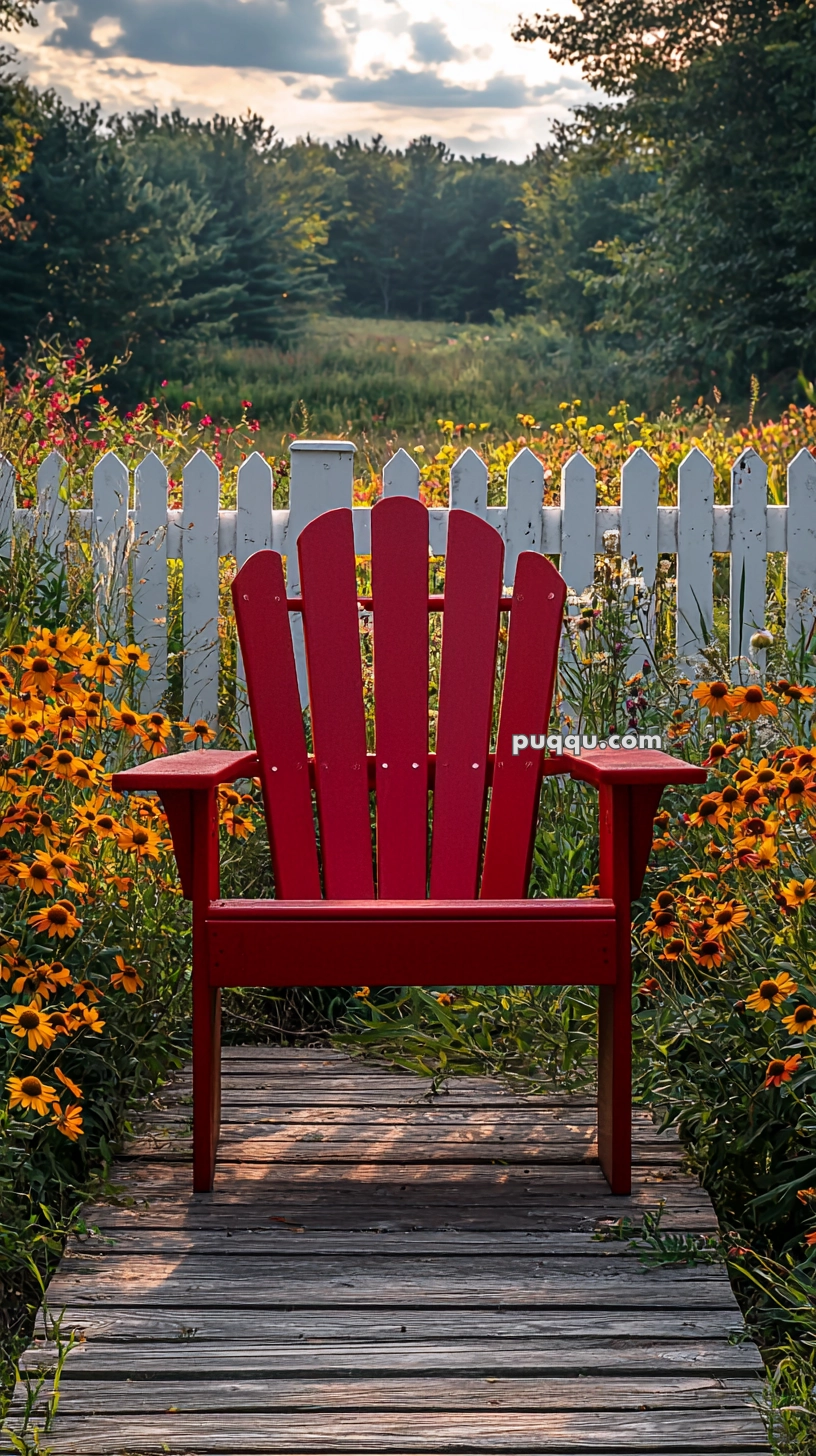
Building your own Adirondack chair is a fulfilling project that delivers comfort, style, and a sense of accomplishment. Whether it’s for your porch, fire pit, or garden nook, this timeless piece adds charm and function to any outdoor setting.
So grab your tools, follow these steps, and enjoy the view from a chair you built with your own two hands. 🛠️🌳
FAQs About DIY Adirondack Chairs
Is it hard to build an Adirondack chair?
It’s beginner-friendly if you follow the steps and use the right tools. Measuring and cutting accurately is key.
What kind of wood is best?
Cedar, redwood, or pressure-treated pine are excellent for outdoor use.
How long does it take to build?
Most people can finish in 6–8 hours over a weekend, depending on experience.
Can I paint instead of stain?
Yes! Just use outdoor-grade paint and seal it for weather protection.
How much does it cost to build one?
Around $40–$100, depending on the wood type and finish.