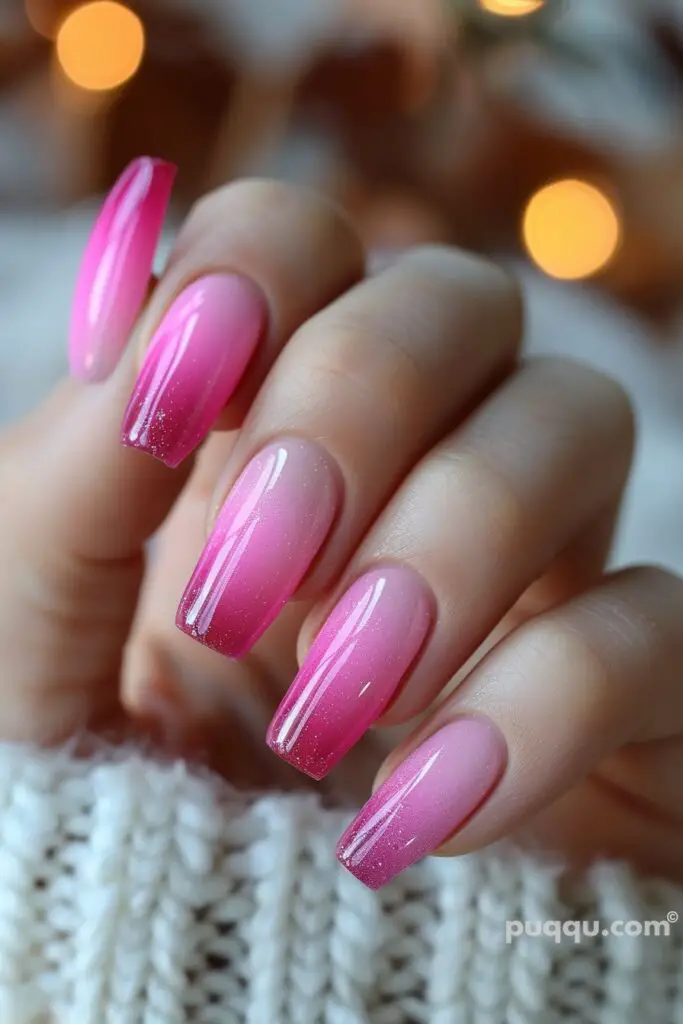
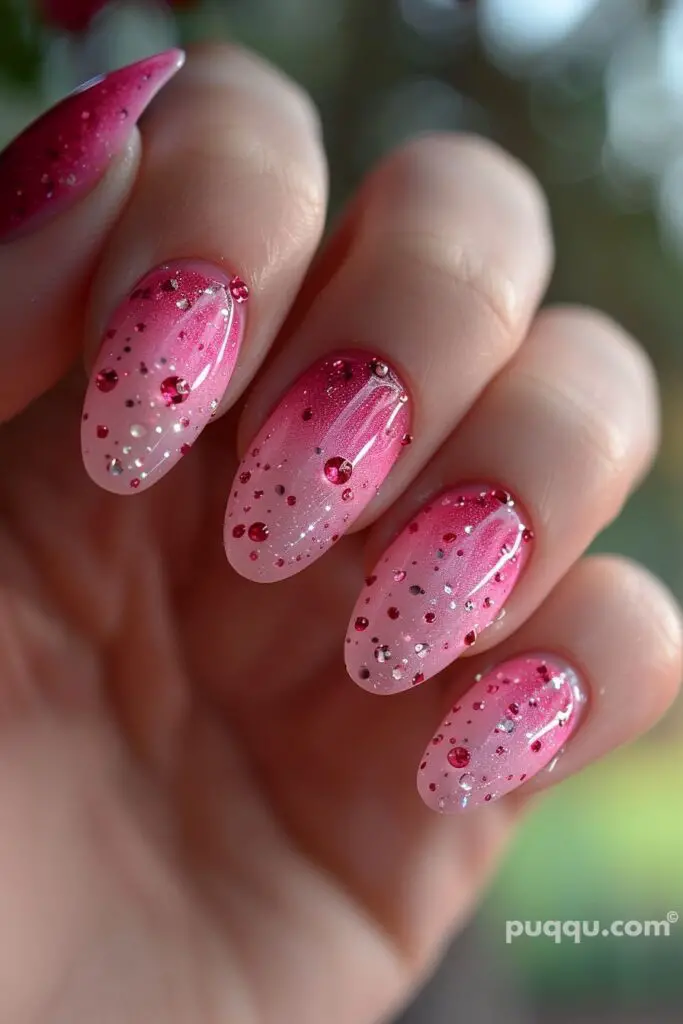
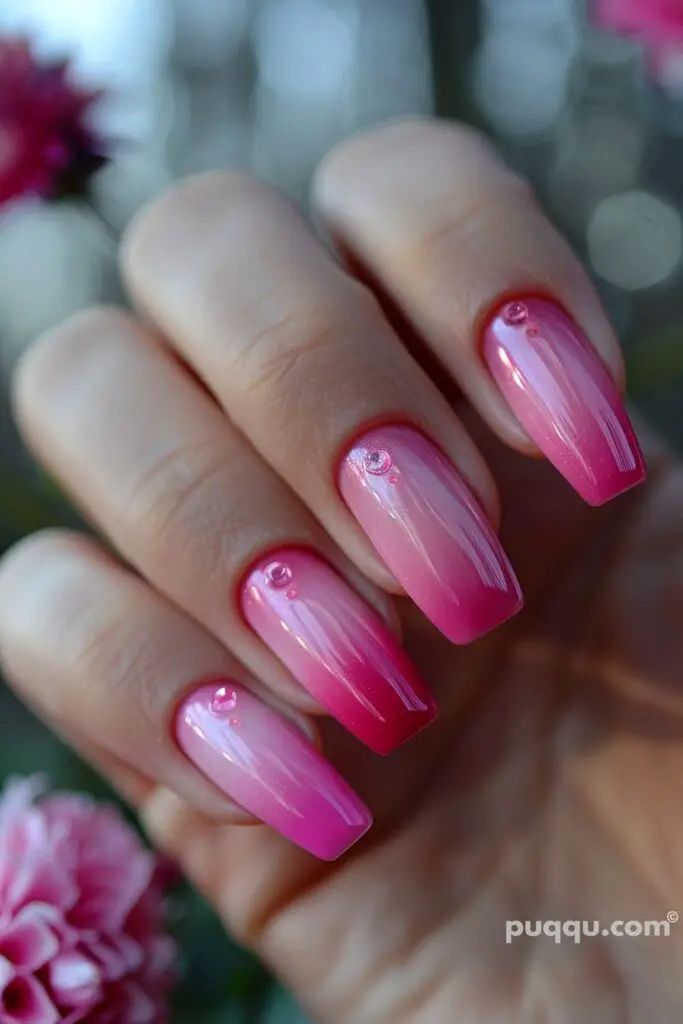
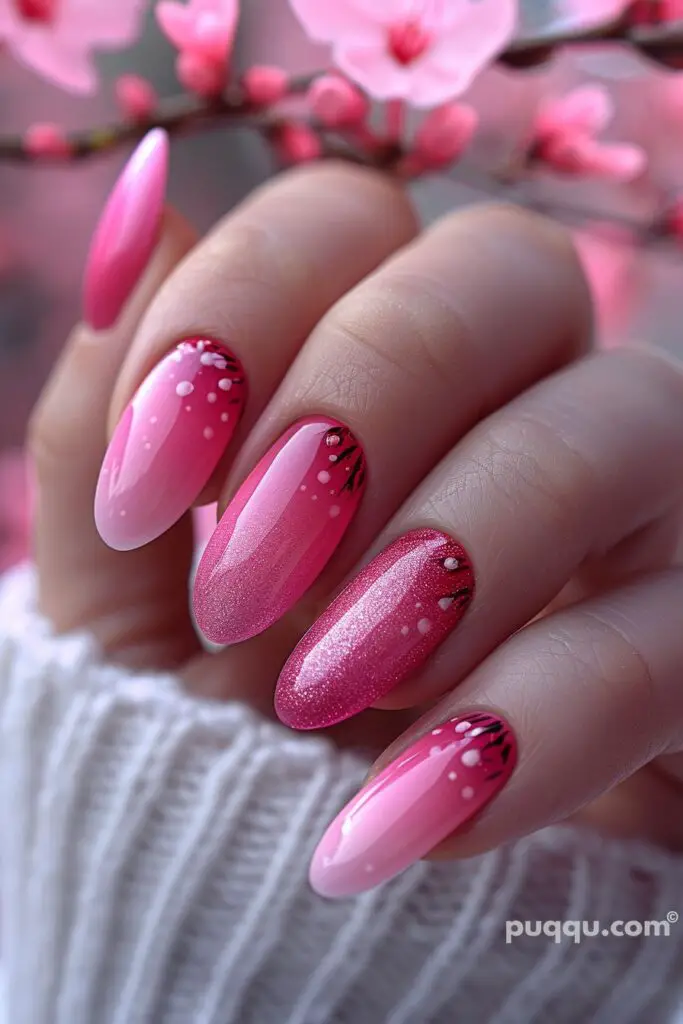
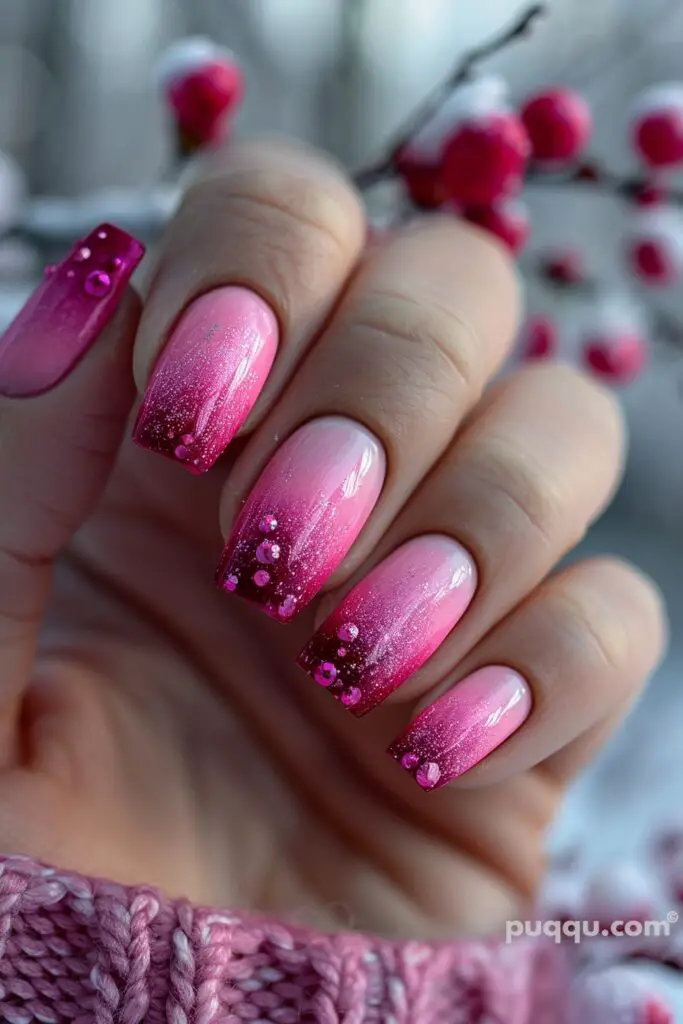
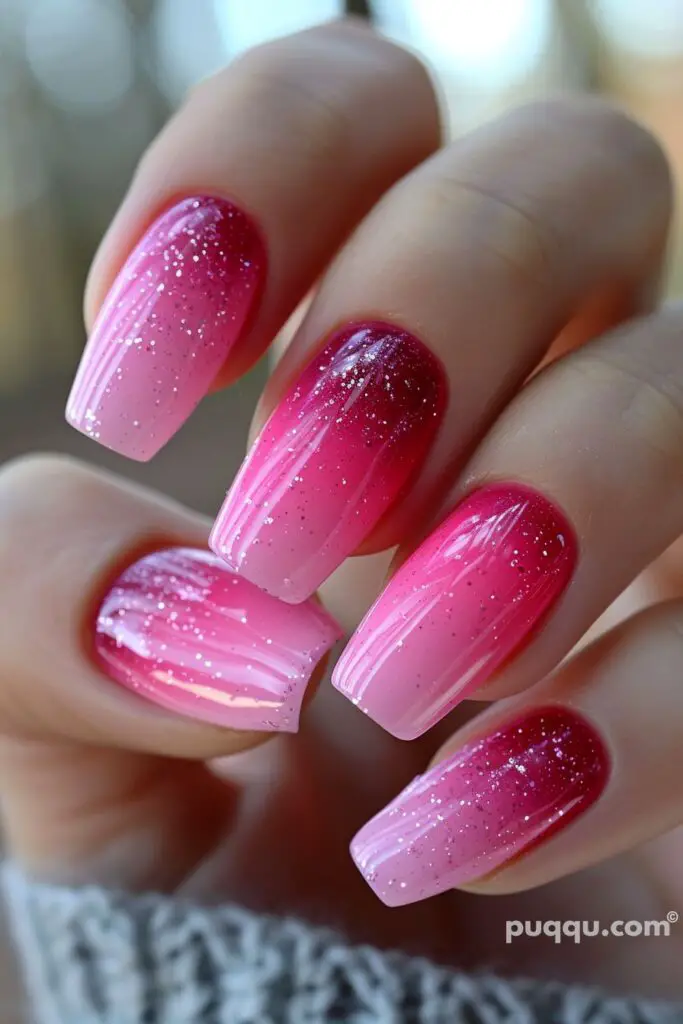
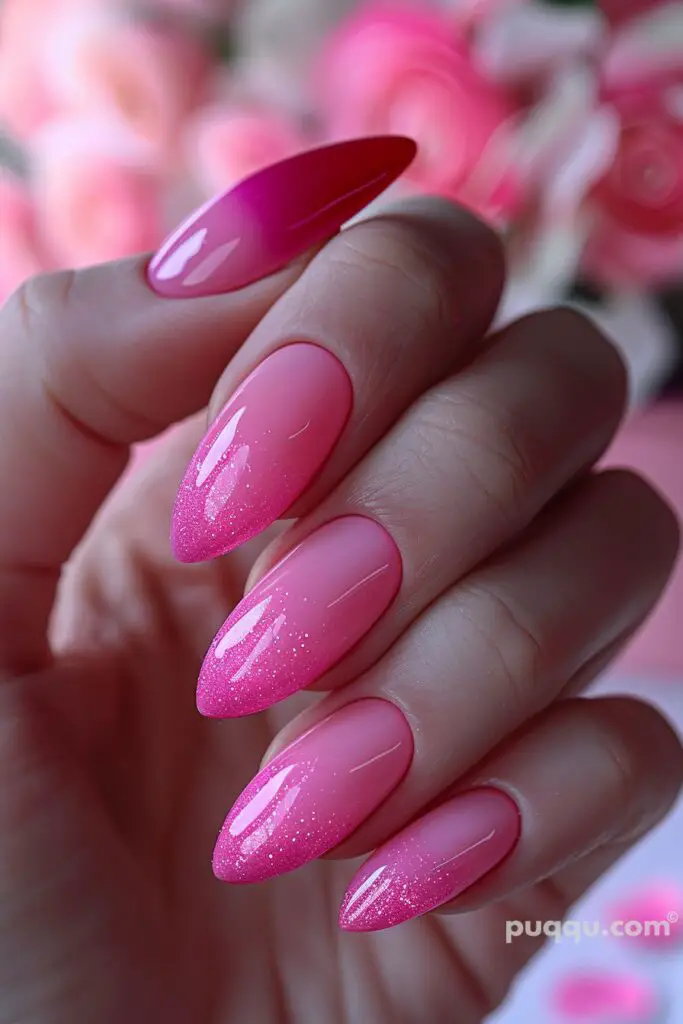
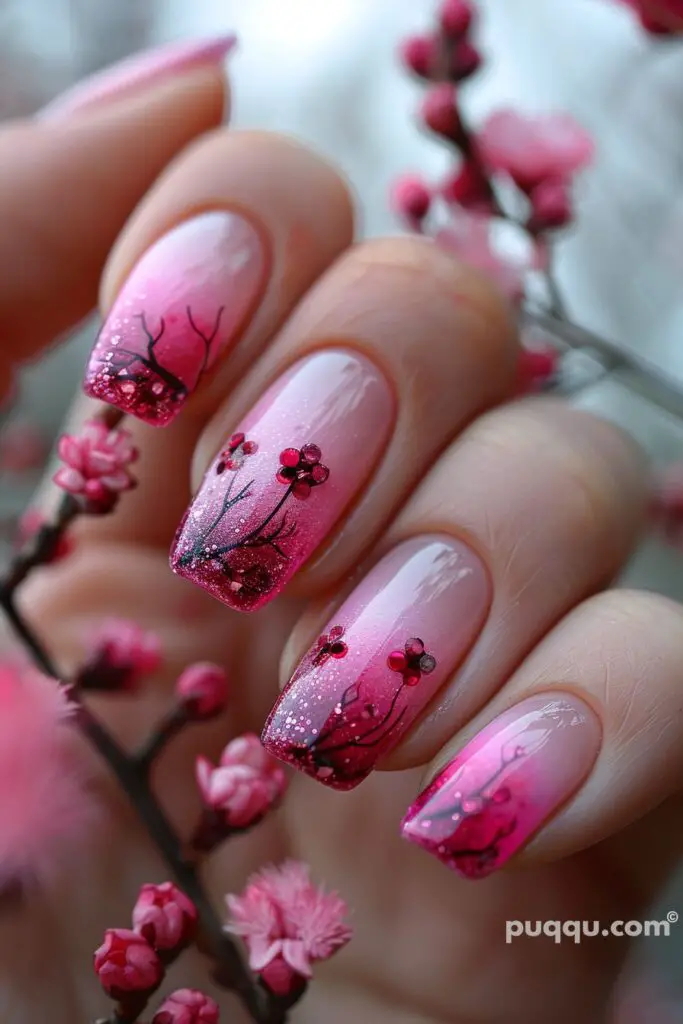
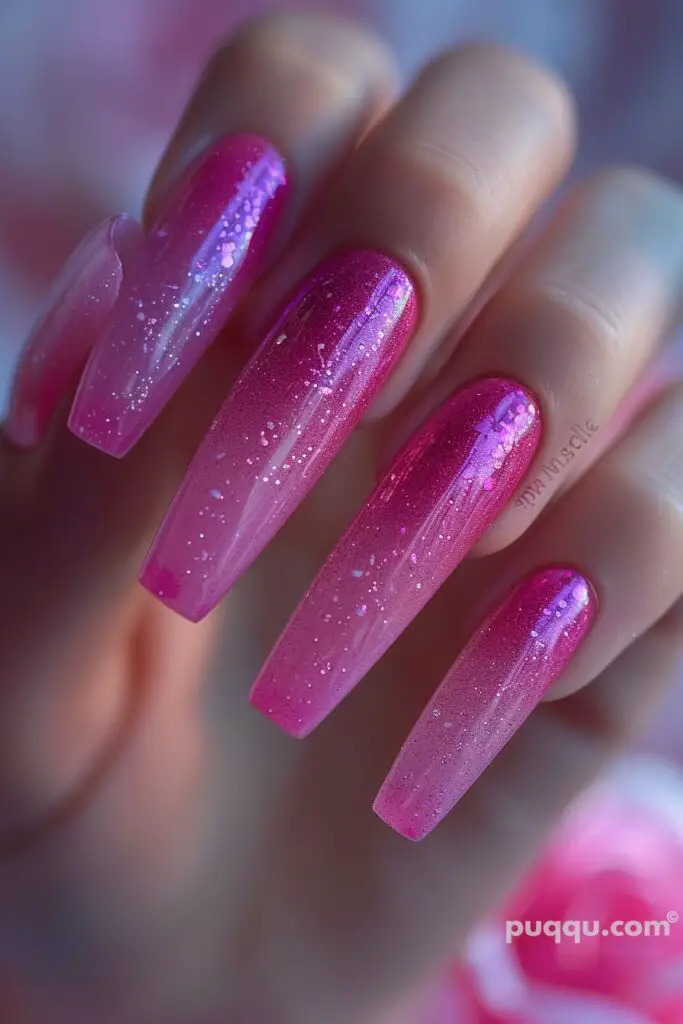
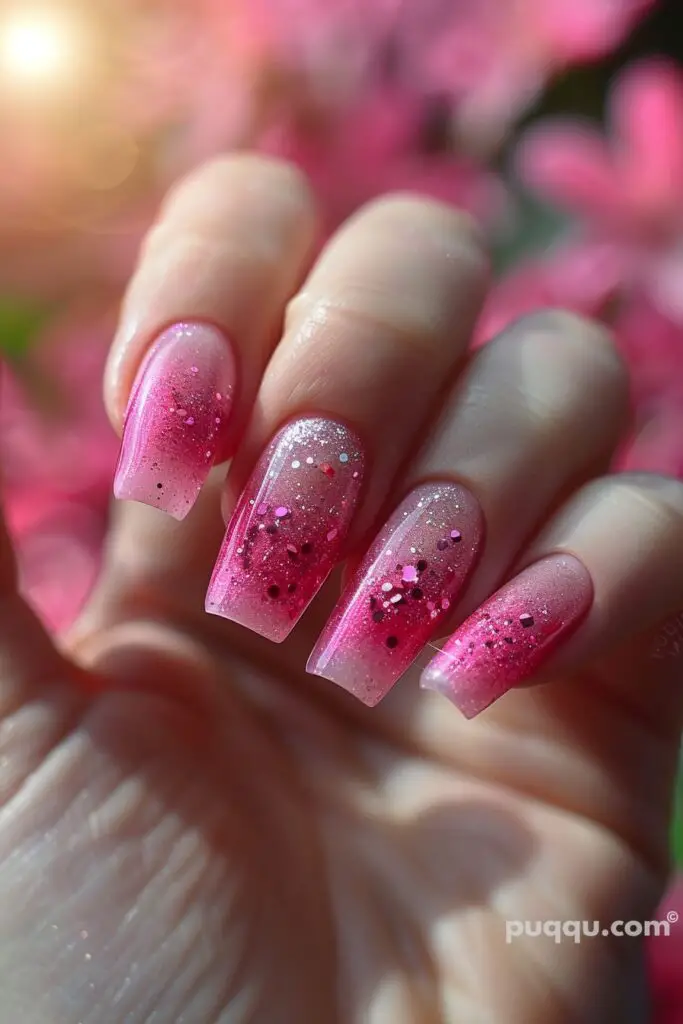
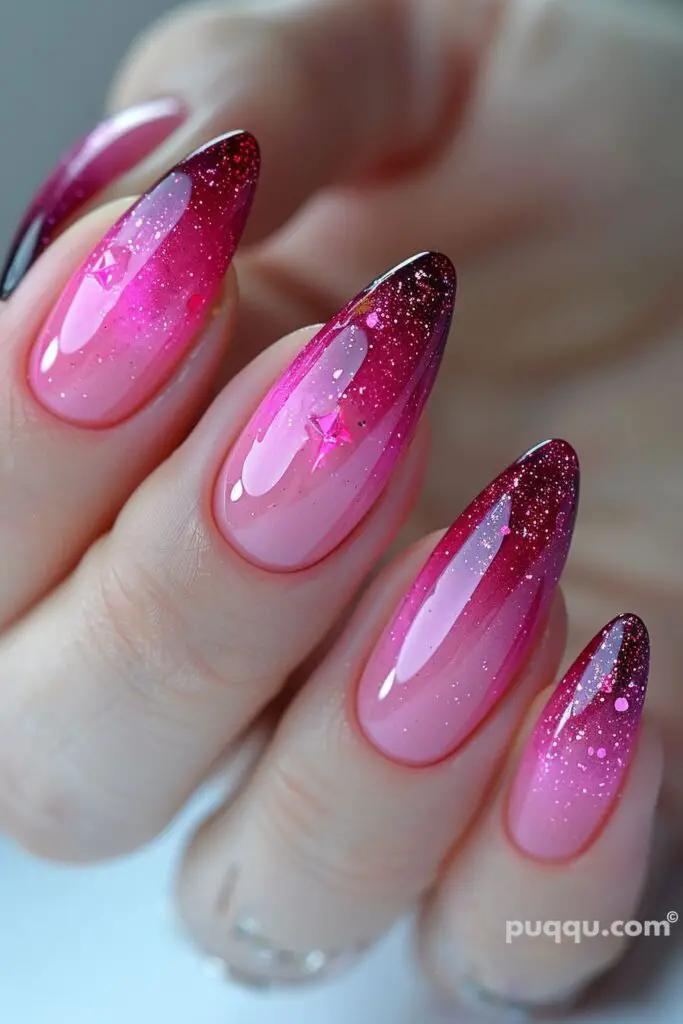
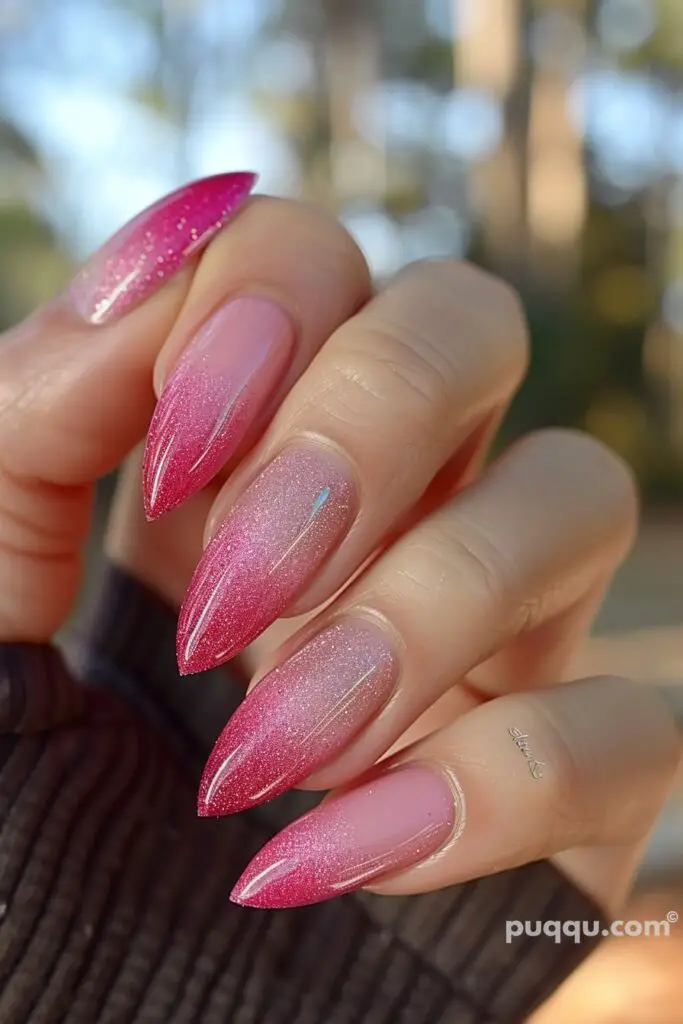
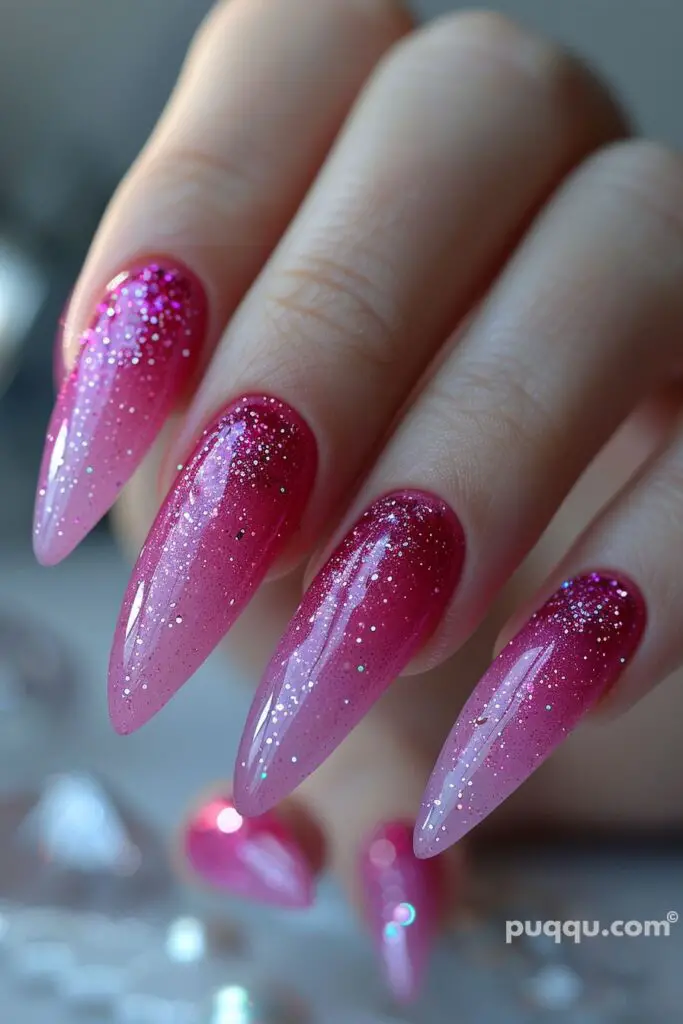
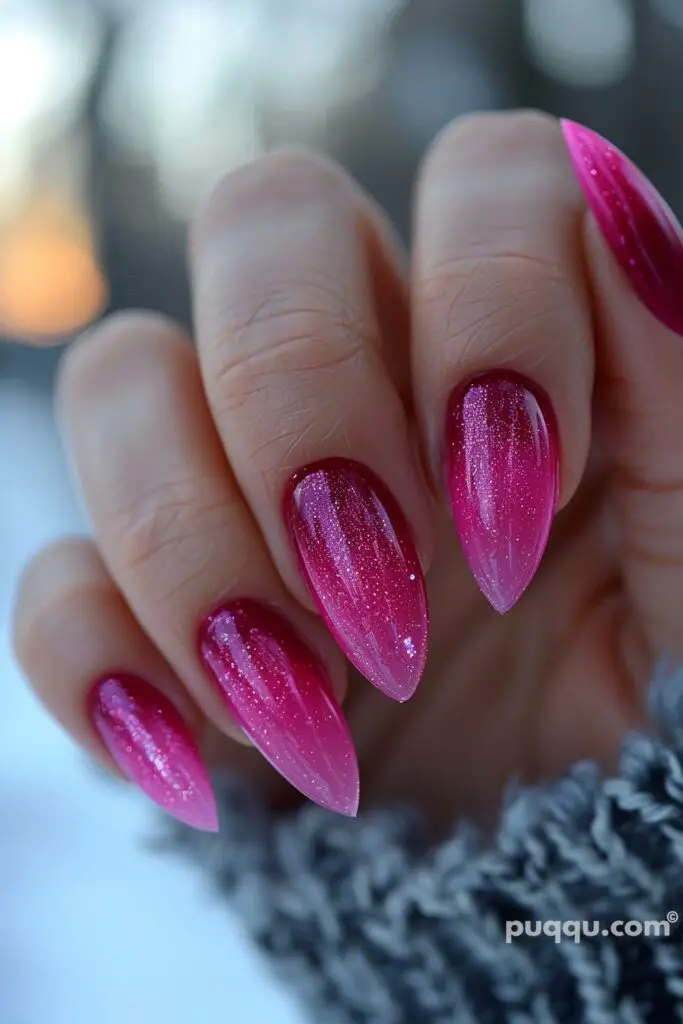
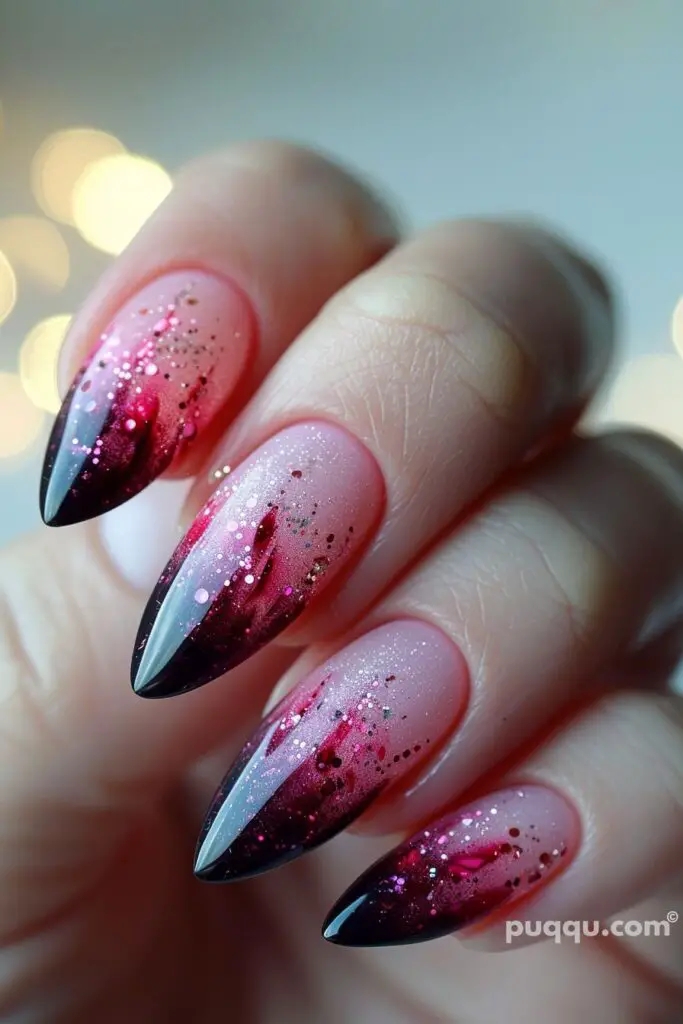
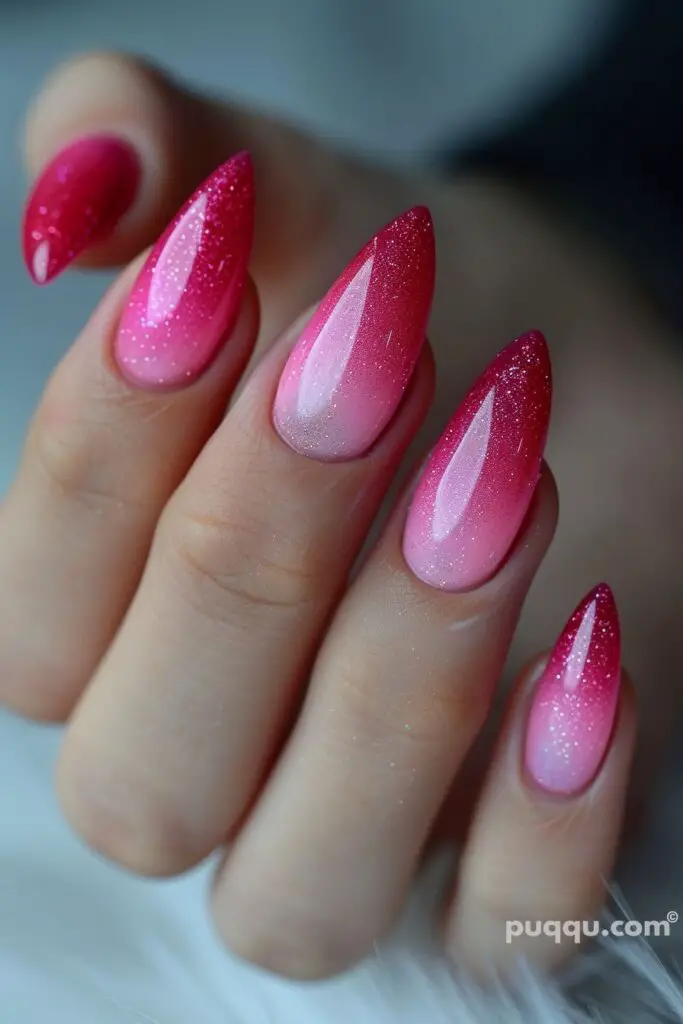
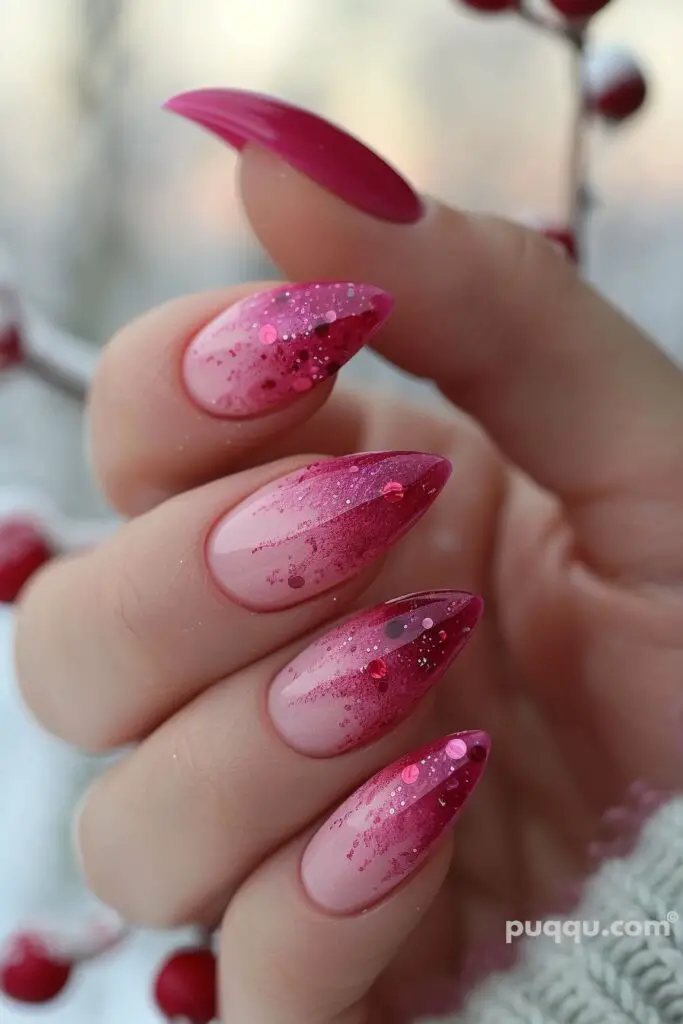
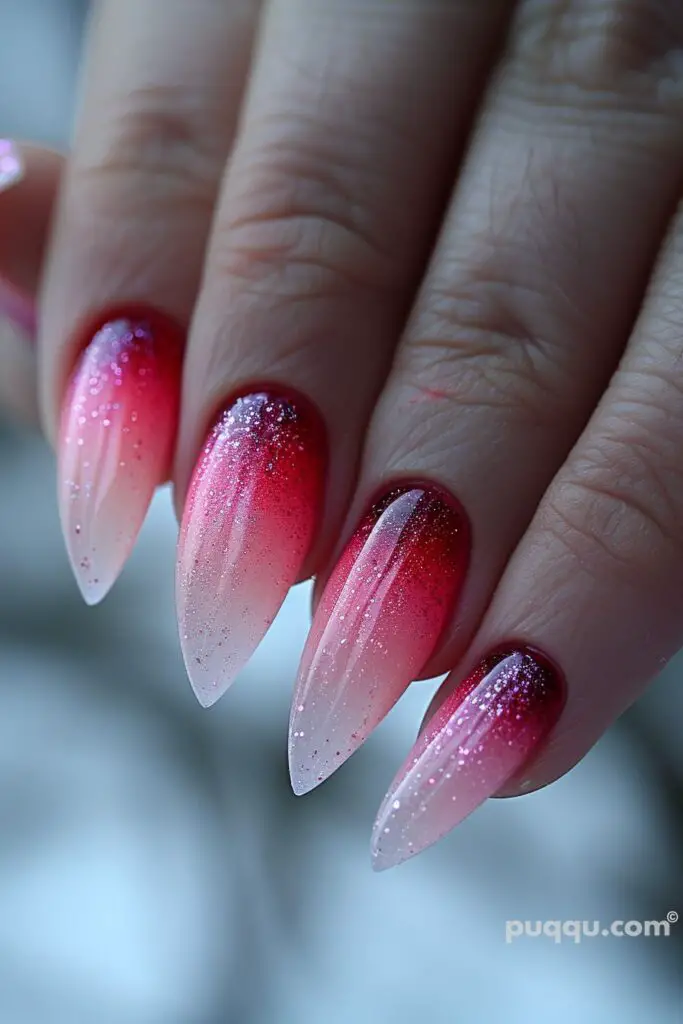
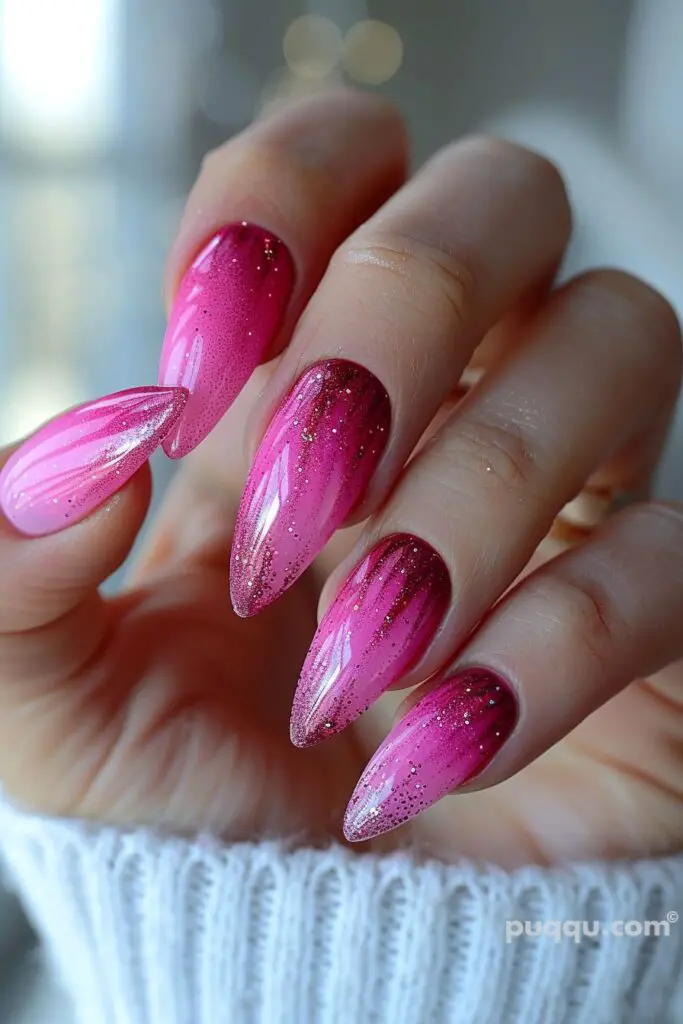
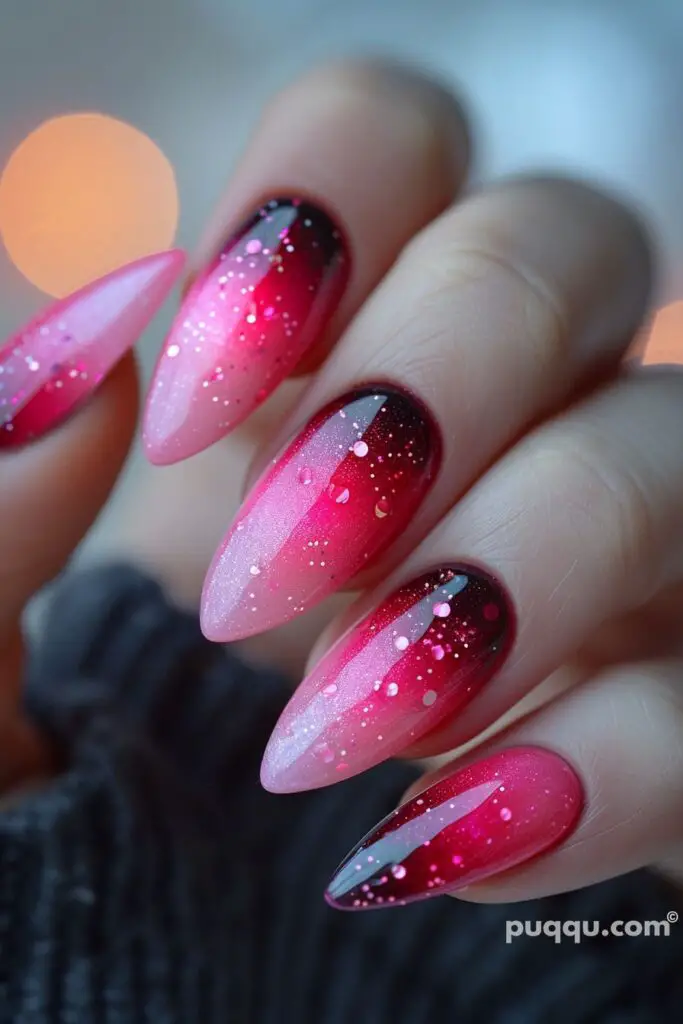
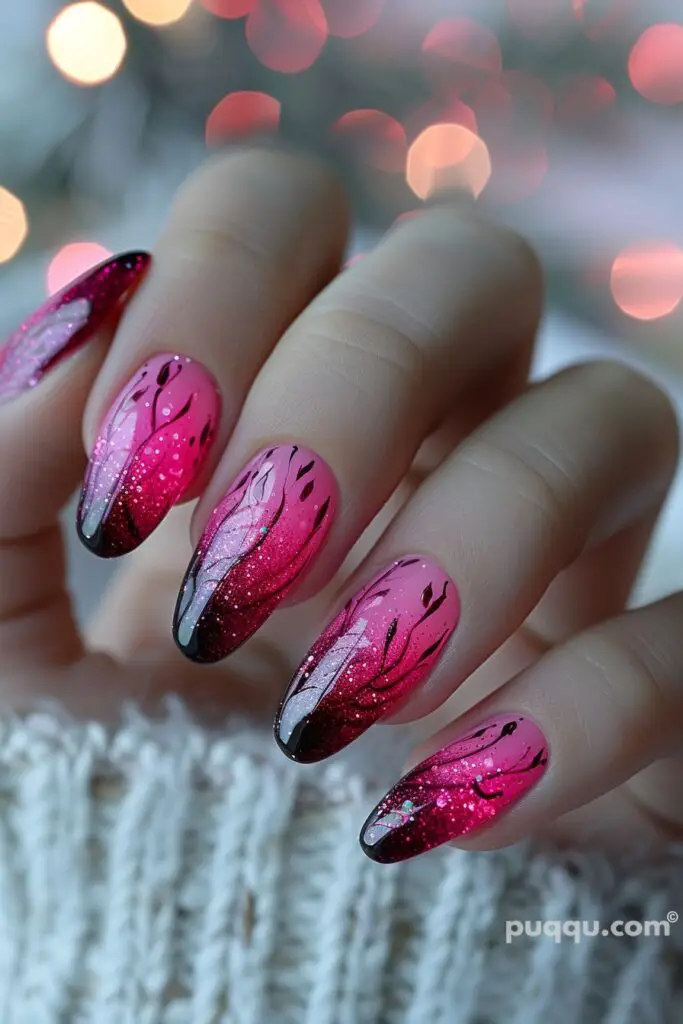
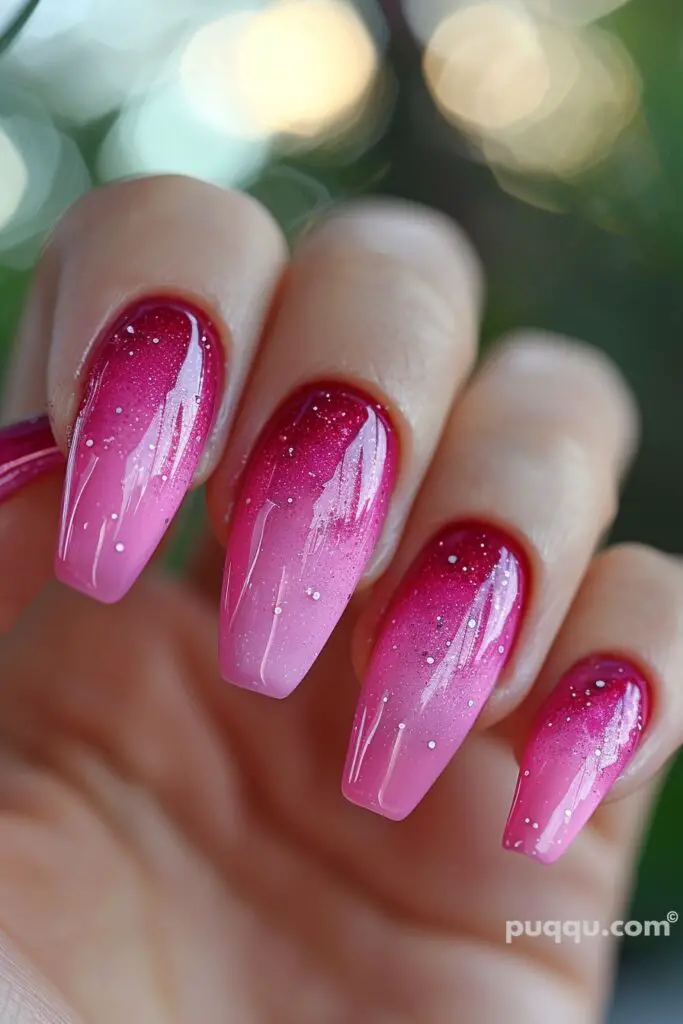
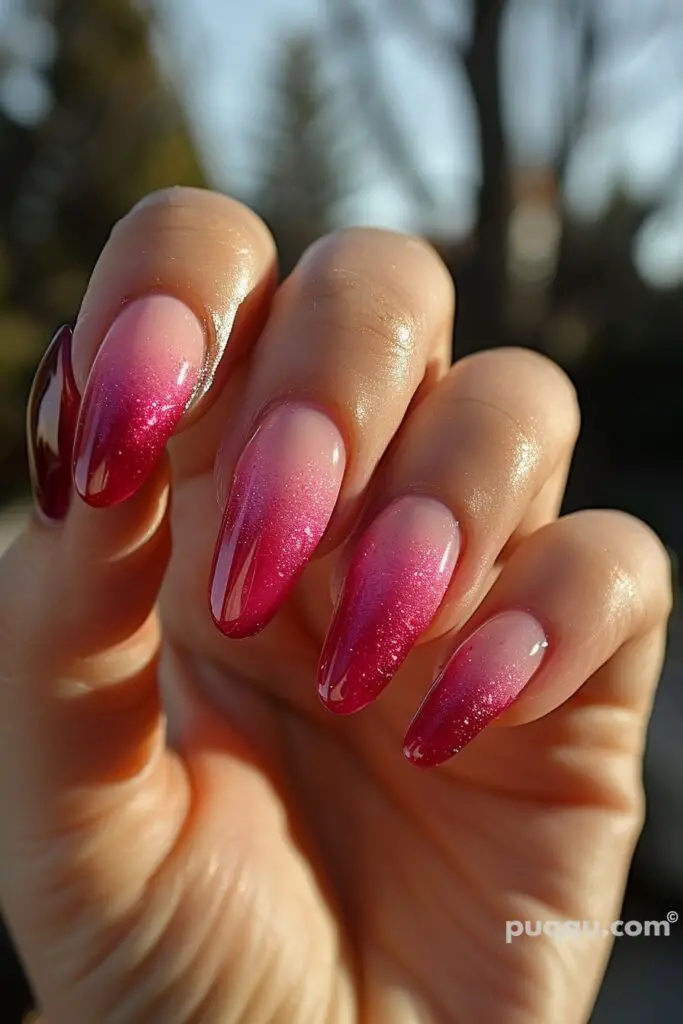
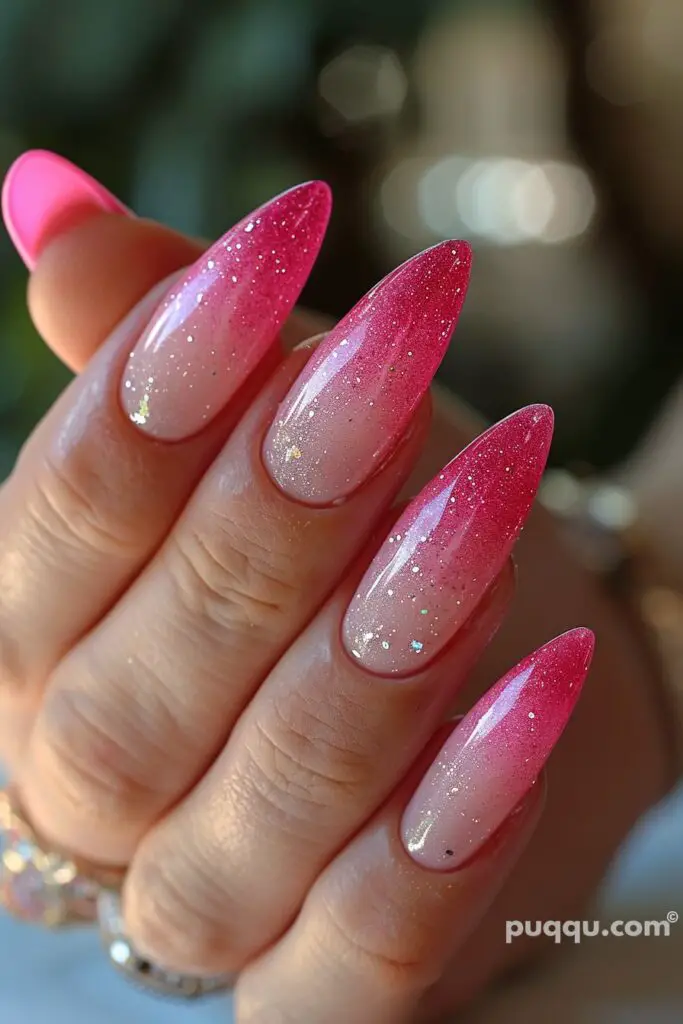
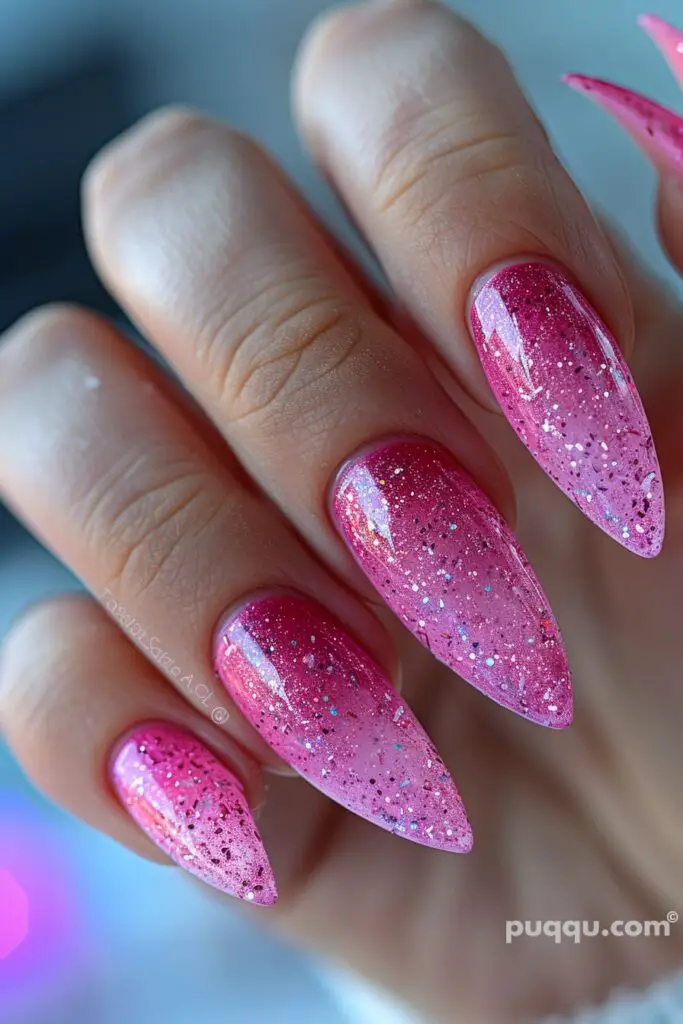
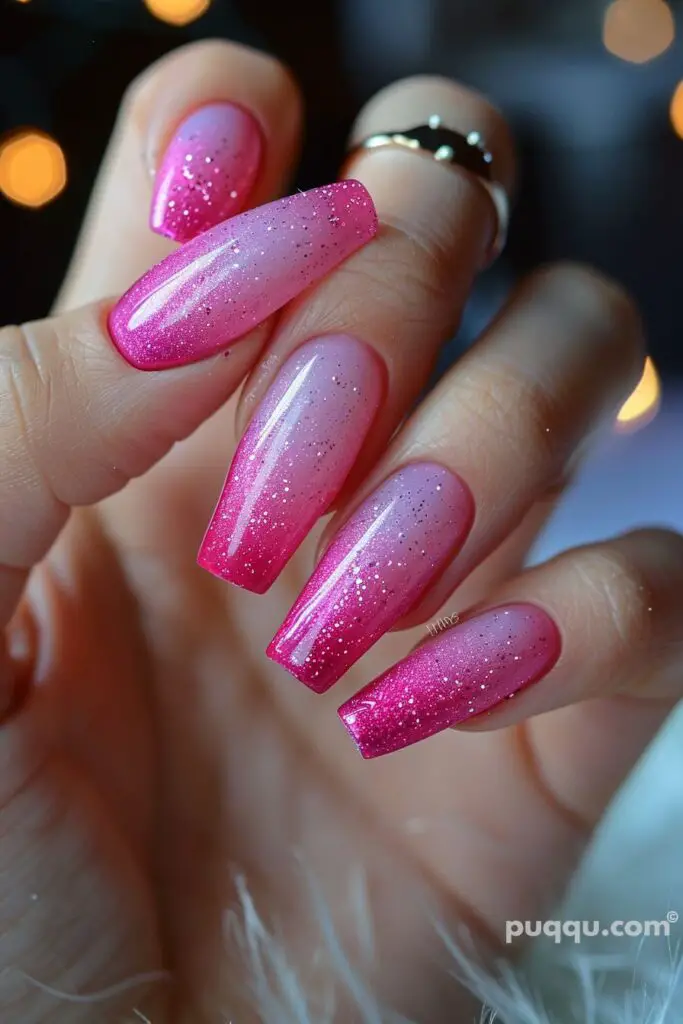
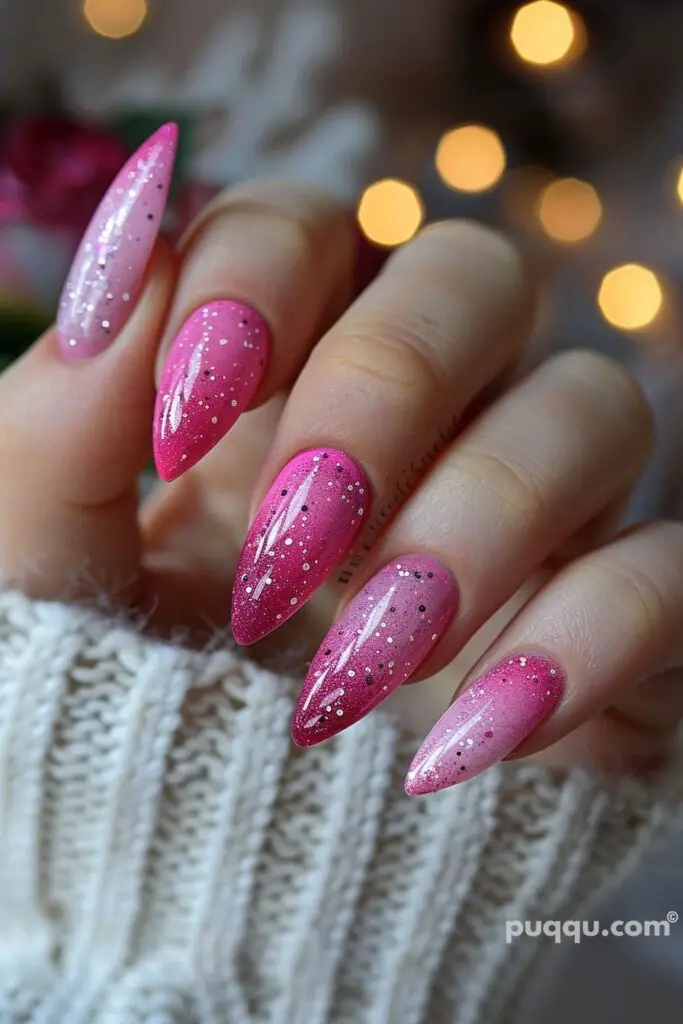
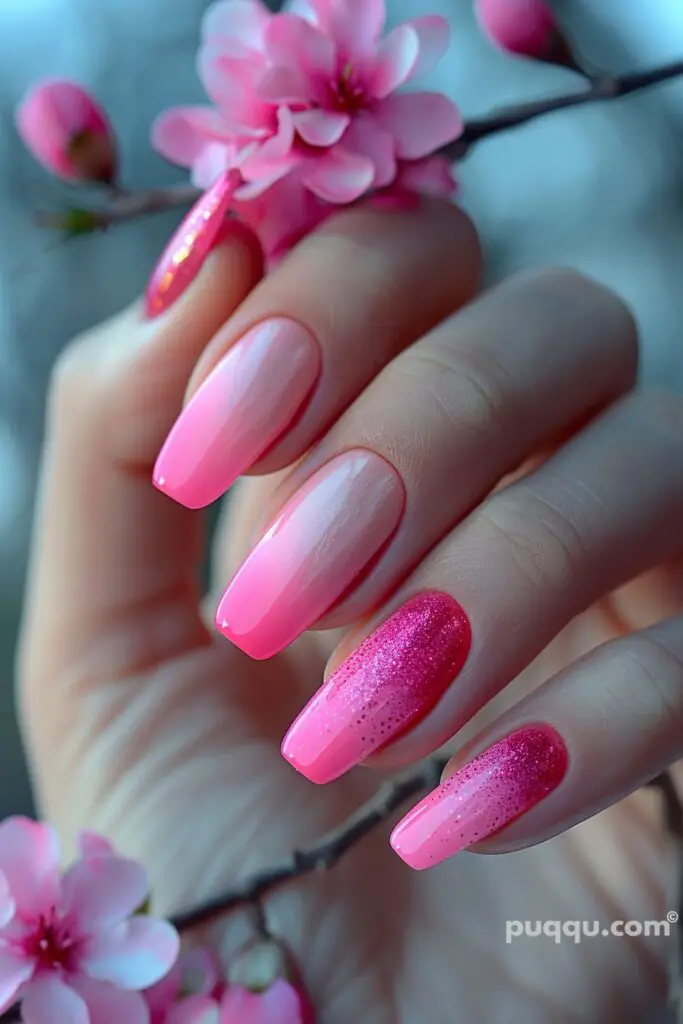
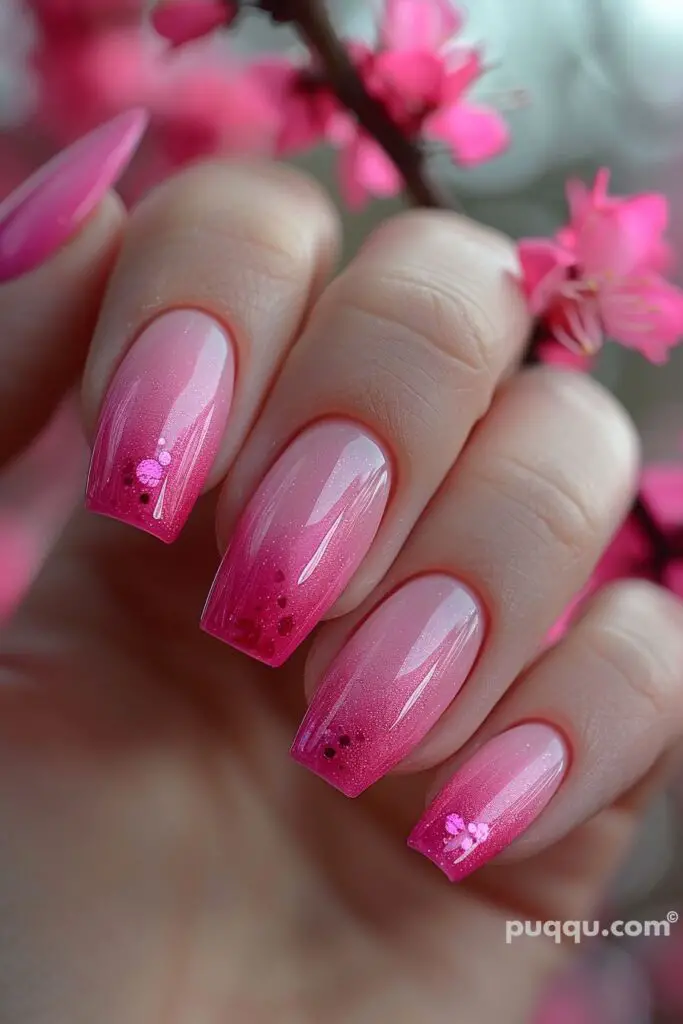
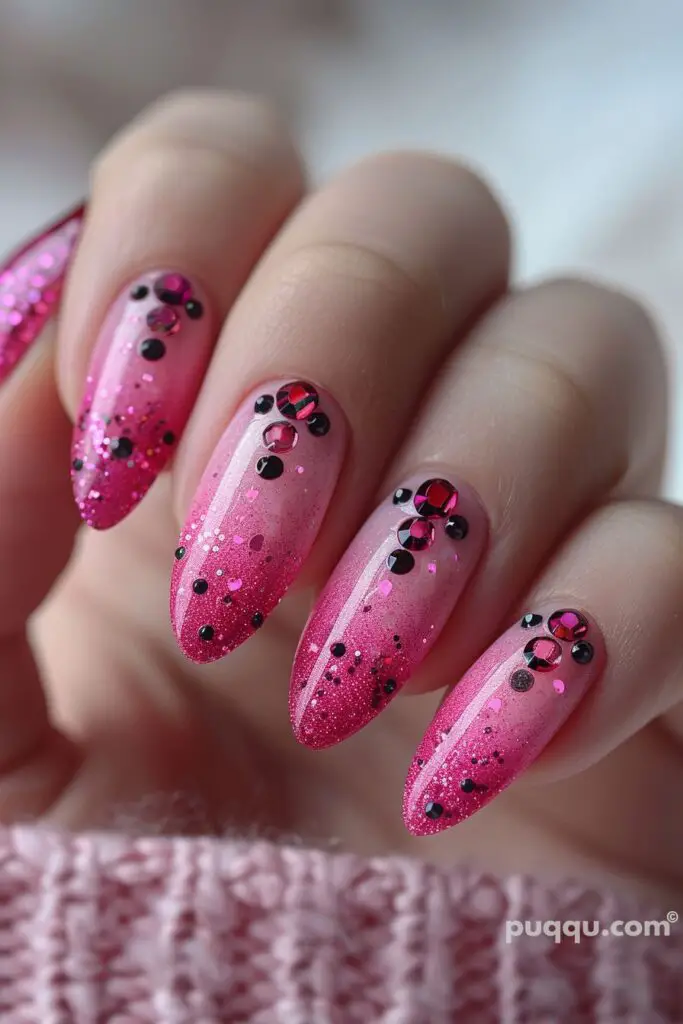
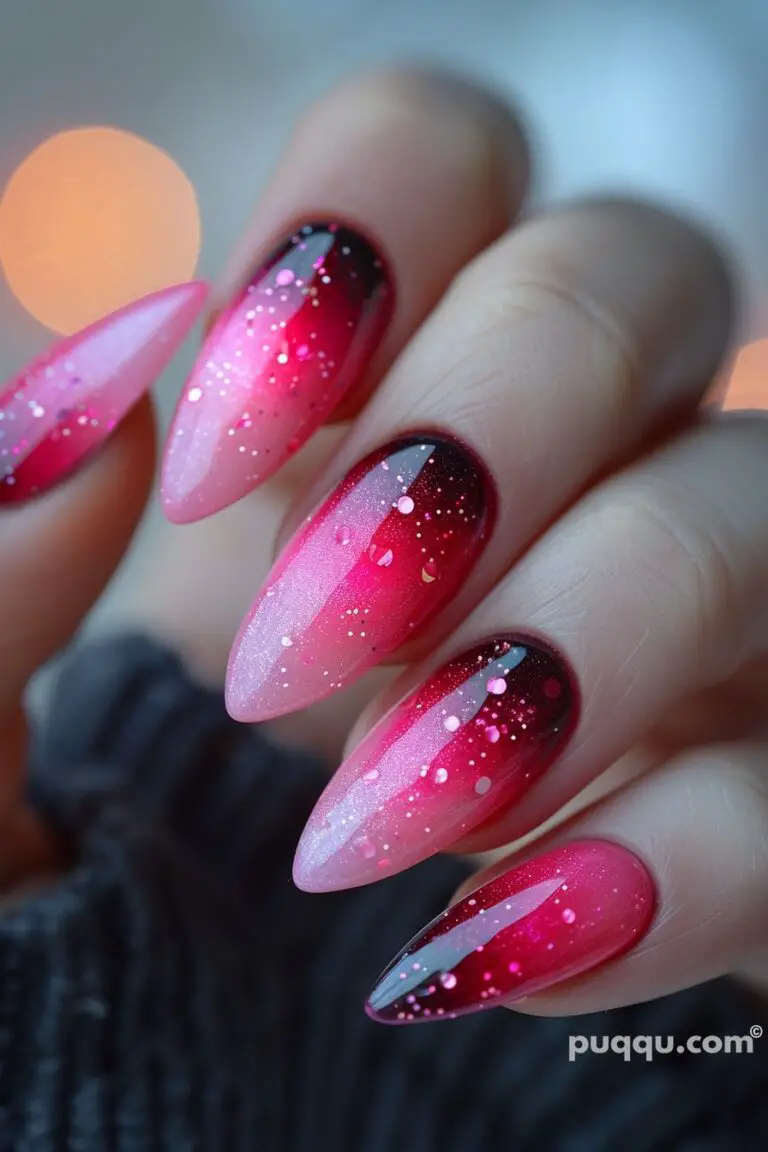
Pink ombre nails are a beautiful and stylish choice that can add a touch of elegance and fun to your overall look. This gradient nail design transitions from a light shade to a darker one, creating a stunning effect. Here are some trendy pink ombre nail designs and tips for achieving a flawless look.
Understanding Ombre Nails
1. What Are Ombre Nails?
Description: Ombre nails feature a gradient effect where colors blend seamlessly from one shade to another. This style is popular for its versatility and ability to create a unique look.
Benefits:
- Versatility: Can be done with various color combinations.
- Elegance: Adds a sophisticated and trendy touch to your nails.
- Customization: Easy to personalize with different shades and finishes.
2. Why Choose Pink Ombre?
Description: Pink ombre nails are versatile and can be subtle or bold depending on the shades used. Pink is a universally flattering color that can suit various occasions.
Benefits:
- Feminine and Chic: Pink adds a feminine touch while the ombre effect adds chicness.
- Variety of Shades: From soft pastels to bold magentas, pink offers a wide range of hues.
- Match Any Occasion: Suitable for both everyday wear and special events.
Preparation for Pink Ombre Nails
3. Gather Your Supplies
Description: Having the right supplies is crucial for achieving a perfect ombre effect. Ensure you have all the necessary tools and products before starting.
Supplies Needed:
- Base coat
- Two or more shades of pink nail polish
- Makeup sponge or nail sponge
- Top coat
- Nail polish remover
- Cotton swabs or brushes for cleanup
4. Prep Your Nails
Description: Proper nail preparation ensures a smooth application and long-lasting finish. Clean, shape, and buff your nails before applying polish.
Steps:
- Cleanse: Remove any old polish and wash your hands.
- Shape: Trim and file your nails to your desired shape.
- Buff: Gently buff the surface of your nails for a smooth finish.
- Cuticles: Push back your cuticles and trim any excess skin.
Step-by-Step Guide to Pink Ombre Nails
5. Apply the Base Coat
Description: A base coat protects your natural nails and provides a smooth surface for the polish. It also helps the polish adhere better.
Tips:
- Apply a thin, even layer of base coat.
- Allow it to dry completely before proceeding.
6. Paint the Base Color
Description: The base color serves as the foundation for your ombre effect. Choose the lightest shade of pink as your base color.
Steps:
- Apply one or two coats of the light pink polish.
- Let each coat dry completely before applying the next.
7. Create the Ombre Effect
Description: The ombre effect is achieved by blending two or more colors using a sponge. This step requires some patience and practice.
Steps:
- Prep the Sponge: Apply stripes of your chosen pink shades directly onto the makeup sponge, overlapping slightly to blend.
- Dab the Sponge: Gently dab the sponge onto your nails, starting from the tip and working your way up to create the gradient effect.
- Repeat: Reapply the polish to the sponge as needed and continue dabbing until you achieve the desired effect.
- Blend: Ensure the colors blend seamlessly for a smooth gradient.
8. Clean Up
Description: Cleanup is essential for a polished look. Remove any excess polish around your nails using a brush or cotton swabs dipped in nail polish remover.
Tips:
- Be gentle to avoid smudging your nails.
- Clean up any polish on your skin or cuticles.
9. Apply the Top Coat
Description: A top coat seals your design, adds shine, and extends the wear of your manicure. It also helps smooth out the ombre effect.
Steps:
- Apply a generous layer of top coat over your nails.
- Allow it to dry completely to avoid smudging.
Trendy Pink Ombre Nail Designs
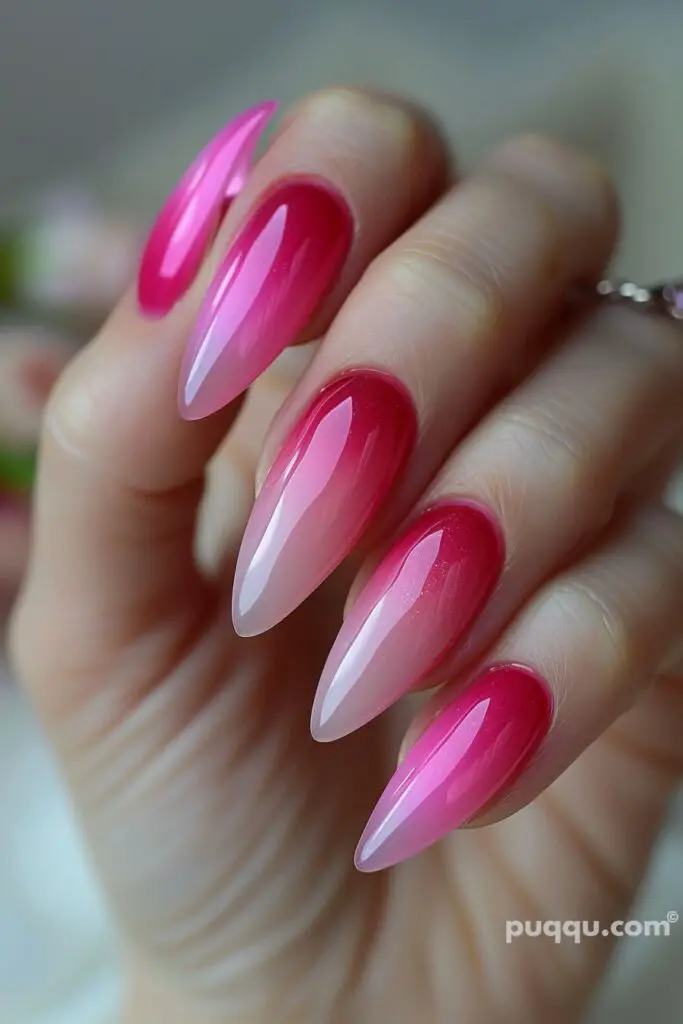
10. Classic Pink Ombre
Description: A classic pink ombre transitions from a soft baby pink at the base to a deep pink at the tips. This timeless look is perfect for any occasion.
Tips:
- Use three shades of pink for a smooth transition.
- Add a glossy top coat for a shiny finish.
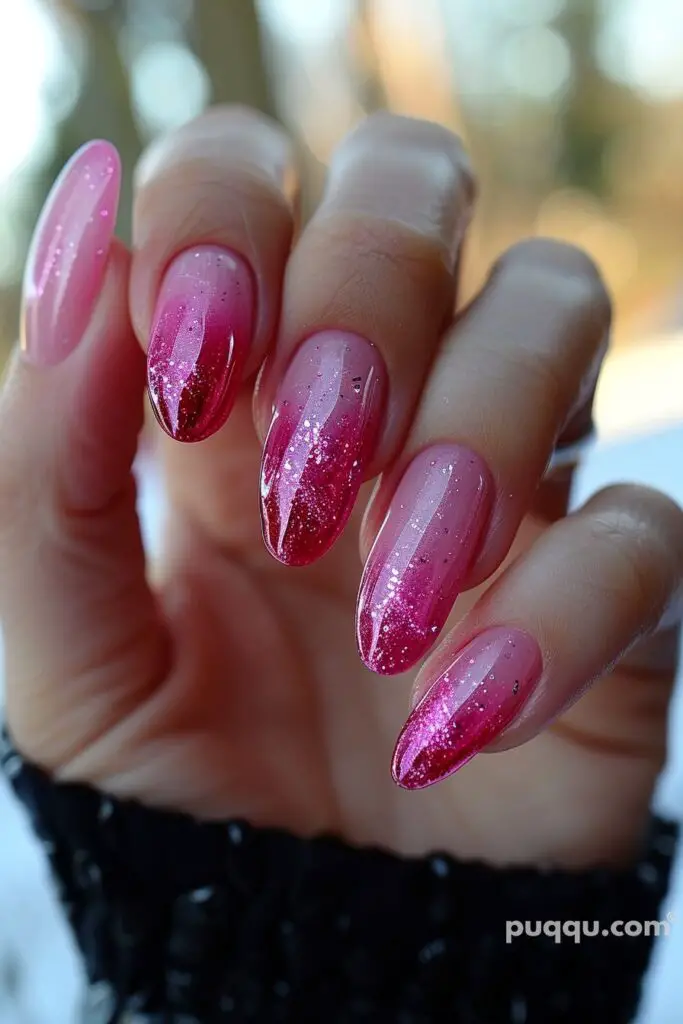
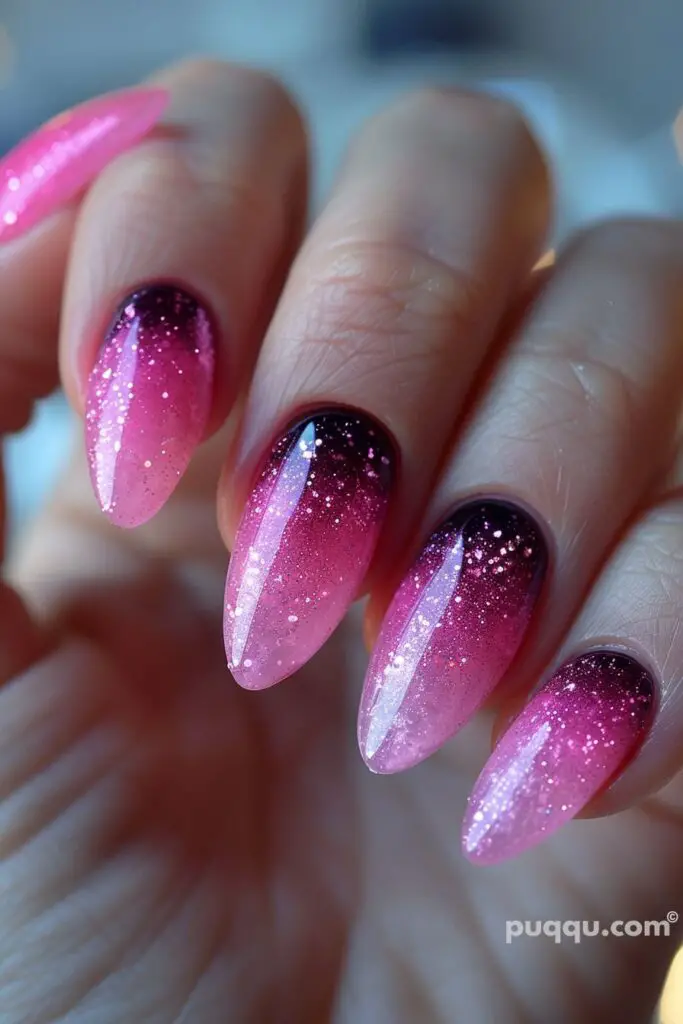
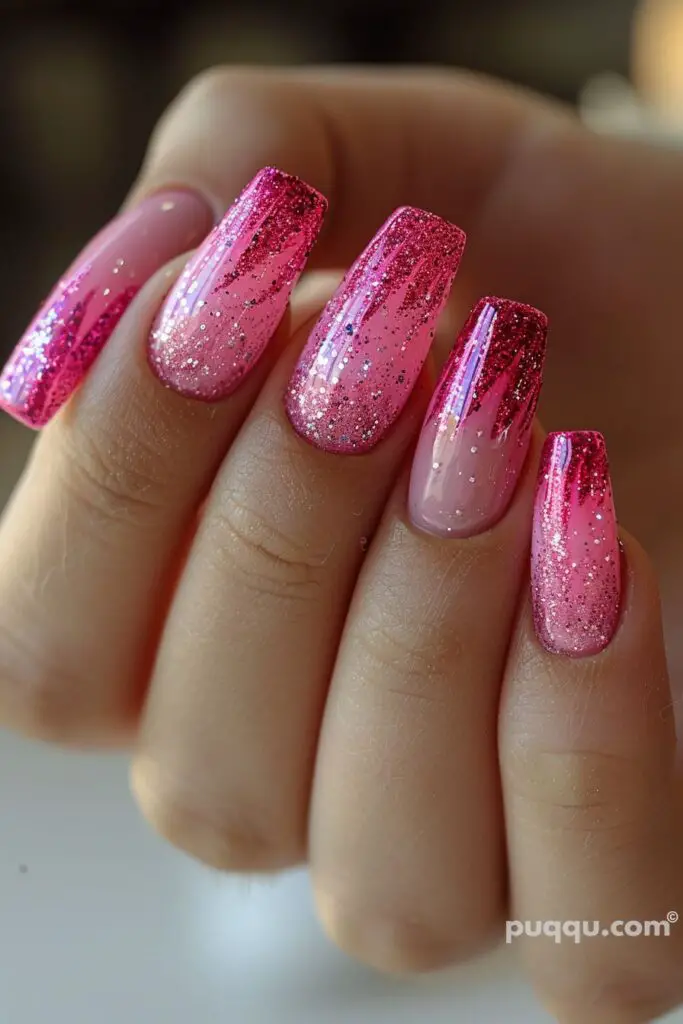
11. Glitter Pink Ombre
Description: Add some sparkle to your ombre nails by incorporating glitter. This design is perfect for parties and special events.
Steps:
- Apply a glitter polish to the tips or mix glitter into your pink shades.
- Gradually blend the glitter towards the base for a subtle effect.
- Finish with a glossy top coat.
12. Matte Pink Ombre
Description: A matte finish adds a modern twist to the classic ombre. This look is chic and sophisticated.
Steps:
- Follow the usual steps for creating the ombre effect.
- Apply a matte top coat instead of a glossy one.
- Ensure the matte top coat covers the entire nail for an even finish.
13. Pink and White Ombre
Description: Combining pink and white creates a soft and elegant ombre effect. This design is ideal for weddings or formal events.
Steps:
- Use a white polish as the base color.
- Blend the pink shades from the middle to the tips.
- Finish with a glossy or matte top coat.
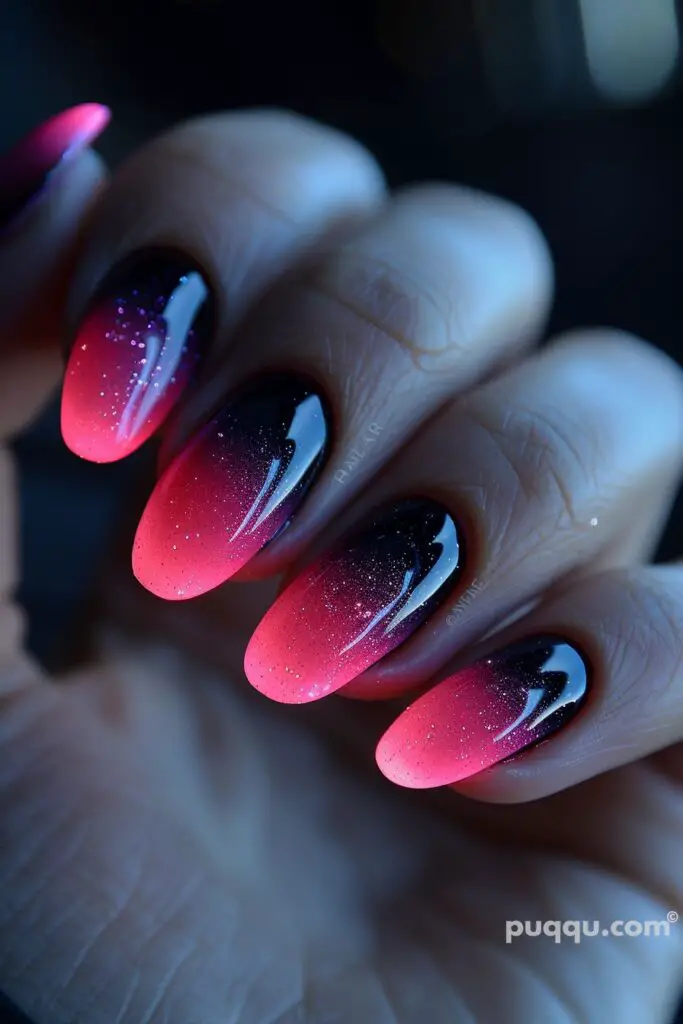
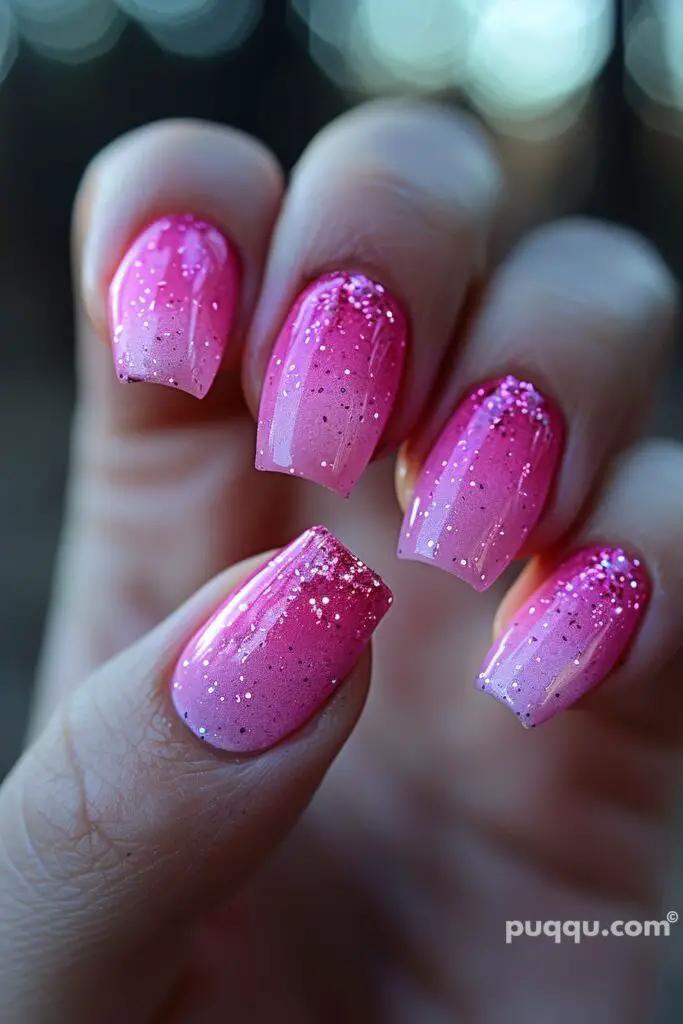
14. Neon Pink Ombre
Description: For a bold and vibrant look, choose neon pink shades. This design is perfect for summer and festivals.
Steps:
- Use neon pink shades for a bright and eye-catching ombre.
- Add a clear top coat to enhance the neon effect.
- Experiment with different neon shades for a unique look.
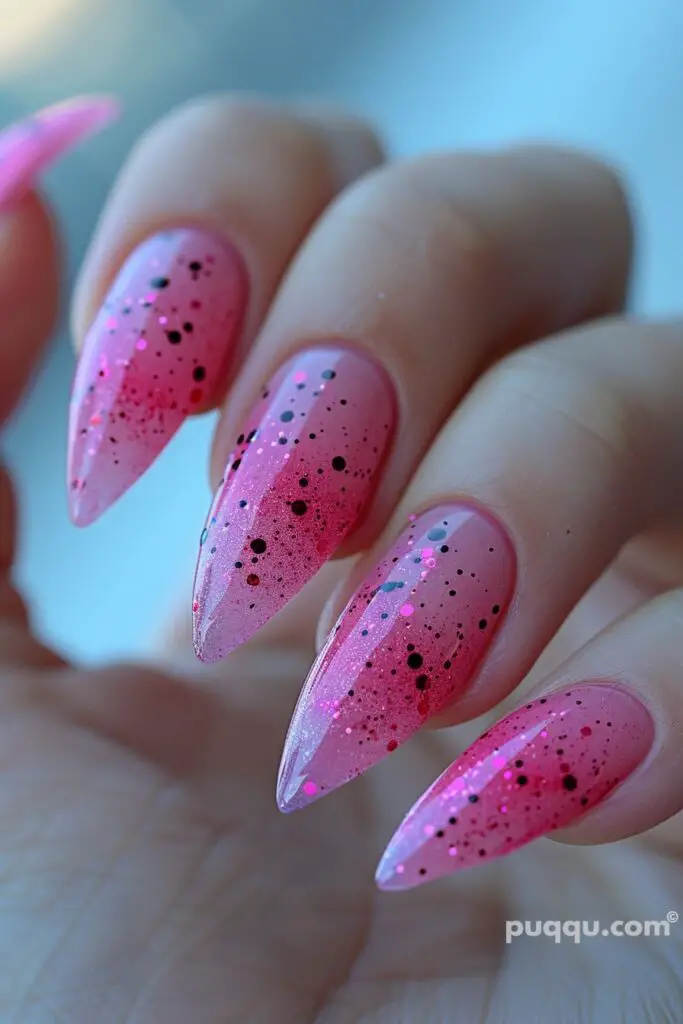
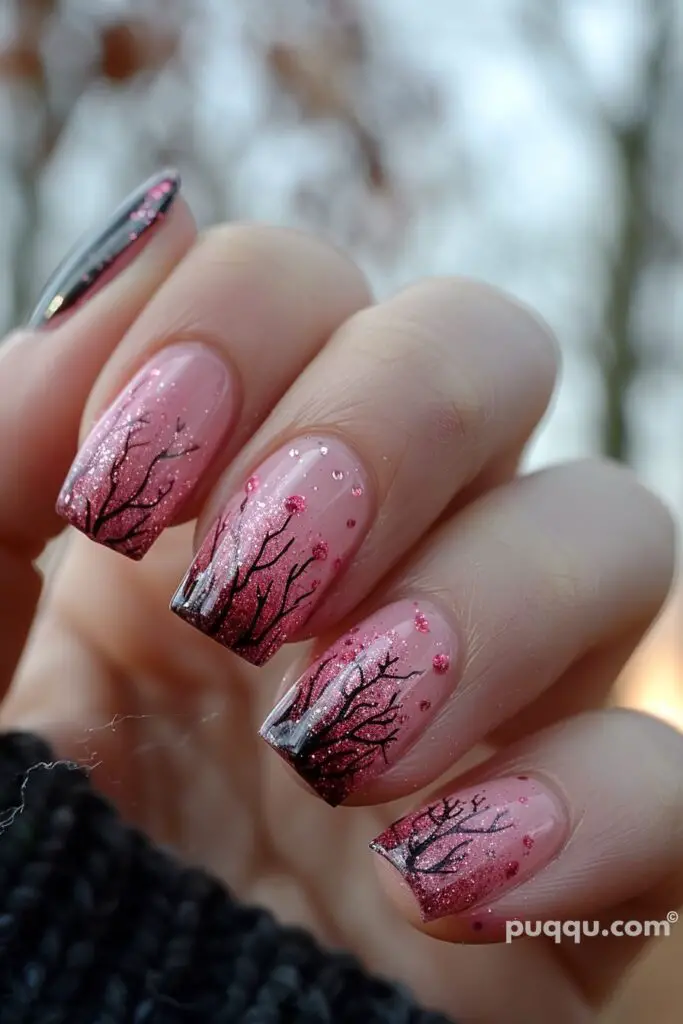
15. Pink Ombre with Nail Art
Description: Combine ombre nails with nail art for a creative and unique look. Add designs like flowers, dots, or stripes for added interest.
Steps:
- Create the pink ombre base.
- Use a thin brush or nail art tools to add designs on top of the ombre.
- Seal with a top coat to protect the nail art.
Maintenance and Tips
16. Regular Touch-Ups
Description: Regular touch-ups keep your nails looking fresh and prevent chipping. Reapply top coat every few days.
Tips:
- Keep your nails moisturized to prevent dryness.
- Avoid using your nails as tools to prevent chips and breaks.
17. Protect Your Nails
Description: Protect your nails from damage by wearing gloves during household chores. This helps prevent chipping and keeps your nails looking great.
Tips:
- Use gentle nail polish remover to avoid drying out your nails.
- Apply cuticle oil regularly to keep your cuticles healthy.
18. Experiment with Different Shades
Description: Don’t be afraid to experiment with different shades and combinations of pink. Mix and match to create a look that’s uniquely yours.
Tips:
- Try different finishes like glitter, matte, or metallic.
- Combine various shades of pink for a multidimensional effect.
Conclusion
Pink ombre nails are a stunning and versatile choice that can be tailored to suit any style or occasion. By following these tips and experimenting with different designs, you can achieve beautiful pink ombre nails that make a statement. Use these ideas to inspire your next manicure and enjoy the elegance and fun of pink ombre nails.
Frequently Asked Questions
How long do pink ombre nails last?
Pink ombre nails can last up to two weeks with proper care and regular touch-ups. Applying a top coat every few days helps maintain the look.
Can I achieve pink ombre nails at home?
Yes, you can achieve pink ombre nails at home with the right tools and techniques. Practice and patience are key to getting a smooth gradient effect.
What’s the best way to remove pink ombre nails?
Use an acetone-based nail polish remover and cotton pads. Soak the cotton pads in remover, place them on your nails, and wrap with foil for 10-15 minutes. Gently remove the polish with a cotton pad.
Are pink ombre nails suitable for all nail lengths?
Yes, pink ombre nails can be done on any nail length. Adjust the gradient length based on your nail length for the best effect.
Can I combine pink ombre nails with other nail art?
Yes, you can combine pink ombre nails with other nail art like glitter, flowers, and stripes. Be creative and experiment with different designs to personalize your nails.
