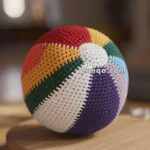
Bring the excitement of the court to your crochet collection with this Amigurumi Basketball Ball pattern! Perfect for sports lovers and crochet enthusiasts alike, this miniature basketball captures the essence of the game in every stitch. With its classic orange hue, textured surface, and signature black lines, this crochet creation is a fun and playful addition to any handmade collection. Whether you’re crafting for basketball fans, adding a sporty touch to your decor, or simply enjoy making unique amigurumi designs, this pattern lets you stitch up a tiny basketball bursting with personality! 🏀✨
Designed for customization, this pattern allows you to experiment with different shades of orange, embroidered details, or even tiny accessories like a miniature hoop or jersey for extra charm. Craft a classic basketball with its signature look, create a pastel version for a whimsical aesthetic, or even stitch up a full set of sports-inspired amigurumi for a dynamic display! Whether gifted as a cherished keepsake, displayed as a fun accent, or made simply for the joy of crafting, this Amigurumi Basketball Ball is a creative and engaging project—perfect for bringing a touch of handmade athletic spirit to every stitch! 🧶💖
🏀 Amigurumi Basketball Crochet Pattern
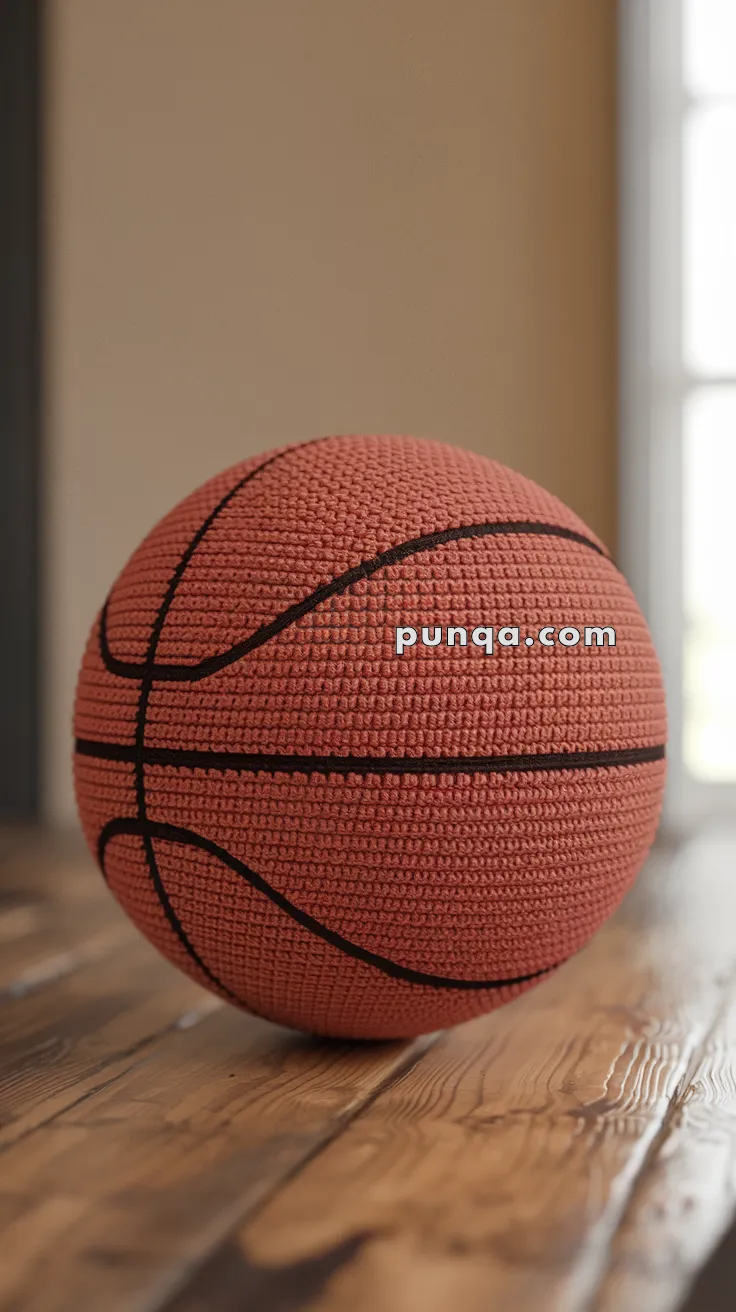
This realistic crocheted basketball features a perfectly round shape, tight stitch texture, and smooth black surface lines that wrap naturally around the ball. It’s ideal for display, photography props, or a soft sports-themed décor piece.
✨ Skill Level
Beginner–Intermediate
(Simple shaping, firm stuffing, surface slip stitching)
📏 Finished Size
Approx. 18–20 cm (7–8 in) diameter
Size matches the photo when worked tightly with DK or light worsted yarn and a 3.0–3.25 mm hook.
🧶 Materials
- Orange yarn (DK or light worsted, matte cotton preferred)
- Black yarn (same weight, for surface lines)
- Crochet hook: 3.0–3.25 mm
- Stitch marker
- Polyester fiberfill (firm stuffing)
- Tapestry needle
- Optional: removable stitch markers or pins for marking line paths
🧵 Abbreviations (US Terms)
- MR – Magic Ring
- sc – Single crochet
- inc – Increase (2 sc in one stitch)
- dec – Invisible decrease
- sl st – Slip stitch
- FO – Fasten off
Work in continuous spiral rounds.
🏀 Ball (Orange)
The ball is worked from top to bottom in one piece. Stuff very firmly to achieve the smooth, dense sphere seen in the photo.
Round 1: MR, 6 sc (6)
Round 2: inc ×6 (12)
Round 3: (sc, inc) ×6 (18)
Round 4: (2 sc, inc) ×6 (24)
Round 5: (3 sc, inc) ×6 (30)
Round 6: (4 sc, inc) ×6 (36)
Round 7: (5 sc, inc) ×6 (42)
Round 8: (6 sc, inc) ×6 (48)
Round 9: (7 sc, inc) ×6 (54)
Round 10: (8 sc, inc) ×6 (60)
Rounds 11–20: sc around (60)
Begin stuffing gradually from Round 15 onward. The ball should feel very firm, with no dents when pressed.
Round 21: (8 sc, dec) ×6 (54)
Round 22: (7 sc, dec) ×6 (48)
Round 23: (6 sc, dec) ×6 (42)
Round 24: (5 sc, dec) ×6 (36)
Round 25: (4 sc, dec) ×6 (30)
Round 26: (3 sc, dec) ×6 (24)
Finish stuffing tightly, shaping as you go.
Round 27: (2 sc, dec) ×6 (18)
Round 28: (sc, dec) ×6 (12)
Round 29: dec ×6 (6)
FO, close neatly, and massage the ball into a perfect sphere.
🧵 Basketball Surface Lines (Black)
All lines are made using surface slip stitch, not embroidery, to achieve the raised, clean look in the photo.
Vertical Lines (2)
- Place a stitch marker at the top center and bottom center of the ball.
- Join black yarn at the top center.
- Surface slip stitch straight down to the bottom center, keeping stitches evenly spaced.
- Rotate the ball 90° and repeat to create a perpendicular vertical line.
These two lines divide the ball into four equal sections.
Curved Horizontal Lines (2)
These are not centered at the equator — they curve slightly upward, as in a real basketball.
- Place markers about 4–5 rounds above the equator line on opposite sides.
- Join black yarn at one vertical line.
- Surface slip stitch in a smooth arc to the opposite vertical line.
- The curve should gently rise toward the center, not dip.
- Repeat on the opposite side to mirror the curve.
Adjust tension so the lines sit flat against the surface without puckering.
Line Finishing
- Fasten off on the inside of a stitch.
- Gently stretch the surface stitches with your fingers to smooth curves.
- Lightly roll the ball on a flat surface to settle the lines.
🌟 Finishing Touches
- Do not overstuff — firmness should come from dense stitches, not bulging.
- A matte cotton yarn gives the most realistic basketball texture.
- If desired, lightly steam from a distance to relax the surface (do not touch with iron).
This completed basketball has the tight stitch definition, perfect spherical form, and authentic line placement seen in the photo — a polished, realistic amigurumi piece that looks just as good on display as it feels in hand. 🏀🧶