Welcome to the vibrant and whimsical world of amigurumi! 🐠✨ Today, I’m excited to share my free crochet pattern for Dory—a playful and adventurous little fish perfect for ocean lovers, character-inspired collections, or anyone who enjoys crafting expressive and colorful plush designs! 🌊 Whether you love stitching up beloved characters, creating detailed and textured figures, or simply want to add a cheerful Dory to your handmade lineup, this pattern will guide you through crafting a beautifully sculpted plush with bright blue hues, delicate fins, and that signature wide-eyed charm! 💙
This design embraces bold colors, flowing shapes, and intricate details to bring a joyful and animated touch to your crochet projects! 🧶🐟 I’ve carefully outlined each step to ensure your Amigurumi Dory turns out just right—ready to swim into your collection or become a treasured handmade gift! 🎁 So grab your hooks, pick out deep blues, sunny yellows, and soft blacks, and let’s stitch up an irresistibly cute Dory! ✨
🐠 Amigurumi Dory Crochet Pattern
Bring home your favorite forgetful blue tang with this adorable amigurumi Dory! 🐟 With her wide expressive eyes, bold colors, and floppy fins, this cheerful fish is the perfect gift for fans of ocean-themed characters. She’s a fun intermediate project for those looking to dive into character shaping and colorwork!
✨ Skill Level
Intermediate
Includes color placement shaping, appliqué eye assembly, and structured fin construction.
📏 Finished Size
Approx. 18–20 cm (7–8 inches) tall when sitting upright using DK yarn and a 2.5–3.0 mm hook.
🧶 Yarn Requirements (Approximate)
- Blue (main body): 45 g
- Coral/peach (belly): 25 g
- Black (dorsal ridge, fin outlines, tail base): 15 g
- Yellow (side fins): 10 g
- White (eye base): 10 g
- Brown/reddish brown (iris): 5 g
- Small amount of black for embroidery
🧵 Materials
- 2.5–3.0 mm crochet hook
- 10–12 mm safety eyes or embroidered pupils
- Polyester stuffing
- Tapestry needle
- Stitch marker
🔤 Abbreviations (US Terms)
MR – magic ring
sc – single crochet
inc – increase
dec – invisible decrease
ch – chain
sl st – slip stitch
FO – fasten off
🐟 Body (Upright Oval Shape)
Start with coral (belly)
R1: MR, 6 sc (6)
R2: inc x6 (12)
R3: (1 sc, inc) x6 (18)
R4: (2 sc, inc) x6 (24)
R5: (3 sc, inc) x6 (30)
R6: (4 sc, inc) x6 (36)
R7–9: sc around (36)
➡ Begin color shaping: keep coral centered on front lower half, switch to blue for remaining stitches
➡ Maintain a clean vertical belly oval
R10–18: sc around (36) in blue
➡ Body should feel tall and slightly egg-shaped (not long or horizontal)
R19: (4 sc, dec) x6 (30)
R20: (3 sc, dec) x6 (24)
Stuff firmly, shaping a rounded front and slightly narrower top
R21: (2 sc, dec) x6 (18)
R22: (1 sc, dec) x6 (12)
R23: dec x6 (6)
FO and close neatly.
👀 Eyes (Large & Dominant Feature – Make 2)
White Base (Wide and Flat)
R1: MR, 6 sc (6)
R2: inc x6 (12)
R3: (1 sc, inc) x6 (18)
FO
Iris (Brown/Red Tone)
R1: MR, 6 sc (6)
R2: inc x6 (12)
FO
Pupil
- Use safety eyes or embroider a glossy black circle
➡ Sew iris centered on white base
➡ Attach pupil
➡ Sew large eyes onto head so they sit slightly forward and wide apart
🖤 Dorsal Ridge (Top Fin – Sculpted Look)
Using black yarn:
Ch 10
Row 1: sc in 2nd ch across (9)
Row 2–3: sc across
Make 2–3 pieces of slightly varying heights
➡ Stack and sew along top center of head and back
➡ Creates a layered, soft ridge instead of a flat fin
💛 Side Fins (Make 2 – Triangular with Black Tips)
Using yellow:
R1: MR, 6 sc (6)
R2: (1 sc, inc) x3 (9)
R3: (2 sc, inc) x3 (12)
Work 1–2 rows straight
Flatten slightly into a triangle
➡ Add black edging along outer tip only (not entire fin)
FO and sew slightly behind the eyes, angled upward
💙 Lower Fins (Make 2 – Small & Rounded)
Using blue:
R1: MR, 6 sc (6)
R2–5: sc around (6)
Lightly stuff
➡ Keep slightly curved outward
➡ Attach low on the sides, near the belly base
🐠 Tail (Black Base with Yellow Accent)
Using black:
R1: MR, 6 sc (6)
R2: inc x6 (12)
R3–4: sc around (12)
Flatten slightly
➡ Add a small yellow patch or stripe near outer edge
FO and sew centered at the back
😄 Face Details
- Embroider a small curved smile using black yarn
- Place low and centered between the eyes
- Keep subtle and short
🧵 Assembly
- Attach eyes first (key feature placement)
- Sew dorsal ridge along top center line
- Attach side fins slightly angled upward
- Add lower fins near belly base
- Sew tail centered and slightly flared
✨ Finishing Touches
- Shape body into a slightly upright oval
- Keep belly smooth and centered
- Adjust fins for a lively, balanced look
- Add tiny white highlights to eyes for extra expression
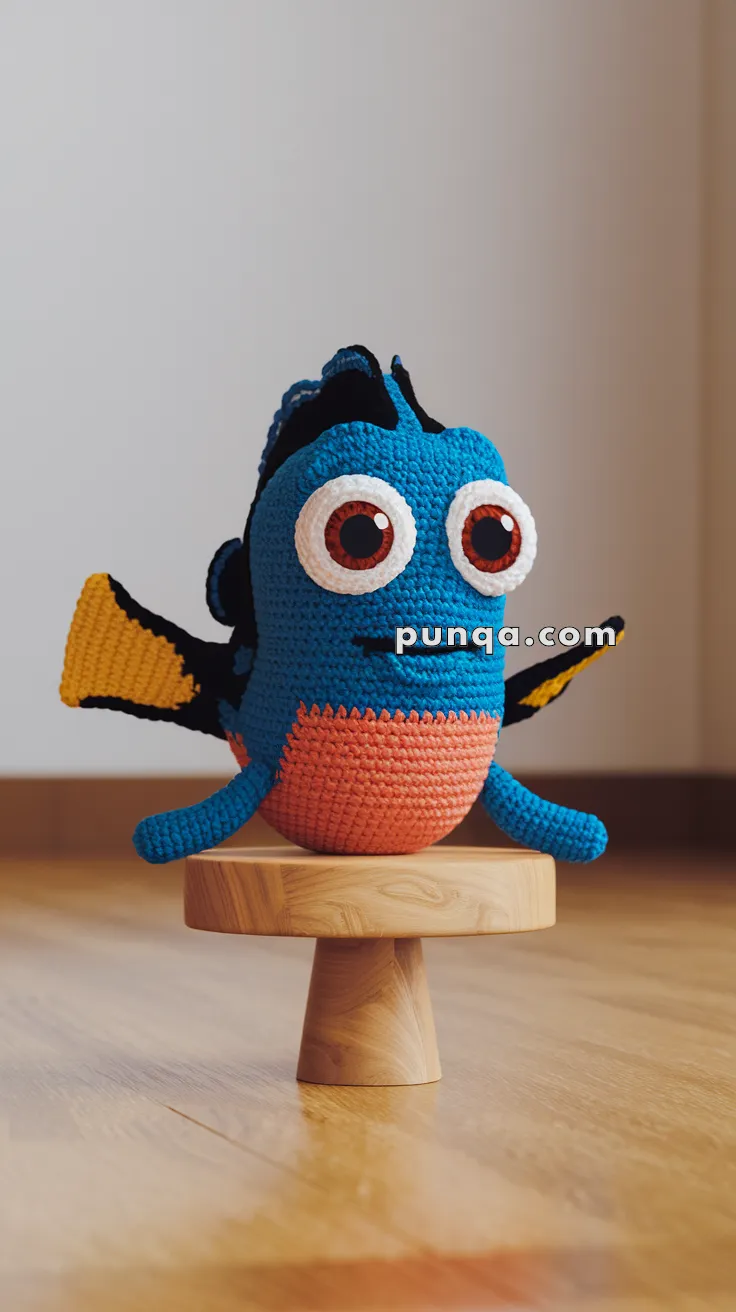
🌊 Final Result
This playful blue tang captures a lively underwater personality with its oversized eyes, rounded silhouette, and bold fin details. The upright posture, soft curves, and vibrant colors make it both eye-catching and irresistibly cute.
A perfect handmade companion for ocean lovers, gifts, or adding a splash of color to your crochet collection. 🐠💙✨