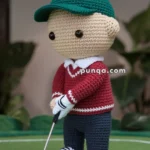
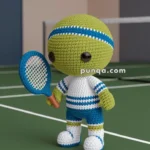
Welcome to the fast-paced and energetic world of amigurumi! 🏒✨ Today, I’m excited to share my free crochet pattern for an Amigurumi Ice Hockey Player—a dynamic and spirited companion perfect for sports enthusiasts, winter lovers, or anyone who enjoys crafting lively, athletic-inspired figures! ❄️ Whether you love stitching action-packed designs, creating expressive characters with personality, or simply want to add a bold hockey player to your handmade lineup, this pattern will guide you through crafting a beautifully detailed plush athlete complete with a team jersey, sleek skates, and a ready-to-shoot hockey stick! 🏆
This design blends strong shaping, vibrant colors, and playful textures to bring the excitement of the rink to your crochet projects! 🧶🥅 I’ve carefully outlined each step to ensure your Amigurumi Ice Hockey Player turns out just right—perfect for display, gifting to fellow hockey fans, or adding a sporty spark to your collection! So grab your hooks, pick out your favorite team colors, and let’s stitch up a fierce and fun-loving hockey champion! ✨
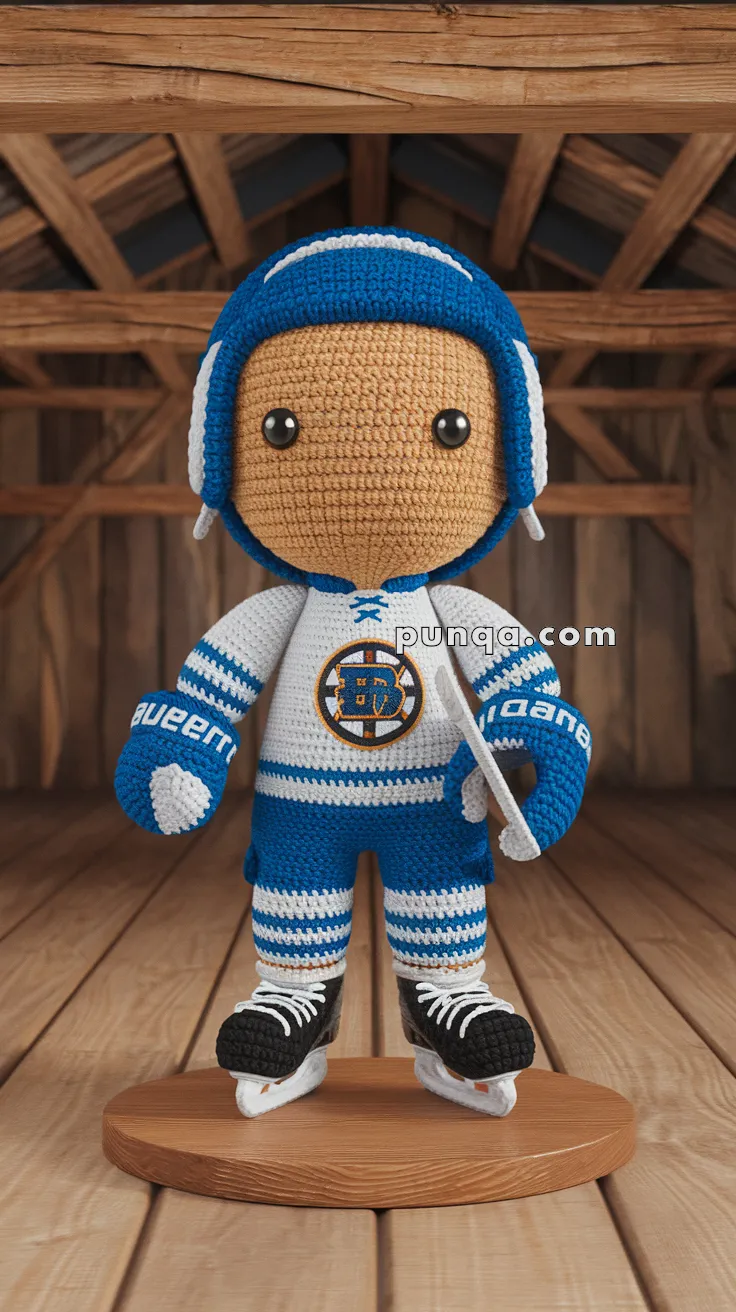
🏒 Amigurumi Ice Hockey Player Crochet Pattern
This fierce and sporty amigurumi hockey player is all geared up and ready for the rink! Featuring detailed skates, a helmet, gloves, and a logoed jersey, this project is perfect for hockey fans of all ages.
✨ Skill Level
Intermediate
Includes shaping, color changes, and small accessory details.
📏 Finished Size
Approx. 28–30 cm (11–12 inches) tall
(using worsted yarn and a 3.5 mm hook)
🧶 Materials (Approximate Yarn Amounts)
Worsted weight yarn:
- Skin tone (head, neck): 40–50 g
- White (jersey, socks): 70–80 g
- Blue (helmet, sleeves, shorts, gloves): 80–90 g
- Black (skates): 30–40 g
- Grey (skate blades): 15–20 g
- Accent colors (logo details): small amounts
Supplies:
- 3.5 mm crochet hook
- 10 mm safety eyes
- Polyester fiberfill
- Tapestry needle
- Stitch markers
🧵 Abbreviations (US Terms)
MR – Magic Ring
sc – Single Crochet
inc – Increase
dec – Invisible decrease
ch – Chain
sl st – Slip stitch
BLO – Back Loop Only
FO – Fasten Off
🧠 Head
With skin tone:
Rnd 1: MR 6 (6)
Rnd 2: inc ×6 (12)
Rnd 3: (sc, inc) ×6 (18)
Rnd 4: (2 sc, inc) ×6 (24)
Rnd 5: (3 sc, inc) ×6 (30)
Rnd 6: (4 sc, inc) ×6 (36)
Rnd 7–15: sc 36
Insert safety eyes between Rnds 10–11, spaced about 7 stitches apart.
Rnd 16: (4 sc, dec) ×6 (30)
Rnd 17: (3 sc, dec) ×6 (24)
Rnd 18: (2 sc, dec) ×6 (18)
Stuff firmly.
Rnd 19: (sc, dec) ×6 (12)
Rnd 20: dec ×6 (6)
FO
🧢 Helmet
With blue:
Rnd 1: MR 6
Rnd 2: inc ×6 (12)
Rnd 3: (sc, inc) ×6 (18)
Rnd 4: (2 sc, inc) ×6 (24)
Rnd 5: (3 sc, inc) ×6 (30)
Rnd 6: (4 sc, inc) ×6 (36)
Rnd 7–11: sc 36
Ear Covers
Work short rows on both sides for 3 rows to create side flaps.
Fasten off and shape to sit snugly.
Add a white embroidered stripe along the top.
👕 Torso (Jersey)
With white:
Rnd 1: MR 6
Rnd 2: inc ×6 (12)
Rnd 3: (sc, inc) ×6 (18)
Rnd 4: (2 sc, inc) ×6 (24)
Rnd 5–13: sc 24
Add stripe:
Rnd 14: sc 24 (blue)
Rnd 15: (2 sc, dec) ×6 (18)
Rnd 16: sc 18
Stuff lightly. FO.
🧤 Arms (Make 2)
Start with white:
Rnd 1: MR 6
Rnd 2: inc ×6 (12)
Rnd 3–5: sc 12
Switch to blue:
Rnd 6–10: sc 12
Gloves
Rnd 11: (2 sc, dec) ×3 (9)
Rnd 12–13: sc 9
Lightly stuff and fasten off.
🩳 Legs & Shorts
Legs (Make 2)
Start with white:
Rnd 1: MR 6
Rnd 2: inc ×6 (12)
Rnd 3: (sc, inc) ×6 (18)
Rnd 4–6: sc 18
Add stripes if desired:
Rnd 7–8: sc 18
Switch to blue:
Rnd 9–12: sc 18
Fasten off first leg.
Join Legs
Attach second leg to first:
Rnd 13: sc around both legs (36)
Rnd 14–15: sc 36
Rnd 16: (4 sc, dec) ×6 (30)
Rnd 17: (3 sc, dec) ×6 (24)
Stuff firmly.
👟 Skates
With black:
Rnd 1: MR 6
Rnd 2: inc ×6 (12)
Rnd 3: (sc, inc) ×6 (18)
Rnd 4–5: sc 18
Rnd 6: (4 sc, dec) ×3 (15)
Switch to grey:
Rnd 7: BLO sc 15
Flatten slightly.
Blade
Chain 10–12 and attach under the sole.
Laces
Embroider white crisscross stitches.
🏒 Stick
With white yarn:
ch 30
Row 1: sc back across
Shape one end slightly for the blade.
🧩 Assembly
- Sew head to torso securely
- Attach arms slightly forward
- Sew legs evenly to torso
- Attach skates under feet
- Place helmet snugly on head
- Position stick in one hand
✨ Finishing Touches
- Add jersey logo with embroidery or patch 🏒
- Keep stripes aligned and clean
- Shape helmet and gloves gently
- Ensure the doll stands or balances evenly
💛 Final Thoughts
This amigurumi hockey player combines sporty charm with clean craftsmanship. The structured jersey, detailed skates, and balanced proportions create a polished and cohesive design that’s perfect for gifting or display.
Enjoy bringing this energetic little athlete to life! 🧶🏒