Dive into serenity with the Amigurumi Koi Fish, a beautifully crafted crochet project that blends tradition with texture and charm! 🐟🧶 Designed with classic orange and white colorwork, this graceful fish features realistic fins and layered scales that add depth and movement to every stitch. Whether you’re creating a peaceful pond scene, gifting a symbol of good luck, or simply love working with elegant designs, this koi fish is sure to make a splash.
Perfect for crocheters who enjoy detailed work and soothing color palettes, this pattern invites you to stitch up a creature that’s both calming and captivating. Add a few lily pads, pair it with other aquatic friends, or display it as a tranquil accent in your space. The Amigurumi Koi Fish is a joyful way to stitch up harmony, beauty, and a sprinkle of handmade magic—one loop at a time! 🧵✨🌸
🎏 Amigurumi Koi Fish Crochet Pattern
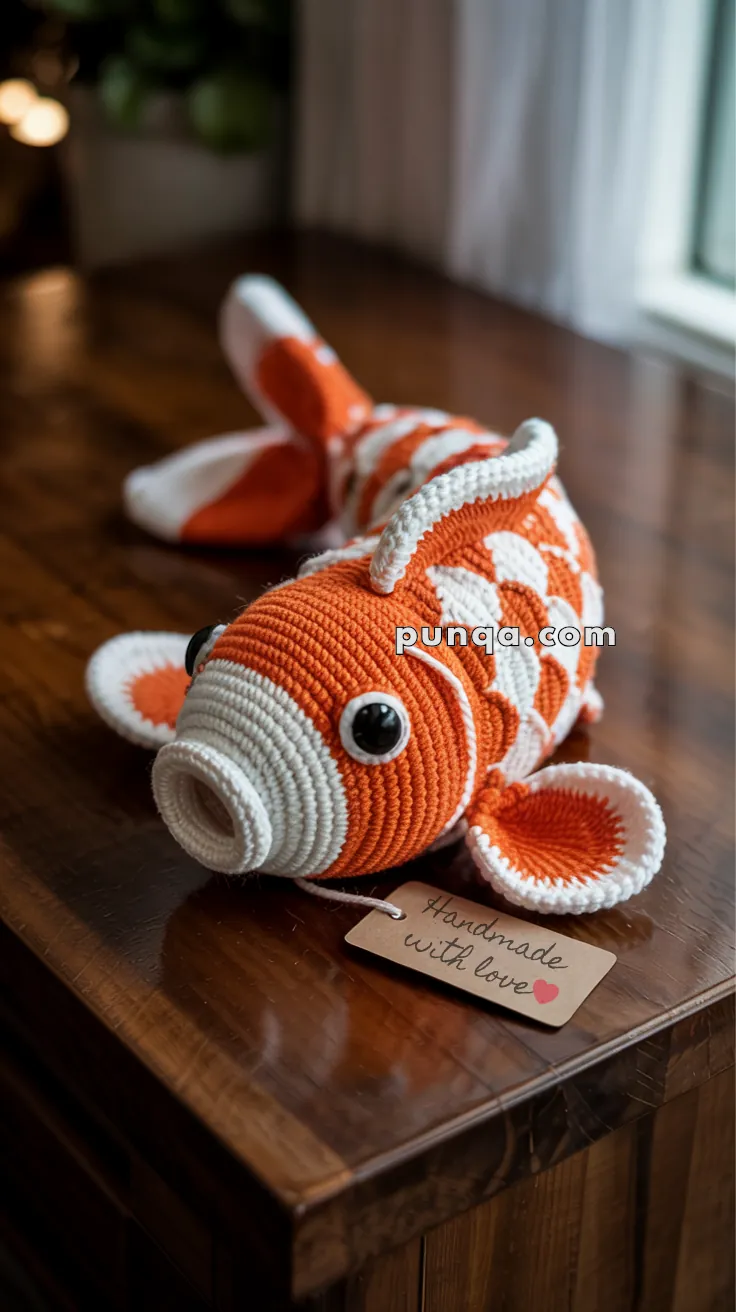
Bring a sense of quiet beauty and balance to your crochet with this elegant koi fish. Designed with a smooth elongated body, three crisp white bands, a fully ribbed white mouth, and soft fan-shaped fins, this koi captures the gentle presence of a pond fish resting in still water. Its rounded form, side-set eyes, and relaxed fins make it perfect for display, gifting, or slow, meditative stitching.
✨ Skill Level
Intermediate
Includes structured shaping, clean color transitions, ribbed texture work, and multi-piece assembly.
📏 Finished Size
Approximately 32–36 cm (12.5–14 inches) long
Using DK or light worsted yarn and a 3.0 mm hook.
🧶 Materials & Yarn Amount
DK or Light Worsted Weight Yarn
• Bright Orange – 130 g (approx. 240 m)
(Main body and fin centers)
• White – 90 g (approx. 170 m)
(Mouth, side patches, fin edges, tail tips, eye bases)
Notions
• 14 mm black safety eyes
• 3.0 mm crochet hook
• Polyester fiberfill
• Tapestry needle
• Stitch markers
• Optional thin craft wire (for shaping tail)
🧵 Abbreviations (US Terms)
MR – magic ring
sc – single crochet
inc – increase
dec – invisible decrease
ch – chain
sl st – slip stitch
BLO – back loop only
FO – fasten off
Work in continuous rounds unless stated otherwise.
👄 Ribbed Protruding Mouth (White)
The mouth is wide, cylindrical, and clearly ribbed.
R1: MR 6 (6)
R2: inc x6 (12)
R3: (1 sc, inc) x6 (18)
R4: (2 sc, inc) x6 (24)
R5–12: sc around (24) in BLO
Lightly stuff so the tube remains firm but hollow-looking.
FO leaving long tail for sewing.
🐟 Head & Body (Main Structure)
Begin in Orange.
R1: MR 6 (6)
R2: inc x6 (12)
R3: (1 sc, inc) x6 (18)
R4: (2 sc, inc) x6 (24)
R5: (3 sc, inc) x6 (30)
R6: (4 sc, inc) x6 (36)
R7: (5 sc, inc) x6 (42)
R8: (6 sc, inc) x6 (48)
R9–18: sc around (48)
Insert 14 mm safety eyes between R11–12, spaced 12 stitches apart.
Eyes sit slightly forward, not centered directly on the nose.
🎨 Large White Side Patches
The body features two bold white patches on each side rather than full rings.
Round 19–23:
Work 16 consecutive white stitches centered on each side panel (mirror placement), remaining stitches in orange.
Round 24–28:
Return to all orange.
The white areas should appear broad and oval when viewed from the side.
Continue stuffing firmly at the head and mid-body.
🧡 Body Taper
R29: (6 sc, dec) x6 (42)
R30: sc around (42)
R31: (5 sc, dec) x6 (36)
R32: sc around (36)
R33: (4 sc, dec) x6 (30)
R34: sc around (30)
R35: (3 sc, dec) x6 (24)
R36: sc around (24)
R37: (2 sc, dec) x6 (18)
R38: sc around (18)
R39: (1 sc, dec) x6 (12)
R40: dec x6 (6)
Stuff more lightly toward the tail to allow natural curve.
FO and close.
👁 White Eye Bases (Make 2)
R1: MR 6 (6)
R2: inc x6 (12)
FO.
Insert safety eyes through the center and attach to head.
The white ring should frame each eye visibly.
🧡 Pectoral Fins (Make 2)
Rounded and softly cupped.
Orange:
R1: MR 6 (6)
R2: inc x6 (12)
R3: (1 sc, inc) x6 (18)
R4: (2 sc, inc) x6 (24)
Switch to White:
R5: sc around (24)
FO.
Flatten slightly and sew low on each side, just behind the head.
🧡 Dorsal Fin
Curved and trimmed in white.
Orange:
Ch 14
Row 1: sc across (13), ch 1, turn
Row 2: inc, sc 11, inc (15), ch 1, turn
Row 3: inc, sc 13, inc (17), ch 1, turn
Row 4: inc, sc 15, inc (19)
Switch to White and sc evenly around the curved edge only.
FO.
Sew the straight base along the spine beginning just behind the head and extending toward mid-body.
🧡 Forked Tail (Two Lobes)
Make two identical pieces.
Orange:
R1: MR 6 (6)
R2: inc x6 (12)
R3: (1 sc, inc) x6 (18)
R4: (2 sc, inc) x6 (24)
R5: (3 sc, inc) x6 (30)
Switch to White:
R6: sc around (30)
FO.
Flatten both pieces.
Slightly overlap inner edges to create a defined fork.
Sew together, then attach securely to the tail end.
🧵 Assembly
- Sew ribbed mouth firmly to front opening.
- Attach eye bases and secure safety eyes.
- Sew pectoral fins symmetrically and slightly angled downward.
- Attach dorsal fin centered along the top.
- Sew forked tail securely.
- Add two short white whiskers (ch 10 each) at the mouth seam.
Optional: Insert thin craft wire inside tail before closing for gentle shaping.
🌊 Shaping & Finishing
• Keep head very firm to support the mouth.
• Maintain smooth cylindrical shaping through mid-body.
• Reduce stuffing slightly near tail for natural flow.
• Lightly block fins if needed to enhance curvature.
🌿 Final Thoughts
With its bold orange body, crisp white patches, deeply ribbed mouth, and flowing fins, this koi has a strong sculpted presence while still feeling soft and handmade. The balanced proportions and layered colorwork create a striking decorative piece that rests beautifully on display.
Take your time shaping and assembling — the clean lines and smooth curves are what bring this elegant fish to life. 🎏✨