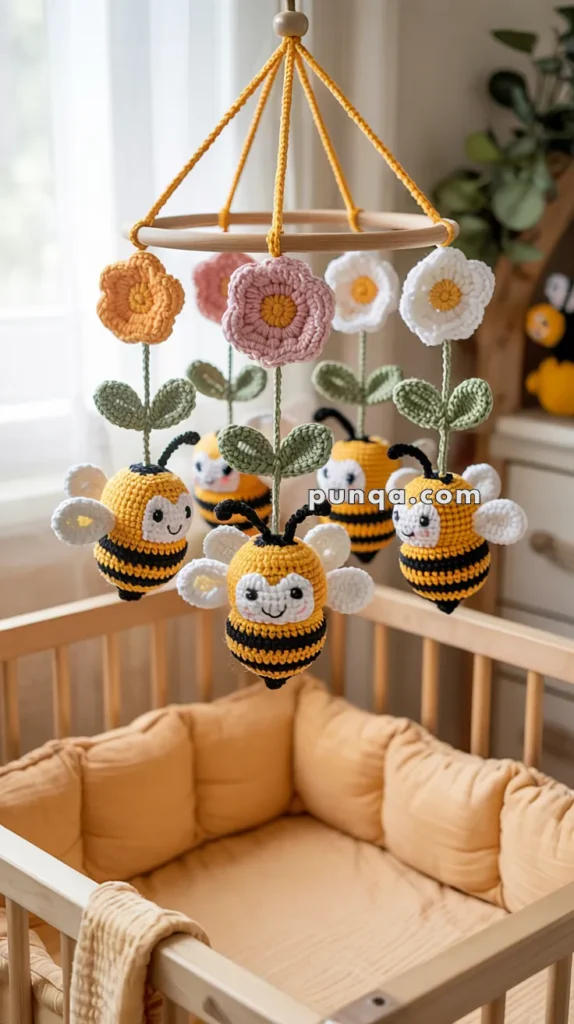
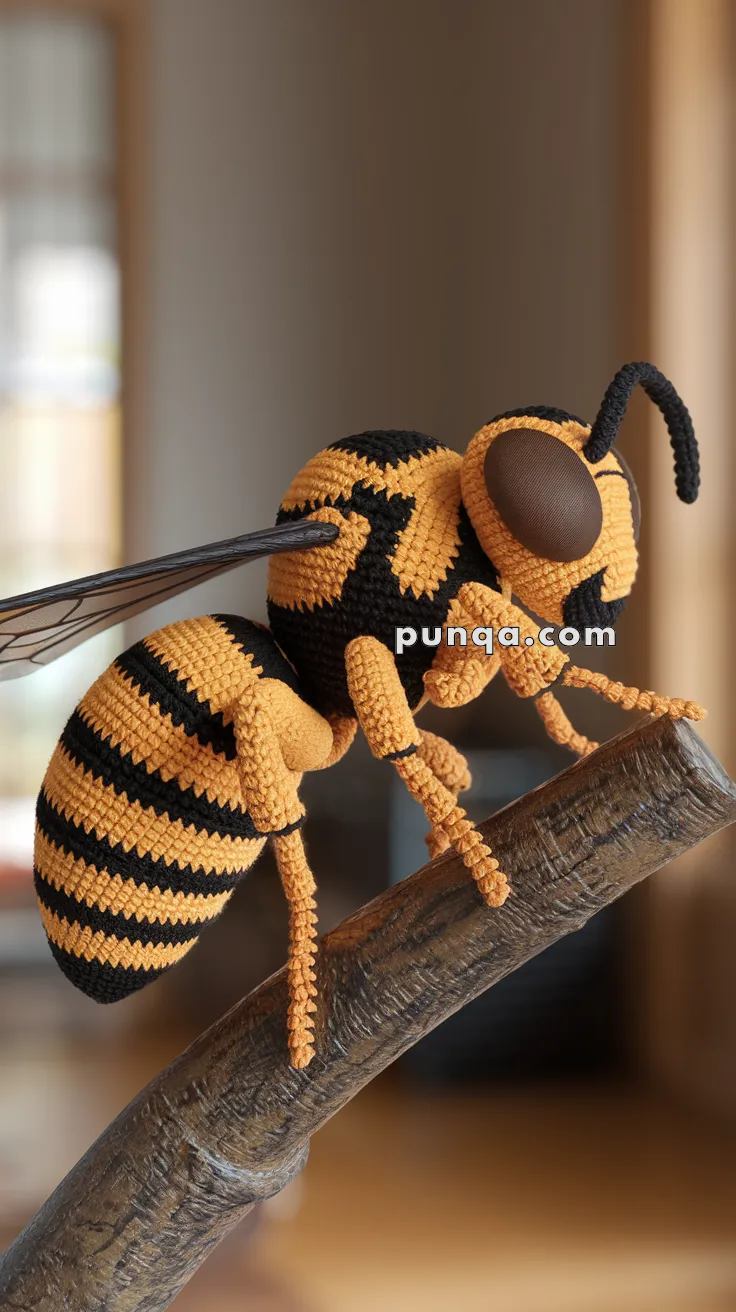
Buzz into bold creativity with the Amigurumi Wasp, a striking crochet creation that’s full of personality and flair! 🐝🧶 With its sleek black and yellow body, detailed wings, and confident stance, this little insect is ready to make a statement in your handmade collection. Whether you’re crafting for a nature lover, building a bug-themed display, or just enjoy quirky designs, this wasp brings a fun and fearless vibe to your crochet lineup.
Perfect for crocheters who love sculpted shapes and expressive details, this pattern invites you to stitch up a creature that’s both eye-catching and full of charm. Add a tiny flower, pair it with bees and butterflies, or create a whole garden scene buzzing with life. The Amigurumi Wasp is a joyful way to stitch up energy, uniqueness, and a sprinkle of handmade magic—one loop at a time! 🧵✨🌼
🐝 Realistic Amigurumi Bee Crochet Pattern
This lifelike crochet bee features a large curved abdomen, oversized rounded eyes, delicate dangling legs, realistic wing placement, and natural honey-bee striping. The finished piece has a sculptural appearance with soft handmade texture and beautifully balanced proportions, making it a striking display piece for nature lovers and advanced amigurumi artists.
✨ Skill Level
Advanced
This pattern includes:
- complex shaping
- realistic anatomy
- wired limbs
- structured assembly
- detailed color placement
- fabric wings
📏 Finished Size
Approximately 26–30 cm (10–12 inches) long
Using DK cotton yarn and a 2.5 mm hook.
🧶 Materials
Yarn
Golden Honey Yellow
Approx. 110–130 g
Black
Approx. 55–65 g
Dark Brown
Approx. 25 g
Additional Supplies
- 2.5 mm crochet hook
- Polyester stuffing
- Thin craft wire
- Black sewing thread
- Transparent smoky organza or mesh fabric
- Fabric stiffener or diluted glue (optional)
- Yarn needle
- Stitch marker
- Small pliers
🧵 Abbreviations (US Terms)
- MR – magic ring
- sc – single crochet
- inc – increase
- dec – invisible decrease
- sl st – slip stitch
- ch – chain
- FO – fasten off
🐝 Important Shape Notes
This bee is designed with:
- a very large hanging abdomen
- a compact rounded thorax
- an unusually small head hidden between the eyes
- giant side-mounted eyes
- extremely thin rope-like legs
- downward body posture
- long narrow wings attached high on the thorax
Crochet tightly for the clean sculpted look.
🧠 Head Base
Start with Golden Yellow
The head is much smaller than a typical amigurumi insect head and sits tucked beneath the eyes.
R1: MR 6 (6)
R2: inc x6 (12)
R3: (sc, inc) x6 (18)
R4: (2 sc, inc) x6 (24)
R5: (3 sc, inc) x6 (30)
R6–R8: sc around (30)
Black Top Markings
R9:
8 yellow, 7 black, 8 yellow, 7 black
R10–R11: repeat around (30)
R12: (3 sc, dec) x6 (24)
R13: (2 sc, dec) x6 (18)
Stuff lightly only.
R14: (sc, dec) x6 (12)
FO leaving long tail.
The head should remain compact and somewhat flattened.
👁 Large Compound Eyes (Make 2)
Dark Brown
The eyes dominate the entire head structure and should appear oversized and slightly flattened.
R1: MR 6
R2: inc x6 (12)
R3: (sc, inc) x6 (18)
R4: (2 sc, inc) x6 (24)
R5: (3 sc, inc) x6 (30)
R6: (4 sc, inc) x6 (36)
R7–R11: sc around (36)
FO.
Do not overstuff.
Flatten slightly into wide oval discs.
Sew tightly against the sides of the head so the head becomes visually recessed between them.
🐜 Antennae (Make 2)
Black
Insert thin wire while crocheting.
R1: MR 4
R2–R24: sc around (4)
FO.
Curve one antenna slightly more forward than the other for realism.
🫀 Thorax
Golden Yellow + Black Patterning
The thorax should be rounded and elevated higher than the abdomen.
R1: MR 6 (6)
R2: inc x6 (12)
R3: (sc, inc) x6 (18)
R4: (2 sc, inc) x6 (24)
R5: (3 sc, inc) x6 (30)
R6: (4 sc, inc) x6 (36)
R7: (5 sc, inc) x6 (42)
R8–R13: sc around (42)
Black Thorax Markings
The thorax markings are irregular rather than perfectly striped.
R14:
10 yellow, 5 black, 12 yellow, 5 black, 10 yellow
R15–R17: maintain irregular black patches while slightly shifting stitch placement naturally.
Stuff firmly.
R18: (5 sc, dec) x6 (36)
R19: (4 sc, dec) x6 (30)
R20: (3 sc, dec) x6 (24)
FO leaving long tail.
The thorax should feel solid and rounded.
🍯 Abdomen
Start with Golden Yellow
The abdomen is the largest section of the bee and hangs downward heavily in a curved teardrop shape.
R1: MR 6 (6)
R2: inc x6 (12)
R3: (sc, inc) x6 (18)
R4: (2 sc, inc) x6 (24)
R5: (3 sc, inc) x6 (30)
R6: (4 sc, inc) x6 (36)
R7: (5 sc, inc) x6 (42)
R8: (6 sc, inc) x6 (48)
R9: (7 sc, inc) x6 (54)
R10–R13: sc around (54)
The abdomen should already appear bulky and rounded.
🖤 Stripe Layout
The stripes are thick, bold, and evenly spaced.
Stripe Sequence
- R14–R16: Black
- R17–R19: Yellow
- R20–R22: Black
- R23–R25: Yellow
- R26–R28: Black
- R29–R31: Yellow
- R32–R34: Black
- R35–R37: Yellow
Stuff very firmly throughout.
🔻 Abdomen Taper
R38: (7 sc, dec) x6 (48)
R39: sc around (48)
R40: (6 sc, dec) x6 (42)
R41: sc around (42)
R42: (5 sc, dec) x6 (36)
Begin curving the stuffing downward while shaping.
R43: (4 sc, dec) x6 (30)
R44: sc around (30)
R45: (3 sc, dec) x6 (24)
R46: (2 sc, dec) x6 (18)
The lower abdomen should narrow gradually without becoming pointy.
R47: (sc, dec) x6 (12)
R48: dec x6 (6)
FO and close tightly.
Shape the abdomen into a downward curved droplet.
🦵 Legs (Make 6)
The legs should look extremely thin and delicate.
Insert wire through the entire leg.
Upper Segment
R1: MR 3
R2–R18: sc around (3)
Lower Segment
R19–R36: sc around (3)
Foot Claw
Ch 5
Sl st back down the chain
FO.
Bend legs into soft natural angles.
The front legs should extend slightly forward.
Back legs should hang lower beneath the abdomen.
✨ Front Mouth Feelers (Make 2)
Golden Yellow
These tiny appendages sit near the mouth.
R1: MR 3
R2–R8: sc around (3)
FO.
Attach beneath head center.
🪽 Wings (Make 2)
Cut long narrow wing shapes from smoky transparent organza or mesh fabric.
Wing Size
- Length: 15–17 cm
- Width: 3.5–4 cm
The wings should be:
- narrow
- elongated
- slightly angled backward
- semi-transparent
Stitch delicate black vein lines using sewing thread.
Lightly stiffen if desired.
🧩 Assembly
Attach Head
Sew the head tightly beneath the thorax front.
Attach Eyes
Position eyes extremely close together so they dominate the face.
Attach Antennae
Place high between the eyes.
Attach Abdomen
Sew abdomen low and angled downward heavily.
Attach Legs
Attach three legs per side:
- front pair near head
- middle pair beneath thorax center
- rear pair close to abdomen connection
Allow the legs to dangle naturally.
Attach Wings
Insert wings high on the thorax back seam.
Angle them backward similarly to a resting bee.
🌿 Styling Tips
- Pose on a natural branch for realism
- Shape the abdomen downward while stuffing
- Use cotton yarn for crisp stitch definition
- Brush lightly with a soft toothbrush for subtle fuzz texture
- Slight asymmetry makes the insect appear more realistic
💛 Final Thoughts
This realistic crochet bee combines sculptural anatomy with soft handmade texture to create a stunning nature-inspired amigurumi piece. The oversized abdomen, giant compound eyes, translucent wings, and delicate legs give the finished bee an impressively lifelike appearance while still preserving the warmth and artistry of crochet. Whether displayed on wood, shelves, or within a botanical collection, this bee makes an unforgettable statement piece for any crochet enthusiast.