🧵 Skill Level
Intermediate – involves shaping, compact assembly, and layered floral placement.
📏 Finished Size
- Total height: 20–24 cm (8–9.5 inches)
- Bunny head: 7–8 cm (2.7–3.1 inches)
- Pot width: 10–12 cm (4–4.7 inches)
🧶 Materials & Yarn Amount
- Pale pink yarn (bunny): 50–60 g
- Beige/taupe yarn (pot): 60–70 g
- Green yarn (leaves & stems): 50–60 g
- Yellow yarn (tulips): 20–25 g
- Lavender yarn (tulips): 20–25 g
- Pink yarn (tulips): 15–20 g
- Light blue yarn (bow): 10–15 g
- Blush pink yarn (cheeks): small amount
- Black thread (face): small amount
Other:
- 2.5–3.0 mm hook
- 6–8 mm safety eyes
- Polyester stuffing (~150 g)
- Yarn needle
- Optional cardboard base
✂️ Abbreviations (US Terms)
MR – magic ring
sc – single crochet
inc – increase
dec – invisible decrease
ch – chain
sl st – slip stitch
FO – fasten off
🐰 Bunny Head
With pale pink yarn:
Round 1: MR, 6
Round 2: inc ×6 (12)
Round 3: (1 sc, inc) ×6 (18)
Round 4: (2 sc, inc) ×6 (24)
Round 5: (3 sc, inc) ×6 (30)
Round 6: (4 sc, inc) ×6 (36)
Rounds 7–13: sc around (36)
Insert safety eyes between Rounds 9–10 (6–7 stitches apart).
Round 14: (4 sc, dec) ×6 (30)
Round 15: (3 sc, dec) ×6 (24)
Stuff firmly.
Round 16: (2 sc, dec) ×6 (18)
Round 17: (1 sc, dec) ×6 (12)
Round 18: dec ×6 (6)
FO.
😊 Face Details
- Embroider a tiny triangle nose
- Add a short vertical stitch below
- Add small blush circles under eyes
👂 Ears (Make 2)
With pale pink yarn:
Round 1: MR, 6
Round 2: (1 sc, inc) ×3 (9)
Round 3: (2 sc, inc) ×3 (12)
Round 4: (3 sc, inc) ×3 (15)
Rounds 5–14: sc around (15)
Flatten lightly without stuffing.
FO and sew upright, slightly angled outward.
💪 Arms (Make 2)
With pale pink yarn:
Round 1: MR, 6
Round 2: (1 sc, inc) ×3 (9)
Rounds 3–6: sc around (9)
Lightly stuff only the base.
FO.
Attach so arms rest over the pot rim.
🎀 Bow
With light blue yarn:
Ch 7
Row 1–4: sc across
Wrap yarn around center to shape bow.
FO and sew under the chin.
🌷 Tulips (Make 6–7)
With pastel yarn:
Round 1: MR, 6
Round 2: inc ×6 (12)
Round 3: (1 sc, inc) ×6 (18)
Rounds 4–6: sc around (18)
Round 7: (1 sc, dec) ×6 (12)
Round 8: dec ×6 (6)
Lightly stuff.
FO.
🌿 Stems
With green yarn:
Ch 6–7
sl st back
Attach to each tulip.
🍃 Leaves (Make 8–10)
With green yarn:
Ch 10
sc 3, hdc 3, dc 2, hdc, sc
FO.
Slightly curve leaves before attaching.
🪴 Pot
With beige yarn:
Round 1: MR, 6
Round 2: inc ×6 (12)
Round 3: (1 sc, inc) ×6 (18)
Round 4: (2 sc, inc) ×6 (24)
Round 5: (3 sc, inc) ×6 (30)
Rounds 6–8: sc around (30)
Round 9: BLO sc around (30)
Rounds 10–14: sc around (30)
Round 15: (2 sc, inc) ×10 (40)
Rounds 16–17: sc around (40)
Sl st around top edge.
FO.
🧵 Assembly
- Insert base support if desired
- Secure bunny head inside pot
- Attach arms resting over rim
- Arrange tulips tightly around bunny
- Insert leaves between flowers
- Adjust spacing for a full look
✨ Final Shaping Tips
- Keep tulips short and upright
- Ensure bunny sits snug inside pot
- Spread flowers evenly for balance
- Shape ears tall and symmetrical
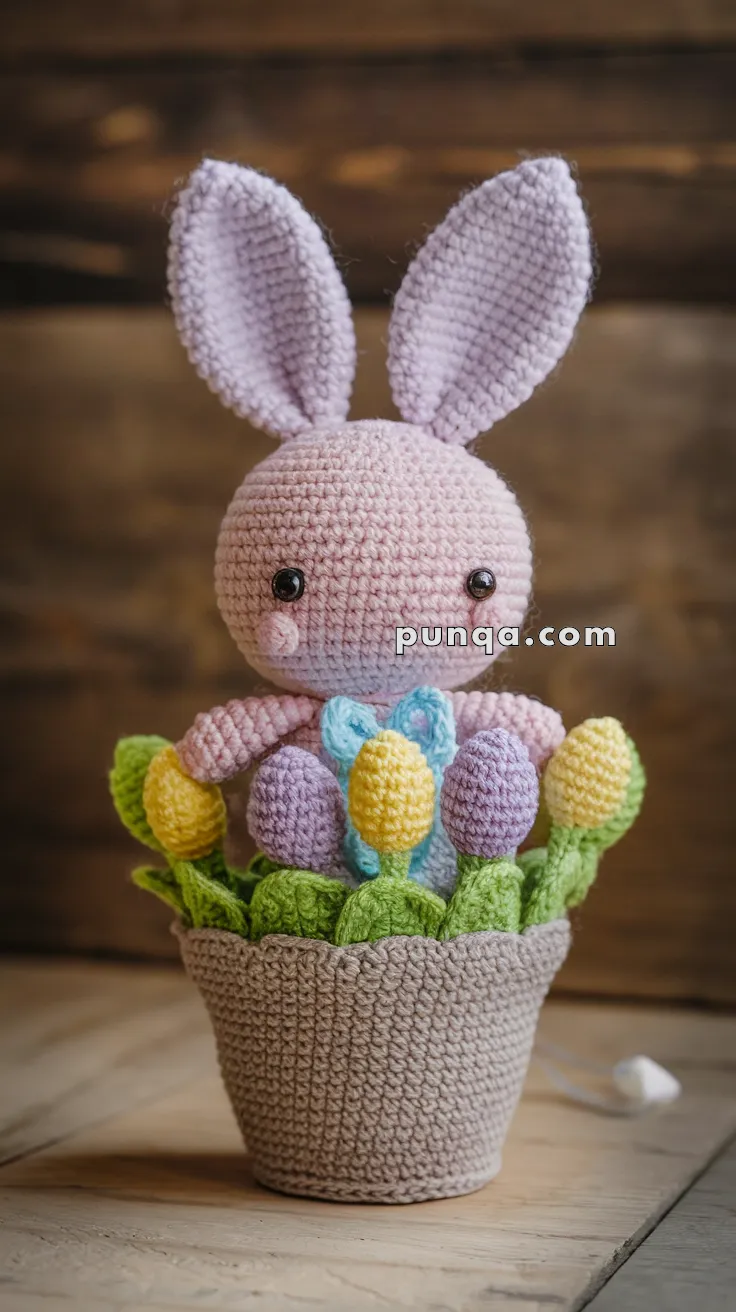
🌷🐰 Final Result
This adorable crochet piece combines a soft bunny, pastel tulips, and a cozy pot into a compact and cheerful spring display. The rounded shapes and gentle colors create a warm handmade decoration perfect for seasonal décor and gifting ✨